tabs

es about us es contact es archive es challenge es we love 9 es recipes es pintests es links
Showing posts with label we love. Show all posts

Friday, 21 November 2014

DIY Upcycled Bottle Cap Badge Inspired by The Hunger Games


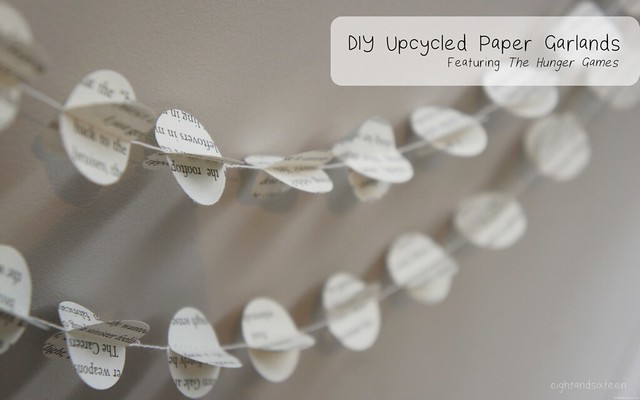
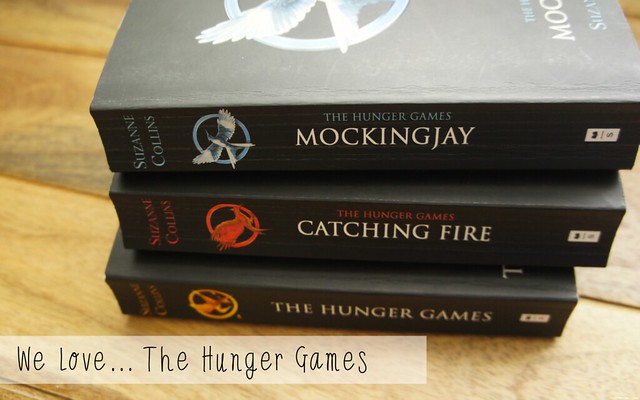
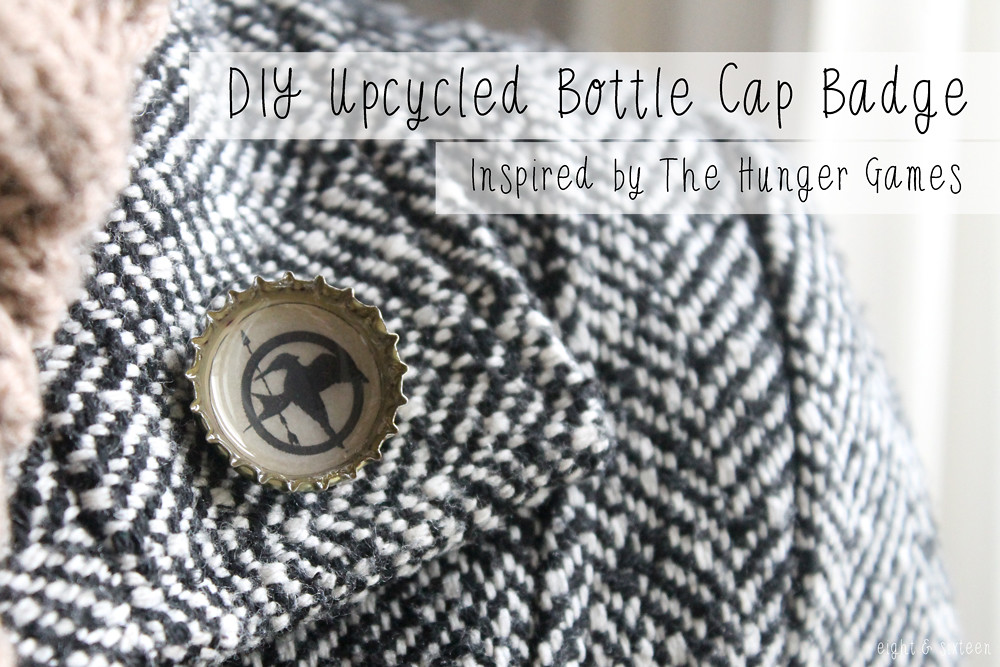
For my DIY as part of our We love The Hunger Games series, I decided to recreate the infamous Mockingjay pin that Katniss wears and I thought this would be a great way to combine a popular upcycling technique to reuse bottle caps.

You could also try making a template with your favourite quote from the book, or photograph of your favourite character, but if you'd like to stick with the Mockingjay template, you can download the templates I used HERE. Just make sure that your scaling settings are correct when you print them :)

For this DIY you will need: a bottle cap, paper template and scissors, PVA glue, Mod Podge 3D Dimensional (or similar), superglue and a brooch pin.


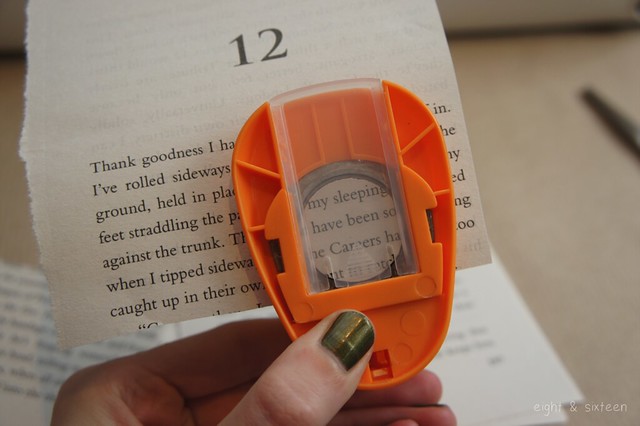
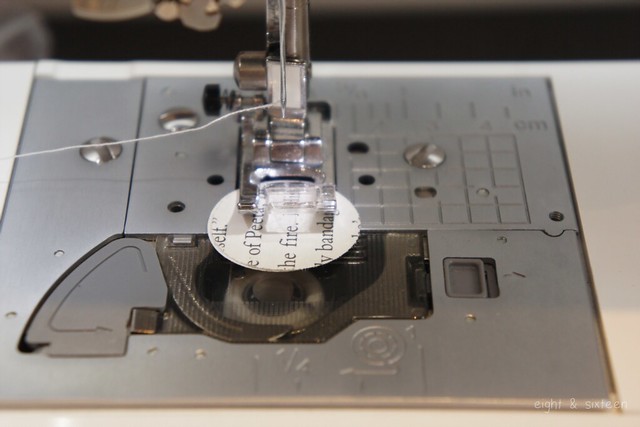
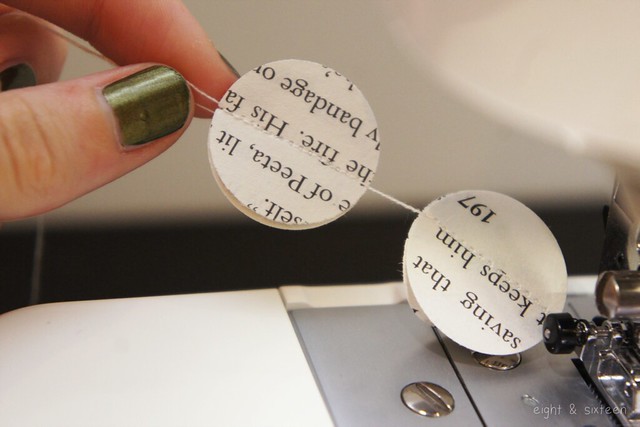
Print out your chosen template and cut to the size of your bottle cap.


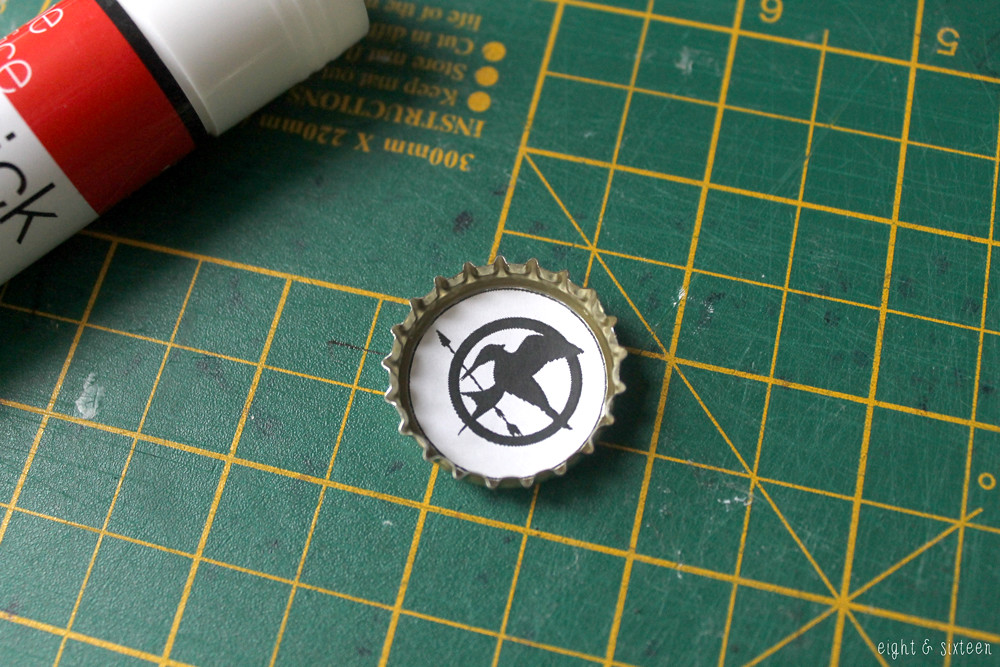
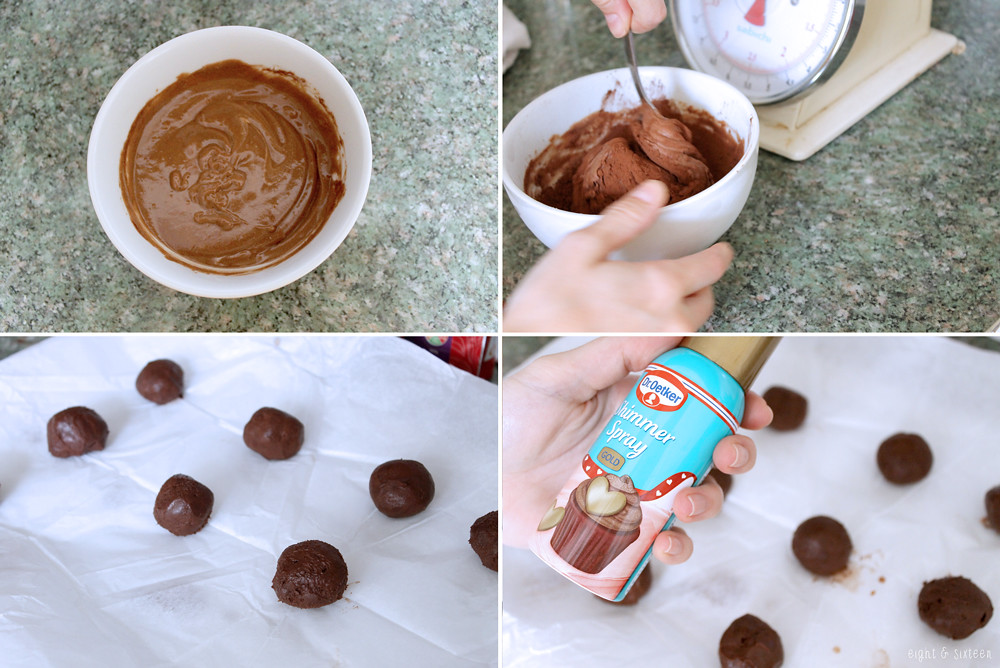
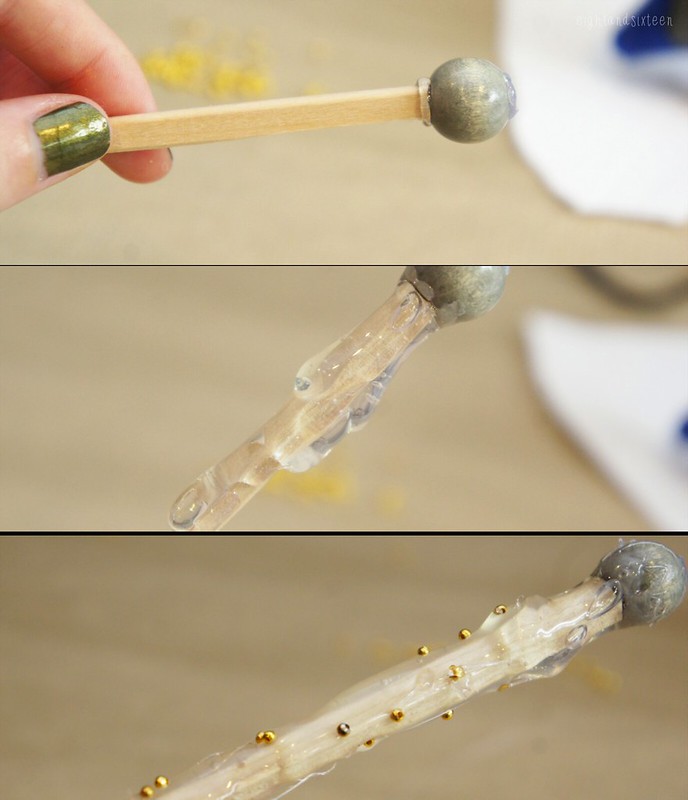
Glue your template into the bottle cap, and then cover in two thin coats of PVA glue and leave to dry.


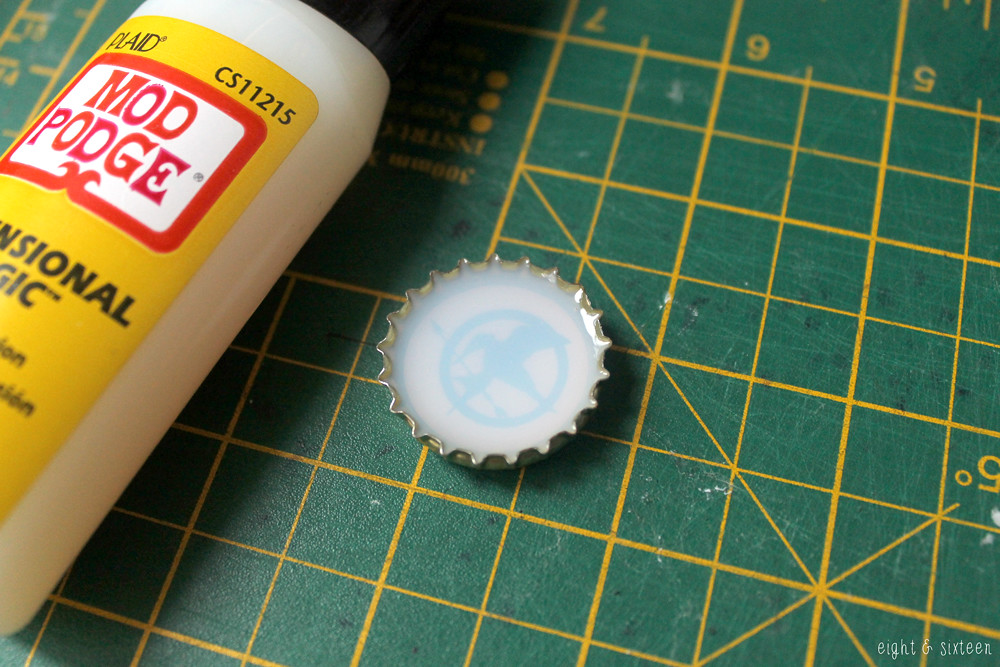
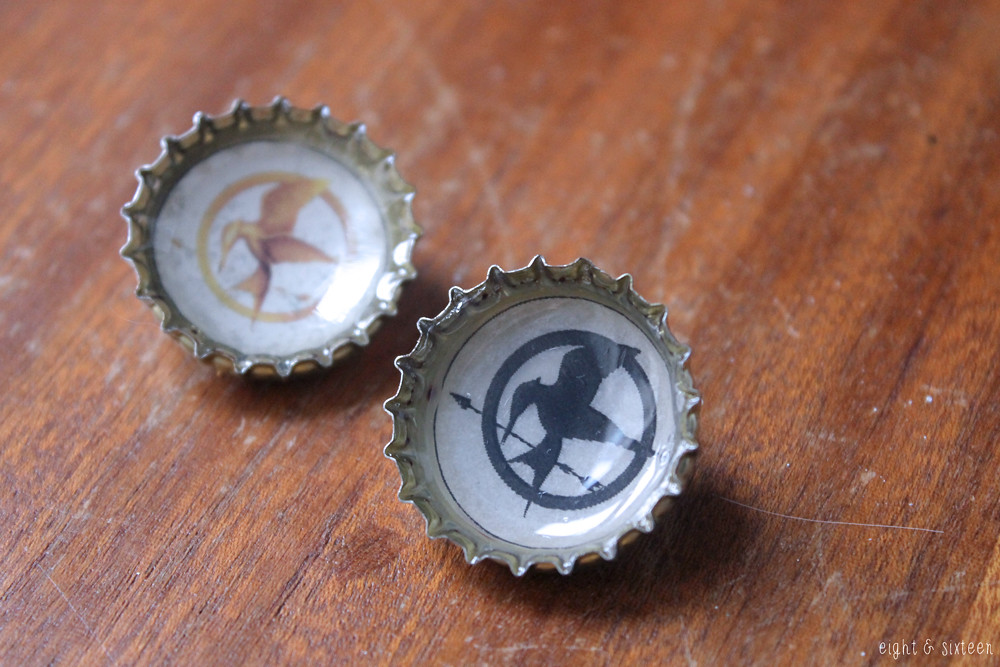
Mod Podge 3D Dimensional is a great glue for jewellery and craft making, and worked amazingly for these badges. Apply to your bottle cap, being careful not to overfill as it will spill over and get messy very quickly! Leave to set.


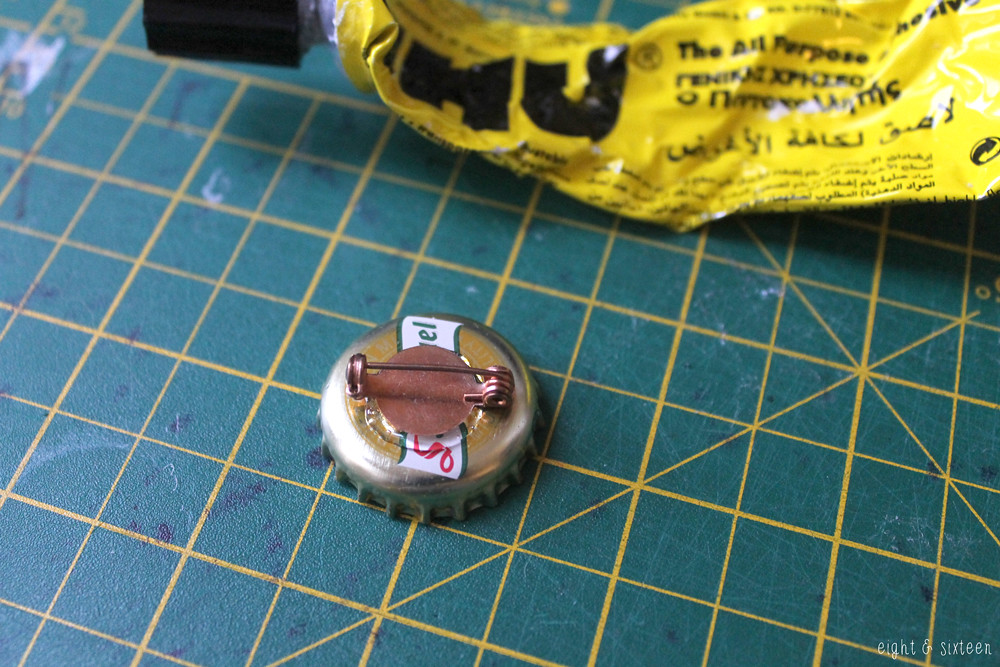
Use superglue to apply a brooch pin to the back of the bottle cap and leave to dry.

May the odds be ever in your favour...


We'd love to hear from you if you give this DIY a go - use the hash tag #eightandsixteen to share your photos with us!

Skye


Wednesday, 19 November 2014

DIY Upcycled Paper Garlands (featuring The Hunger Games)

upcycled paper garlands hunger games

To celebrate the release of Mockingjay - Part 1, which Skye and I are both very excited to see, our latest We Love... topic is of course The Hunger Games!

Today's very simple DIY project shows you how to make your own upcycled paper garland and in honour of Mockingjay's release I have used the better looking pages from an old battered copy of The Hunger Games for this tutorial. I know everyone won't have a falling apart copy to hand so as an alternative you can pick up bags of book confetti on Etsy, use photocopies or type out some text including key words, places and your favourite character's names.

If you're as excited about the film's release as we are why not whip yourself up one of these cute garlands to celebrate? If not, they can easily be customised - try using old magazines, newspapers, maps or pretty scrapbooking papers to make this project perfectly fit the decor of any occasion or party!

You will need: old book pages, a 1" circle punch, a sewing machine & thread

diy garland 3 diy garland 4

1. Start by punching out your circles until you have enough for the length garland you would like to make - I used approx 60 circles for a 50" garland

You can either punch the circles out at random (this way you can punch through multiple pages at once) or choose to frame specific words or character names within your circles

diy garland 5
diy garland 6

2. Pair up two of your circles and place under your sewing machine foot. Make sure that you leave a tail of thread (approx. 3") before sewing to use for hanging the garland

If you want the text to sit the correct way on your garland make sure you have the circles facing the right direction before you start to sew. Alternatively for a more random arrangement just pick up the circles as they are!

diy garland 7

3. Sew through the centre of the circles, then continue on sewing for another 0.5-1" before placing your next set of circles under the sewing machine foot. This way you will get the gap between your circles on the finished garland

4. Continue adding on more circles in this way until you reach the desired garland length and your garland is done!

diy garland 8

You can leave your garland as is or create more of a 3D effect by carefully pressing out the circles to look like the ones shown above!

May the odds be ever in your favour...

We'd love to hear from you if you try out this DIY project - use the hashtag #eightandsixteen to share your photos with us!

Erin

Monday, 17 November 2014

We Love... The Hunger Games

we love hunger games

One of our shared favourite book & film series has to be The Hunger Games, so of course we're both very excited about the release of Mockingjay Part 1 this week! To celebrate we have planned a couple of Hunger Games inspired projects for you and will be sharing them over the rest of the week.

If you've created any Hunger Games inspired crafts we would love to see them - leave us a comment or use the hash tag #eightandsixteen to share them with us! 

May the odds be ever in your favour...

Skye & Erin

Monday, 29 September 2014

We Love... Halloween

we love halloween

We couldn't let our first October here at Eight & Sixteen pass by without a Halloween-themed feature! Back in 2012 before we teamed up to work together on this blog we had previously collaborated across our own blogs on a Halloween DIY challenge series. Here's a quick recap of the ideas we shared back then...

1/ Skye's Halloween Crackers
2/ Erin's Trick Or Treat Boxes
3/ Skye's Halloween Wreath
4/ Erin's Spooky Ghosts
5/ Skye's Halloween Cupcakes
6/ Erin's Halloween Cupcakes
7/ Skye's Halloween Nail Art
8/ Erin's Halloween Nail Art

Over the next few weeks we'll be sharing a handful of new Halloween-themed content including DIY, PinTest and recipe posts. If you want to make sure you don't miss out on any of the fun you can subscribe to Eight & Sixteen via Bloglovin' or follow us on Twitter.

Erin & Skye

Monday, 18 August 2014

Recipe: Golden Snitch Truffles Inspired By Harry Potter


For our We Love... Harry Potter series, we knew that a recipe was a must have. There are endless paragraphs in the books that leave your mouth watering with all the magical treats on offer, so it seemed only natural to try and re-create that magic.

This recipe was found via Pinterest (you can see the original recipe here) and as soon as I laid my eyes on these truffles I couldn't wait to give them a go.

I couldn't find any gluten free edible gold glitter powder, so I had to use the Onken gold shimmer spray for the whole recipe, but it worked really well and I was pretty impressed.
I also halved the recipe - here are the measurements I used to make 12 truffles:

• 120g milk chocolate chips
• 85g whipping cream
• 1 tbsp vanilla extract
• 45g cocoa powder
• 50g dark chocolate


First, you need to whip your cream and vanilla extract together to form stiff peaks and then fold this into your melted milk chocolate. Pop into the freezer for about 45 minutes, then mix in the cocoa powder and create your truffle shapes.


Use the shimmer spray to cover your truffles all over. Place these onto a separate plate and then pop into the fridge.
Then you need to melt the dark chocolate for the snitch wings. Using a piping bag, start drawing out the wings onto a sheet of baking paper.


For 12 truffles I needed to make 24 wings, but I made about 30 in case any broke (they did!). Pop this sheet into the freezer for a few minutes to set, remove and spray with the shimmer spray, and then return to the freezer to set for 10 minutes or so.
Take your truffles from the fridge and wings from the freezer, and then stick the wings to the truffles. The chocolate melts super quickly so it's fiddly but also quite easy to get the wings in place. Repeat with all of the truffles and then step back to admire your handiwork!

These are some of the tastiest truffles I've ever made, and definitely the most magical - I think this recipe would be great for a Halloween party!


We'd love to hear from you if you give this DIY a go - use the hash tag #eightandsixteen to share your photos with us!

Skye


Wednesday, 13 August 2014

DIY Wands (Harry Potter Inspired)

wands diy tutorial harry potter inspired crafts

Today's DIY project is one I've been meaning to try out and share for at least two years after seeing this awesome version from majann on deviantART. Although I eventually got around to trying out the idea back at the beginning of the year I never actually shared the results on my blog. So, when Eight & Sixteen came along and we decided to do a We Love... feature on Harry Potter I knew it would be the perfect time to share this DIY!

To make your own wand you will need: a wooden chopstick, a glue gun, small beads, acrylic paints, a paintbrush & sponge brush

wands diy tutorial harry potter inspired crafts

1. Grab a chopstick, your glue gun and a large wooden bead. Attach the bead onto the end of the chopstick using hot glue - this will act as the base of the handle of your wand - and leave to dry before moving on to step two

2. Carefully apply layers of hot glue onto the chopstick, building up a textured surface and handle shape. Whilst the glue is still warm you can manipulate it by twisting and tilting the chopstick to get the glue to drip where you want it to sit

3. Whilst the glue is still warm you can also add on small beads or twine to create a more textured surface. As the glue will still be hot to the touch remember to be careful not to burn your fingers! I used some craft tweezers to gently push the beads into the glue to keep them in place

4. Once you're happy with the shape and texture of the wand set aside to dry fully. You can stand the wand in a glass jar or something similar whilst it is drying to avoid it sticking to your work surface

wands diy tutorial harry potter inspired crafts

5. Now it's time to get painting! Use acrylic paint to add on a base coat or two in a traditional colour such as brown and set aside to dry

6. If you want to create a more textured looking surface on your wand and give it a 3D effect use a sponge brush to lightly dab on a second colour - metallics work really well for this! Again, set aside to dry fully and you're done!

wands diy tutorial harry potter inspired crafts

As you can see from the photographs I experimented with both different textures and colours. I also tried out two different types of glue gun - one standard and one with a fine point nozzle (which I often use for more intricate jewellery crafts). As you can see the standard glue gun works best for this project as it makes it much easier to build up a proper handle shape on the chopstick.

The great thing about this project is that no two wands will turn out the same - just experiment, be creative and see how it turns out!

wands diy tutorial harry potter inspired crafts

We'd love to hear from you if you try out this DIY project - use the hashtag #eightandsixteen to share your photos with us!

Erin

Monday, 28 July 2014

We Love... Harry Potter

we love harry potter

One of the first things we discovered we had in common was a love of Harry Potter and of course, we're not the only ones. Earlier this month marked three years since the release of final movie adaptaion The Deathly Hallows Part 2 so, what better subject for our next We Love... series?

Over the next four weeks, amongst our usual variety of posts, we'll be sharing some Harry Potter inspired DIYs perfect for our fellow fans to celebrate this amazing series!

Don't forget to check back on Wednesday for the first tutorial! :)

Erin & Skye

Monday, 30 June 2014

Why We Love Pinterest


Ah Pinterest. We can't quite remember a time without it in our lives, and we also can't imagine a better hub for browsing, sharing and feeling pretty damn inspired.

Sometimes though, there can just be too much to choose from, and it can be hard to know which pins to trust!
So we want to explore the most popular DIY's and tutorials that can be found on Pinterest, find out whether they're as easy as it seems, and then share the results with you.

We've got tons of inspiration to get started and experiment with, but if you have any requests for what you'd like us to take on, just pop a comment below!

Erin & Skye


Related Posts Plugin for WordPress, Blogger...