


tabs

es about us es contact es archive es challenge es we love 9 es recipes es pintests es links
Showing posts with label collab. Show all posts

Monday, 29 September 2014

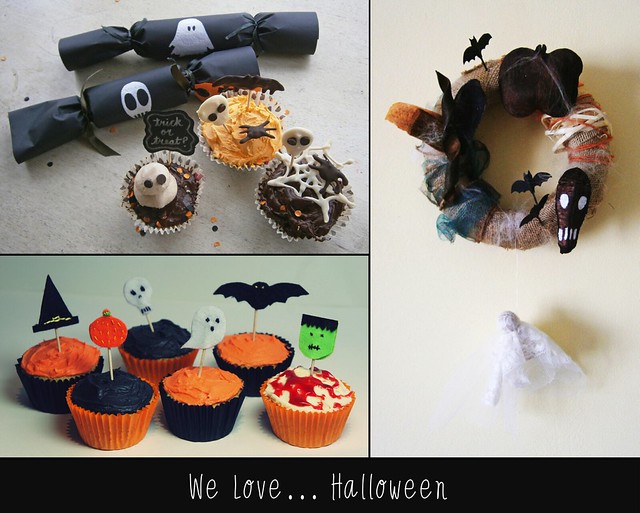
We Love... Halloween

we love halloween

We couldn't let our first October here at Eight & Sixteen pass by without a Halloween-themed feature! Back in 2012 before we teamed up to work together on this blog we had previously collaborated across our own blogs on a Halloween DIY challenge series. Here's a quick recap of the ideas we shared back then...

1/ Skye's Halloween Crackers
2/ Erin's Trick Or Treat Boxes
3/ Skye's Halloween Wreath
4/ Erin's Spooky Ghosts
5/ Skye's Halloween Cupcakes
6/ Erin's Halloween Cupcakes
7/ Skye's Halloween Nail Art
8/ Erin's Halloween Nail Art

Over the next few weeks we'll be sharing a handful of new Halloween-themed content including DIY, PinTest and recipe posts. If you want to make sure you don't miss out on any of the fun you can subscribe to Eight & Sixteen via Bloglovin' or follow us on Twitter.

Erin & Skye

Monday, 15 September 2014

DIY's With Speedy Stamps


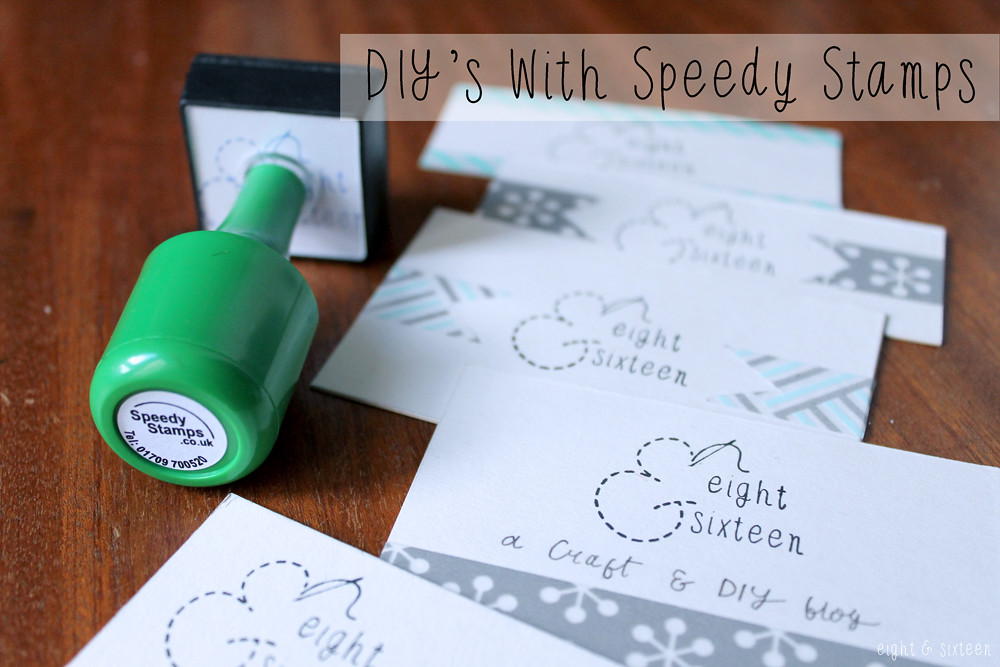
Today we have a few DIY ideas to share with you that use our personalised Speedy Stamps stamp (you can see our full review here).

Skye's DIY

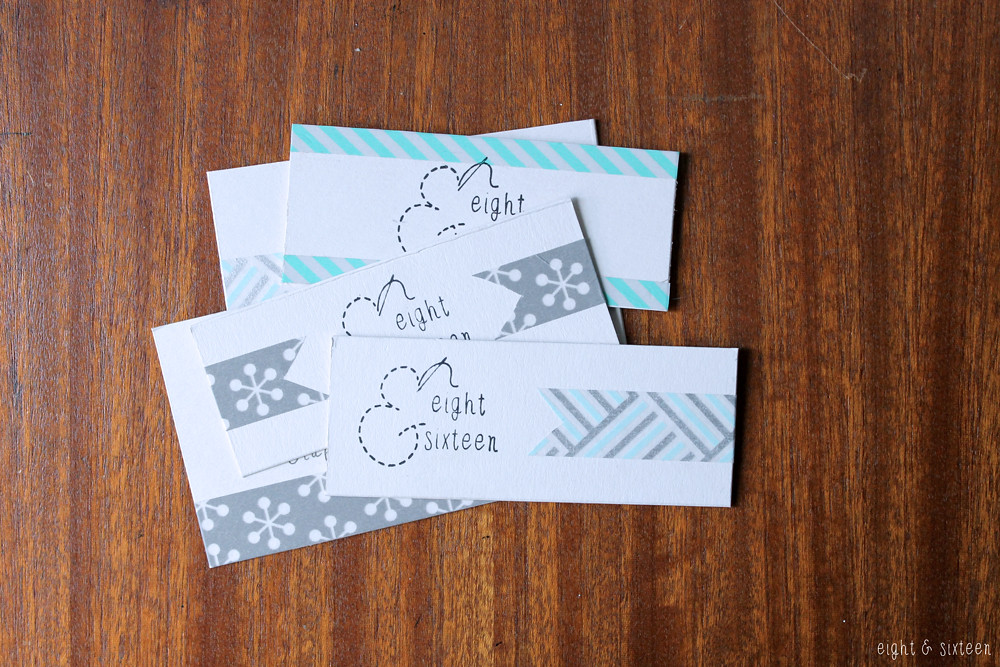
For my Speedy Stamps DIY, I decided to make some e&s business cards - a perfect way to show off our logo and the stamp.
I wanted the design of the cards to be simple and let the logo become the main focal point, so simply added different washi tapes in a variety of ways across the cards.
I think that the overall effect is very reflective of the e&s blog - minimalistic but a little playful :)

Erin's DIY
diy business card holder

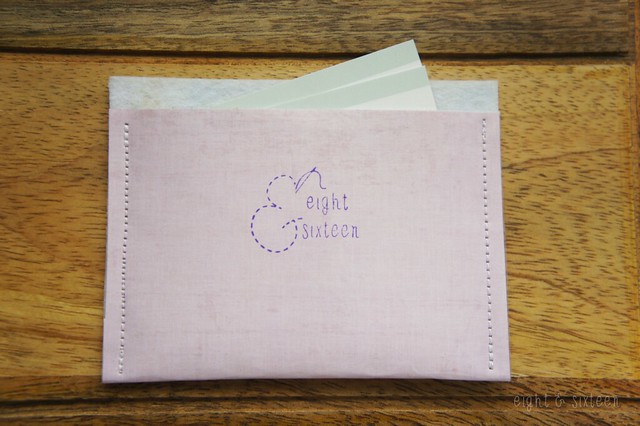
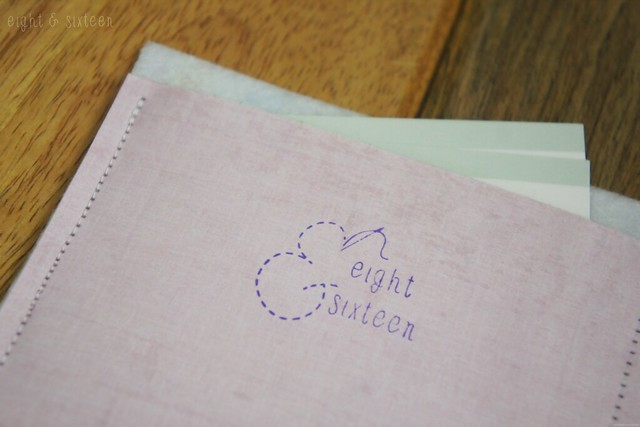
To compliment Skye's project I decided to use my stamp to make a personalised business card case perfect for protecting your new cards when you're carrying them around in your bag! Not only is this a handy little case to make but it's also a quick and easy project, here's how I did it...

To create the case I cut three 4.5 x 6.5" rectangles, one from felt, one from paper and one from sticky back plastic. I stamped our Eight & Sixteen logo onto the paper before placing it face down onto the sheet of sticky back plastic to create a protective layer for the outside of the case.

I then used a craft glue to stick the piece of felt onto the reverse side of the paper, folded into a case shape and used my sewing machine to stitch together the sides turning it into a pouch style case!


These are just two DIY project ideas that are great for custom stamps - what would you make with yours?

We'd love to hear from you if you give these DIY's a go - use the hash tag #eightandsixteen to share your photos with us! 
 
Erin & Skye

Friday, 12 September 2014

5 Ways To Upcycle Tin Cans

5 ways to upcycle tin cans

Today we have another bunch of upcycle projects for you try out, this time they've all been made using tin cans!

tin can pincushion upcycle

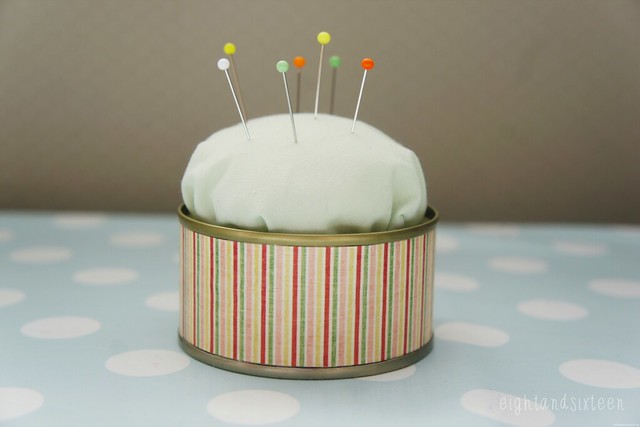
Pin Cushion
Take a square of fabric, place some wadding in the centre and wrap to create a shape that fits into the top of your can. Decorate the can with pretty paper or spray paint then glue the fabric cushion into the top! - E


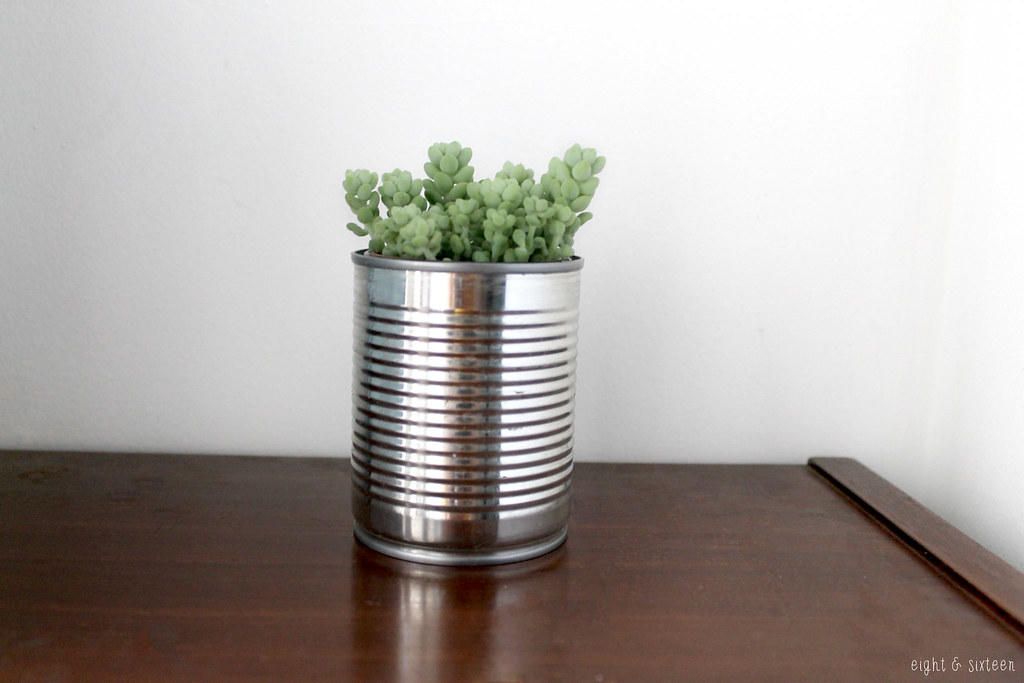
Planter
You can use small half sized tin cans or full sized ones to use as planters depending on the size of your plants. You can of course cover the can in washi tape or craft paper, but I love the contrast of the metal against the greenery. - S


Tealight Holder
Grouped together, tin cans as tealight holders can be super effective. To make, fill an empty tin can with water and leave to freeze. Then using a hammer and a nail, punch your chosen design onto the can. - S

chalkboard tins upcycle storage

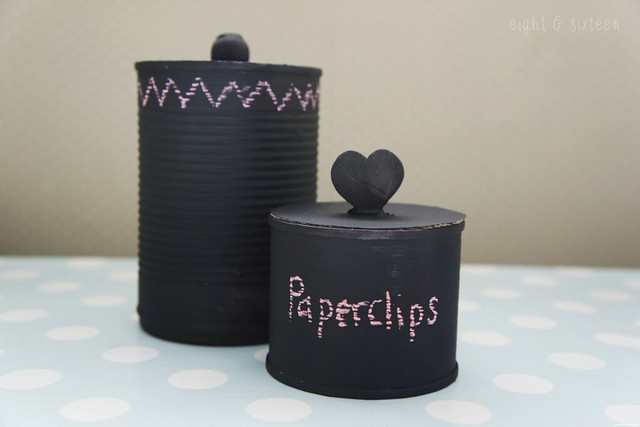
Chalkboard Storage Pots
To create these cute pots cover the cans with two layers of chalkboard paint then use thick cardboard to create lids. Glue on large beads or wooden embellishments to use as handles and decorate or label the cans with chalk. - E

tin can garden mobile upcycle diy

Garden Mobile
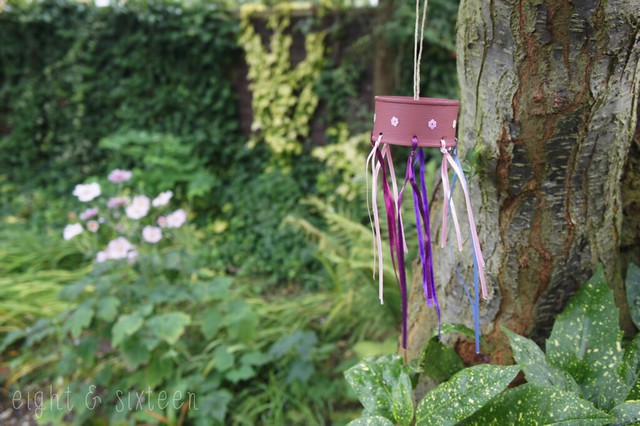
Carefully drill holes into sides of your can close to what would have been the top of it. Simply decorate using paint, sequins etc then add on lengths of ribbon, strings of beads, found objects such as twigs or anything else you'd like to turn it into a mobile. To hang drill a hole in the base of the tin and add on some twine or wire. - E

We'd love to hear from you if you give these DIY's a go - use the hash tag #eightandsixteen to share your photos with us! 
Erin & Skye

Tuesday, 9 September 2014

Speedy Stamps Custom Stamp Review

speedy stamps review eightandsixteen

Today we wanted to share these awesome Eight & Sixteen stamps kindly sent to us by Speedy Stamps. The idea behind the business is that you can send in your own design and have it made into a bespoke stamp - perfect for bloggers, small businesses, DIYers and stationery lovers!

The ordering process is simple, all you need to do to create your own stamp is upload a greyscale image of your chosen design, choose a size and the rest is done for you! If design isn’t your thing you can still create a great personalised stamp using the website’s basic tutorials which will help get you started.

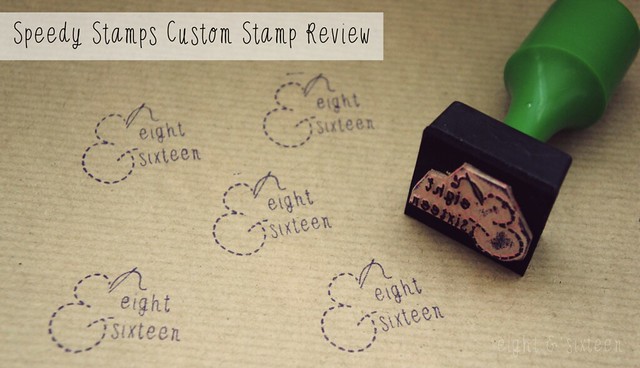
Our stamps feature the Eight & Sixteen logo and measure approx. 35cm which is a handy size for lots of projects. A particularly impressive factor was how detailed the stamp design can be as our Eight & Sixteen logo design uses a hand drawn font and dashed line, both of which are thin, we were concerned about how well they would show up on the stamp. As you can see the detail shows up well and we're pleased to say that we are very happy with our new stamps!

If you want to see just a couple of the ways we’ll be using the stamps make sure you check back next Tuesday for a DIY post!

Erin & Skye


Monday, 8 September 2014

PinTest: Shaped Pom Poms


For today's PinTest we're trying out some awesome creative pom pom ideas from Mr Printables! From fruity pom poms to letter filled pom poms, there are tons of designs to choose from. Here's how we got on...

Erin's Pom Poms
pom pom erin

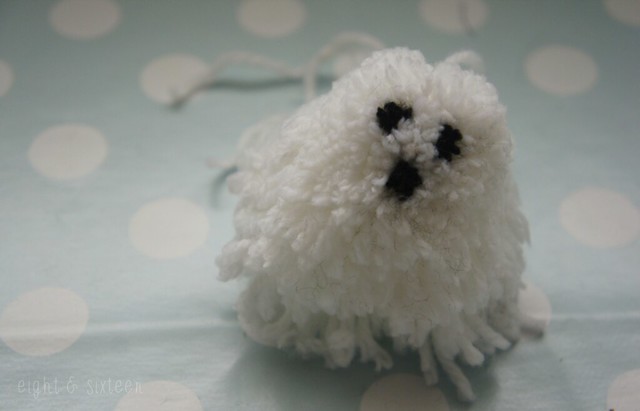
As you can probably tell from the picture above I struggled with this project and quickly discovered that these shaped pom poms are pretty tricky to master! As someone who loves Halloween crafts I was drawn straight to the skull design but after looking through the instructions I realised it would be a difficult one to start with and instead opted for the ghost.
I had pretty much given up hope of it turning out well but after revisiting the original tutorial a few days later I realised that I needed to trim it down much more than I already had, and once I did this it looked much more ghost-like.

As much as I love the idea and admire the beautiful original ones shown over at Mr Printables it’s safe to say I don’t have a talent for making them! I do however think that if you can master this clever craft they would make adorable Halloween decorations!

Skye's Pom Poms

When Erin suggested these shaped pom poms for our next PinTest, I was pretty excited - the originals are so cute! However, I really struggled with the DIY and got pretty frustrated trying to replicate them.
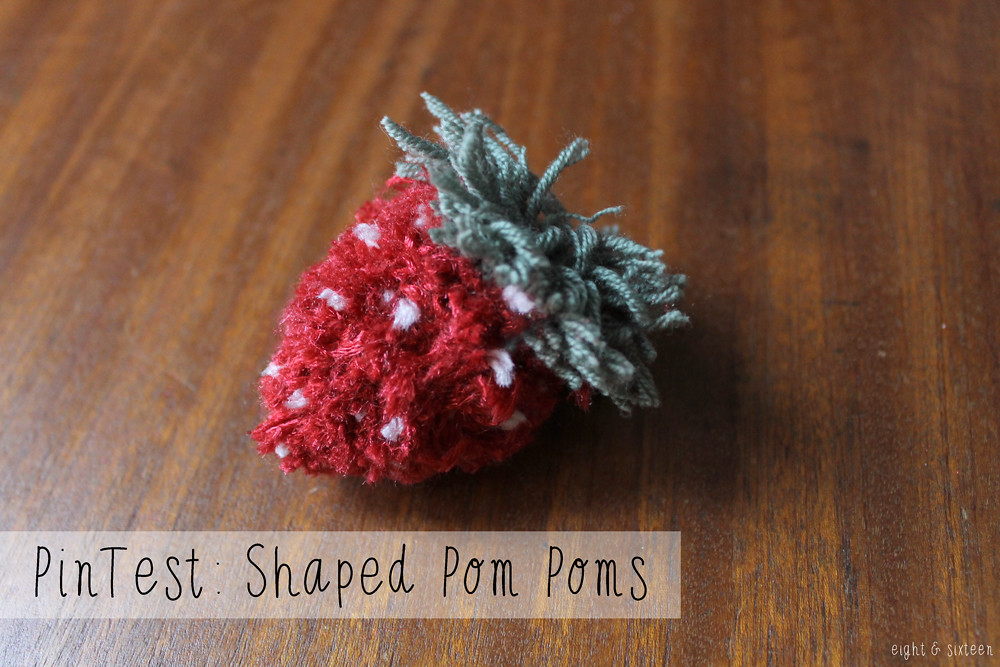
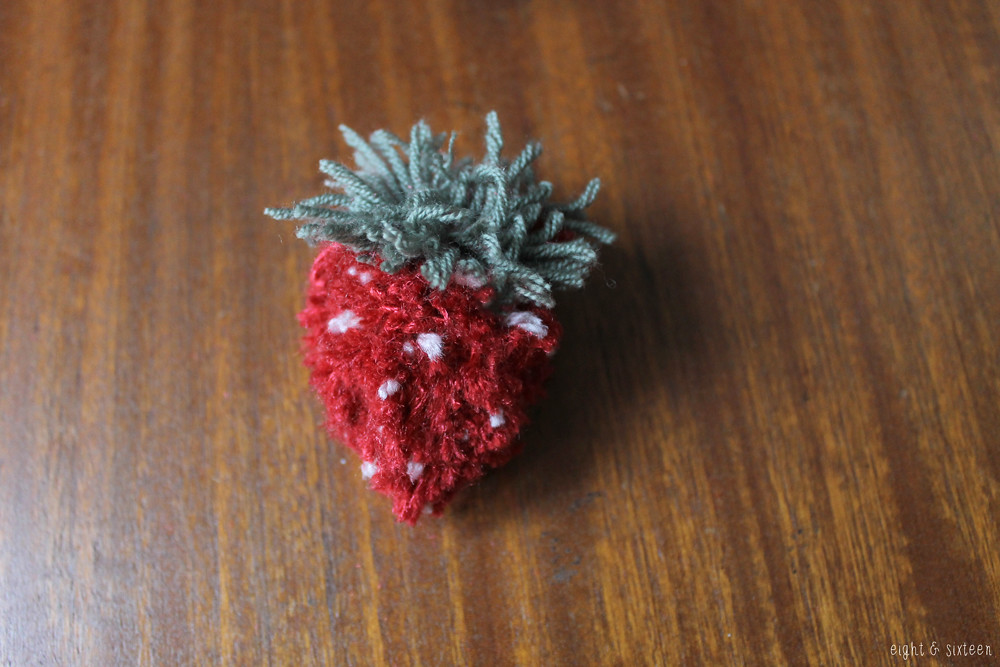
I decided to try the strawberry pom pom as I thought it looked relatively simple in comparison to the other designs. I found that once I had wrapped my wool around the template, cutting the wool free without losing any strands was quite fiddly, but I don't know if my technique was just wrong.
I then spent a long time snipping away at my pom pom trying to shape it into a strawberry which took ages. I'm still not very happy with the finished result, and I'm baffled by how great all the other amazing designs look since my attempt.
As cute as the originals are, and as much as I hate to say it, unfortunately I don't think this DIY is for me!


We'd love to hear from you if you give this PinTest a go - use the hash tag #eightandsixteen to share your photos with us! If there are any particular Pins you'd like to see us test out let us know in the comments!

Erin & Skye

Related Posts Plugin for WordPress, Blogger...