tabs

es about us es contact es archive es challenge es we love 9 es recipes es pintests es links
Showing posts with label skye. Show all posts

Friday, 2 January 2015

Skye's Five Favourite Projects Of 2014!


Looking through all of our posts over the last seven months has been so much fun! I can't believe how many DIY's we've managed to cram into this little blog, but I've loved doing them all and sharing them with Erin.

Picking just five of my favourites has been hard, but in the end I went with the DIY's that have really stood the test of time.
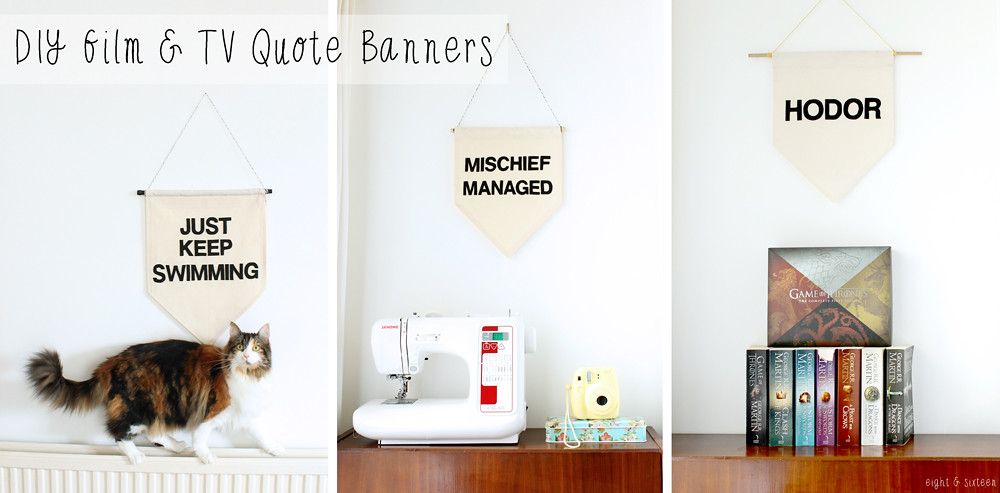
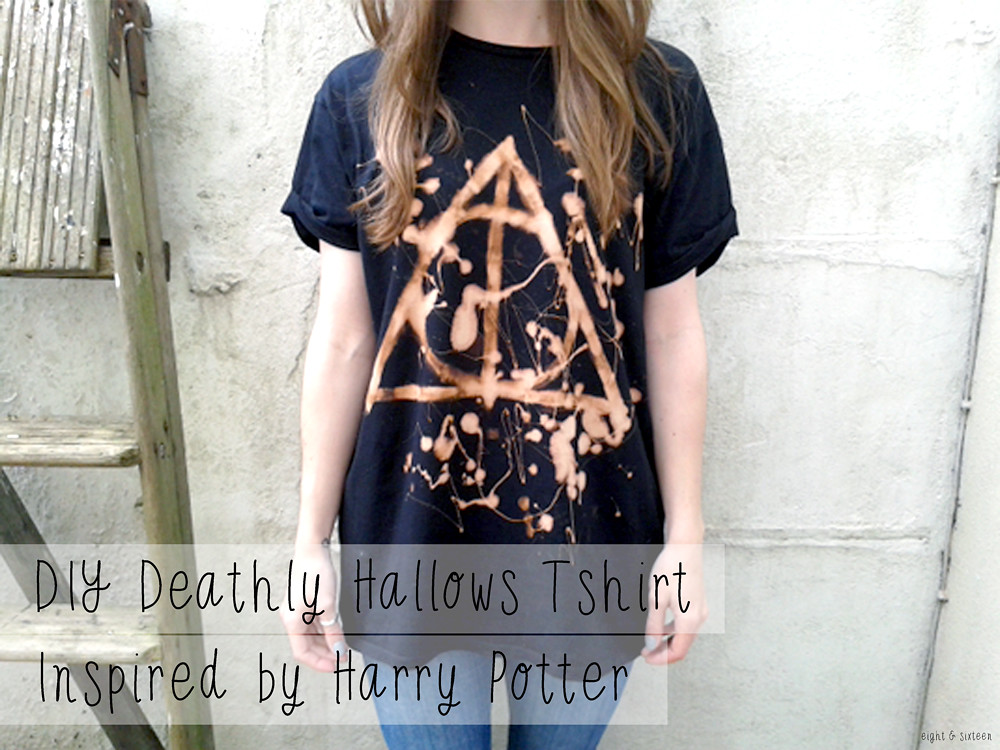
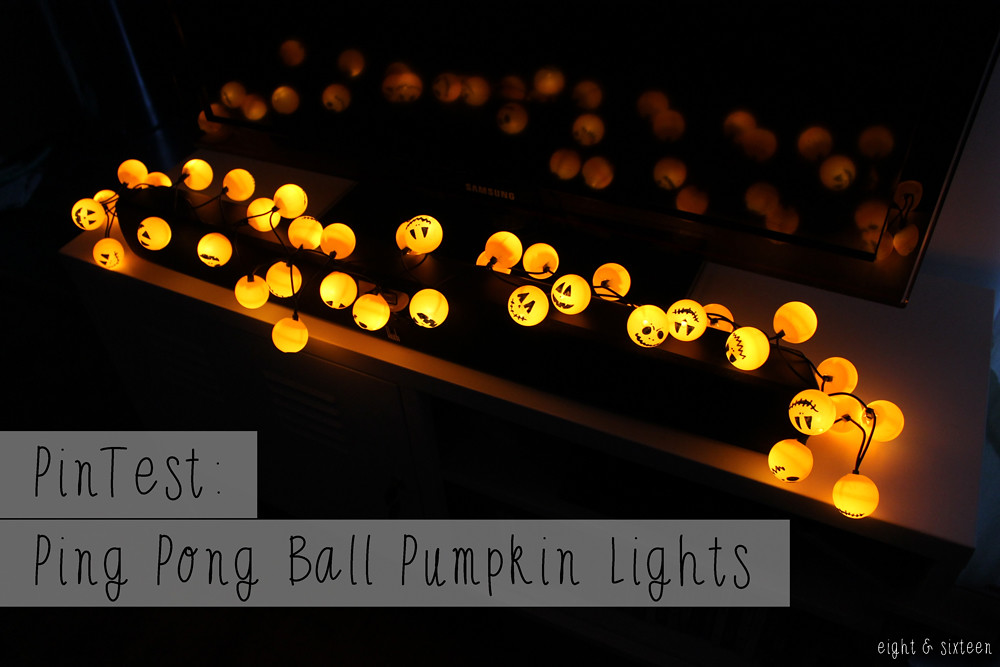
I still have the banners hung up around my flat, I wear the Deathly Hallows Tshirt too much, the camera strap is so comfortable and gets lots of compliments, the ping pong ball lights just make me smile, and the lunch bags are super practical!

I hope that you've enjoyed reading our DIY's and projects - and if you have any suggestions or things that you'd like us to try then just let us know :)

We'd love to know what your favourite projects of the year have been - use the hash tag #eightandsixteen to let us know or share your photos with us!

Skye


Thursday, 18 December 2014

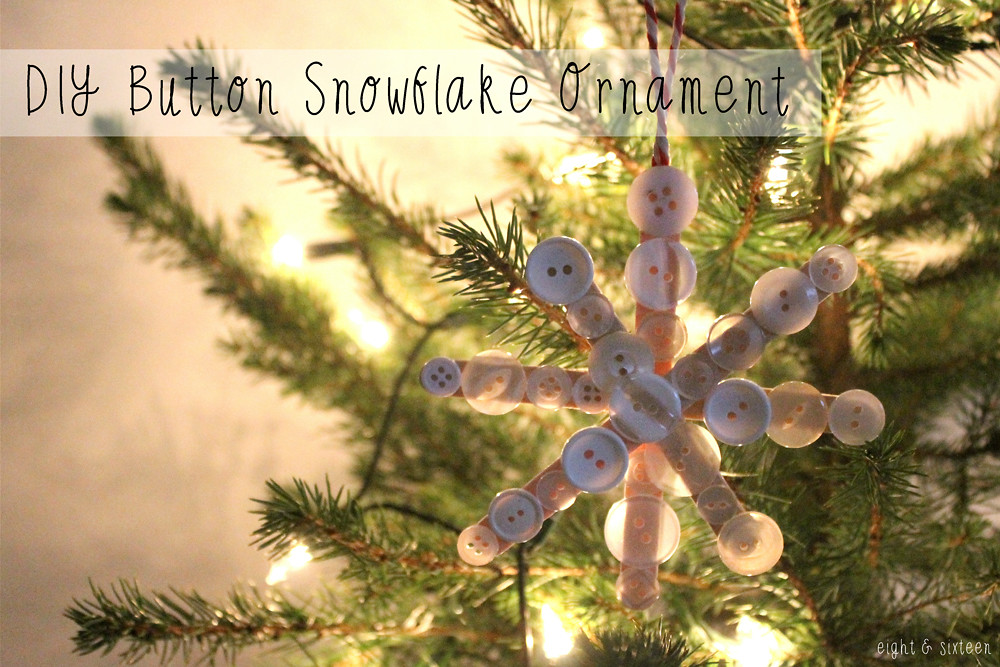
DIY Button Snowflake Ornament


Today is the final DIY in our week of button projects - we hope you've enjoyed them!
These decorations are great for the Christmas tree, but could also make sweet stocking fillers or even gift tags for presents!

Note: I collected some lolly sticks to make this project even thriftier, but you can easily find packs of craft sticks to buy if you plan to make lots of decorations.


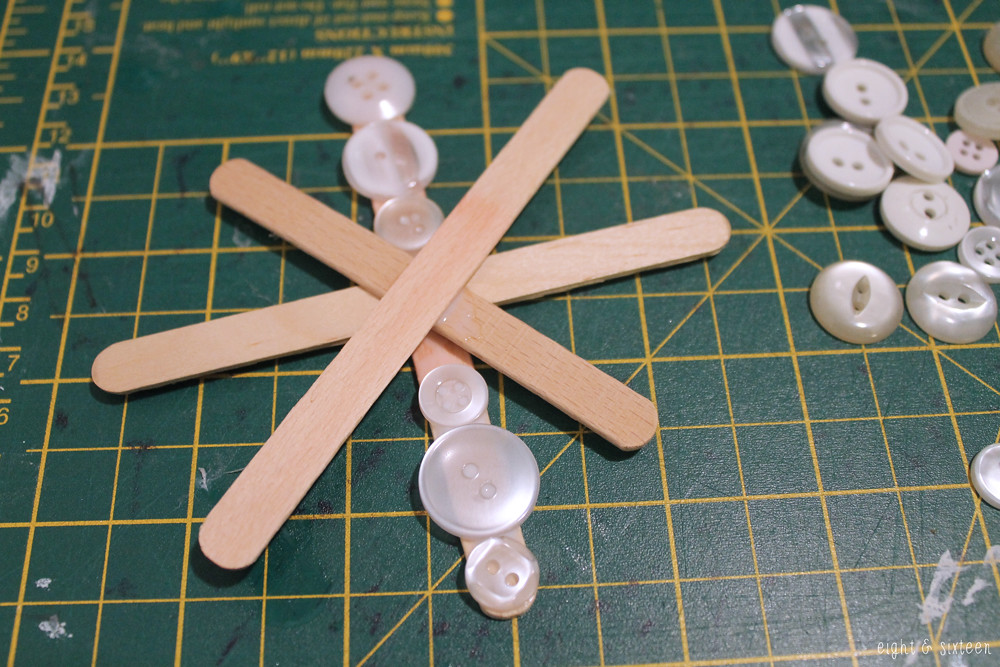
First you need to glue your sticks together to create your snowflake design. Leave this to dry as you don't want them moving around when it comes to the next step!


Starting with the stick on the bottom, start glueing your buttons into place.
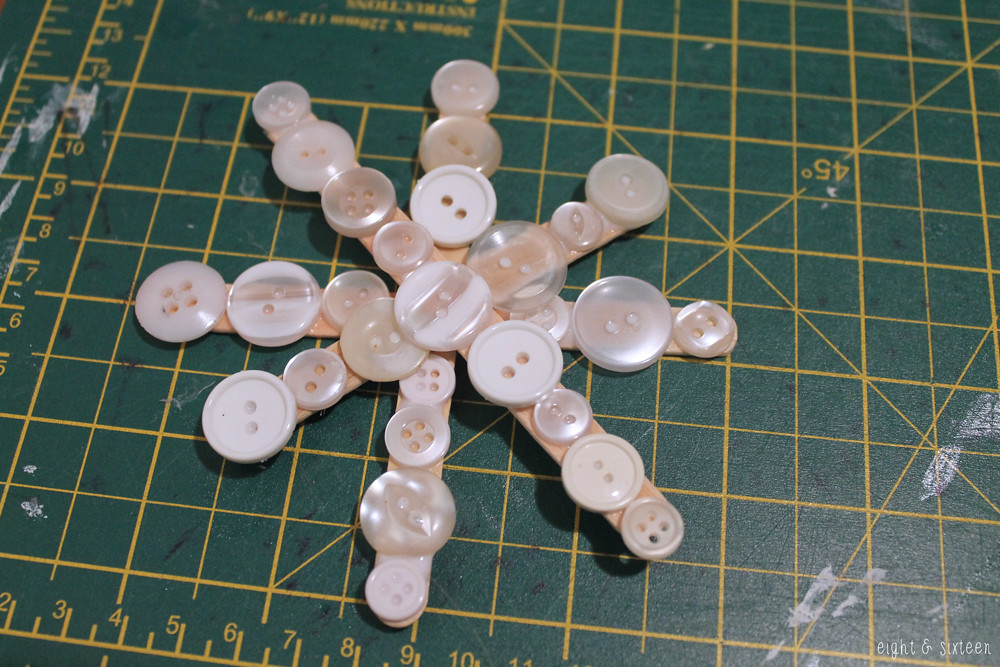
Tip: Use smaller buttons at the centre of the sticks for a better fit.


Continue glueing your buttons onto each stick, finishing with the top stick.


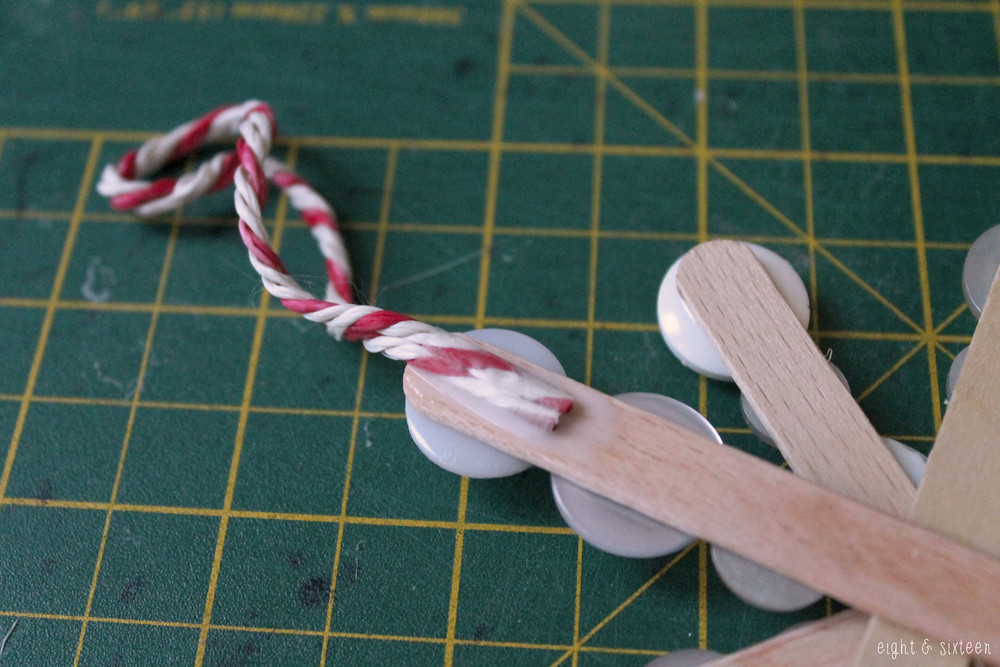
Using a piece of twine or ribbon, create a loop and glue this into place on the back of your snowflake. Hang your decoration on the Christmas tree, and step back to admire your handiwork!


We'd love to hear from you if you give this DIY a go - use the hash tag #eightandsixteen to share your photos with us!

Skye


Tuesday, 16 December 2014

DIY Button Gift Tags


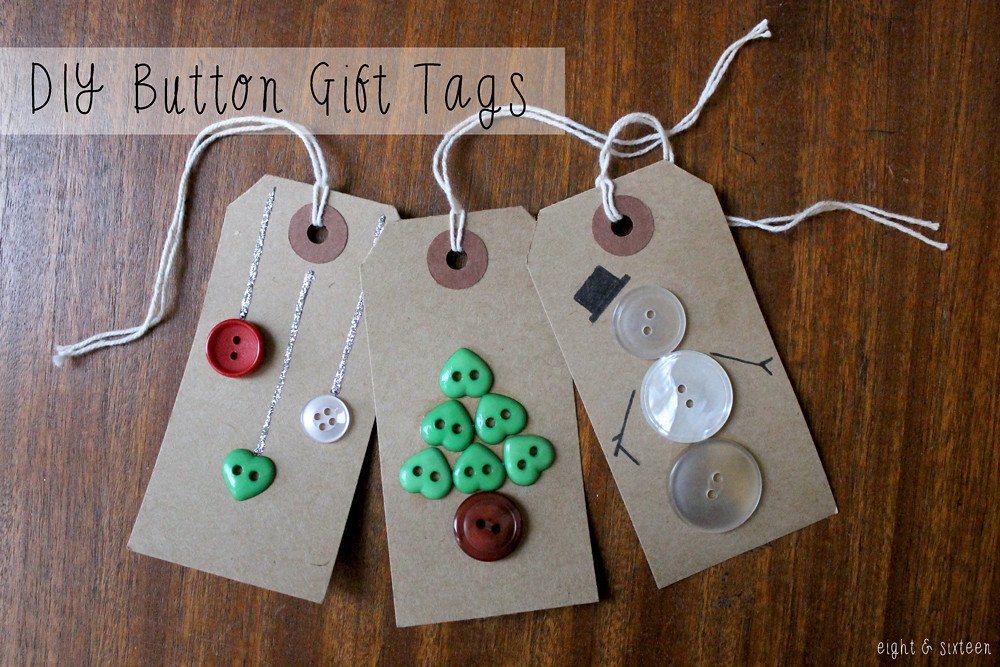
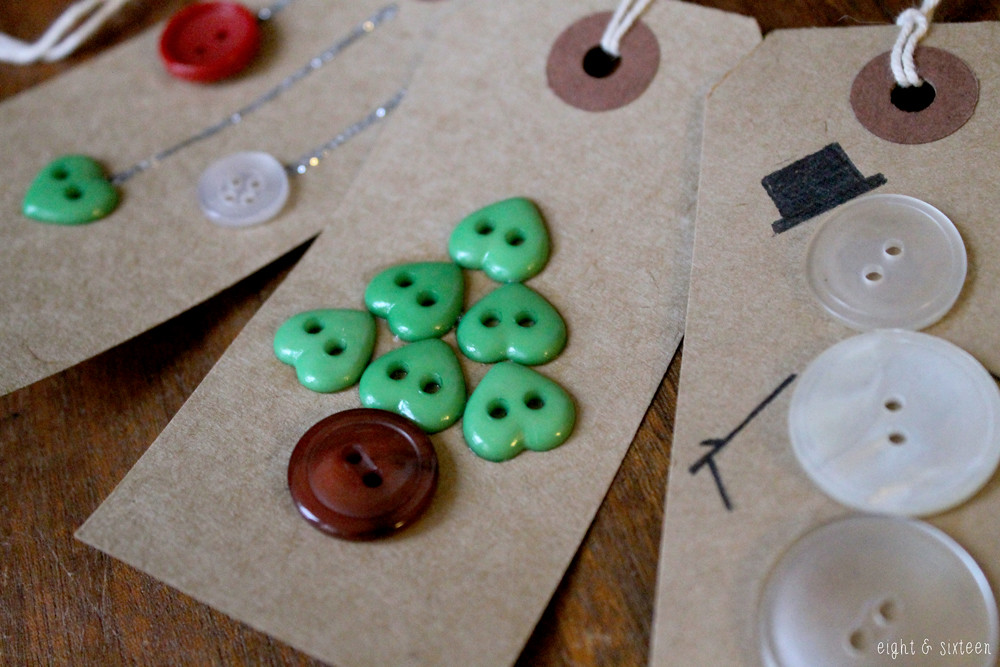
I'm pretty sure that most households contain a button jar/tin/box somewhere... right?! These button gift tags are a great way to upcycle those odd buttons, and you can create so many cute Christmas designs really easily as a finishing touch to your presents.


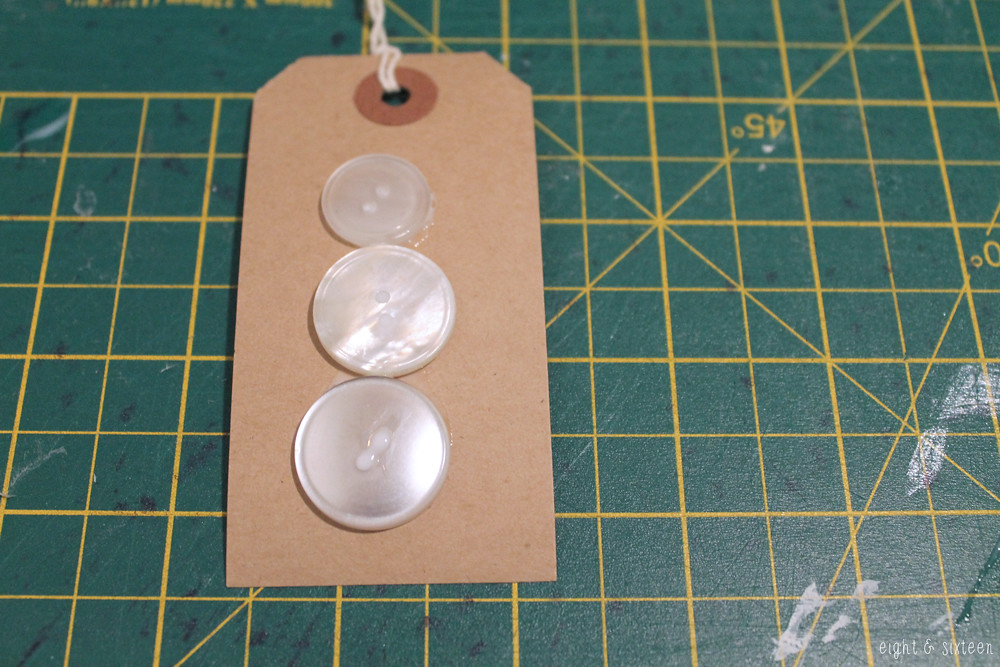
First, have a play around with your design until you're happy with the layout.
Then glue your buttons into position on your gift tag and leave to dry.


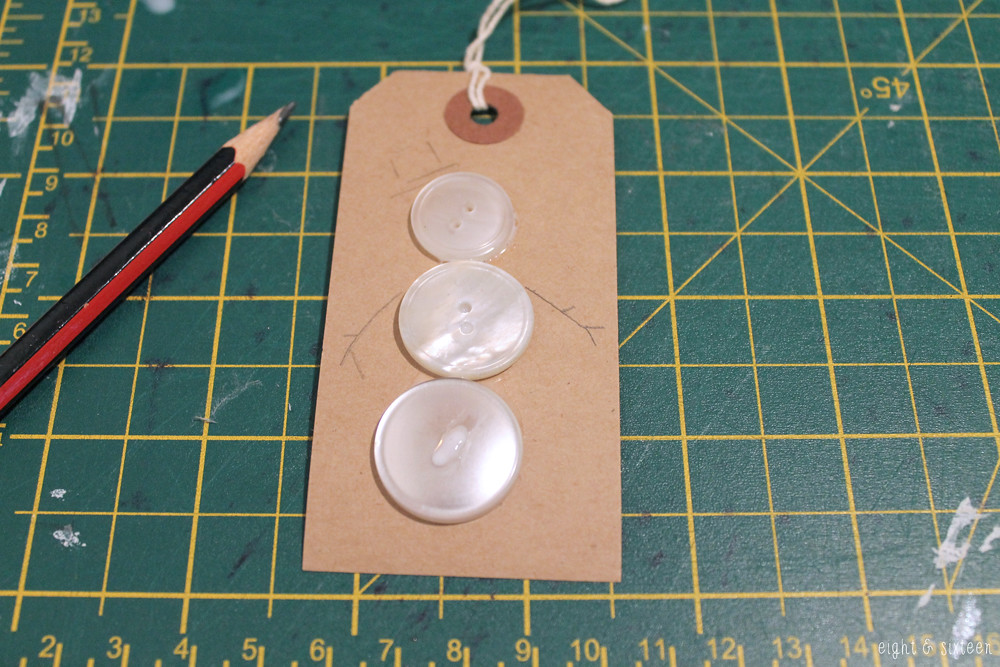
Draw on any extra details in pencil - for this snowman I added a hat and stick arms.


Finally, use a sharpie or similar to fill in the pencil details, or try glitter glue as I did for the baubles gift tag.

And that's it - such a simple DIY, but so effective!


We'd love to hear from you if you give this DIY a go - use the hash tag #eightandsixteen to share your photos with us!

Skye


Friday, 12 December 2014

DIY Cardboard Tube Wreath


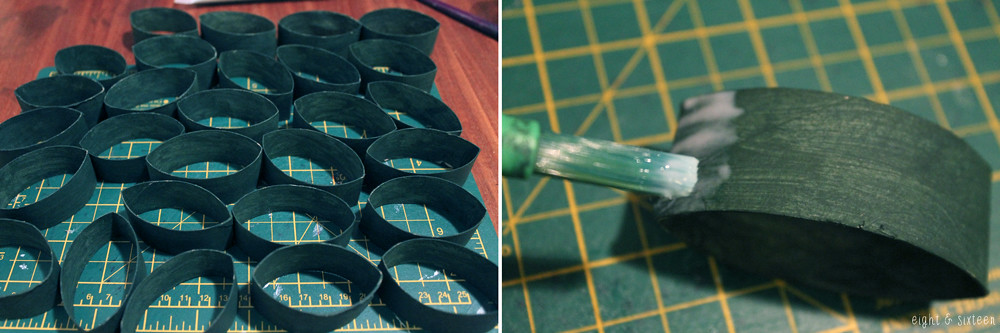
Today's DIY is a super simple festive wreath made from painted cardboard tubes and a few decorative berries. Depending on how many tubes you have to hand you can make this wreath as simplistic or extravagant as you like, and you could also try adding different embellishments such as bows or mistletoe.


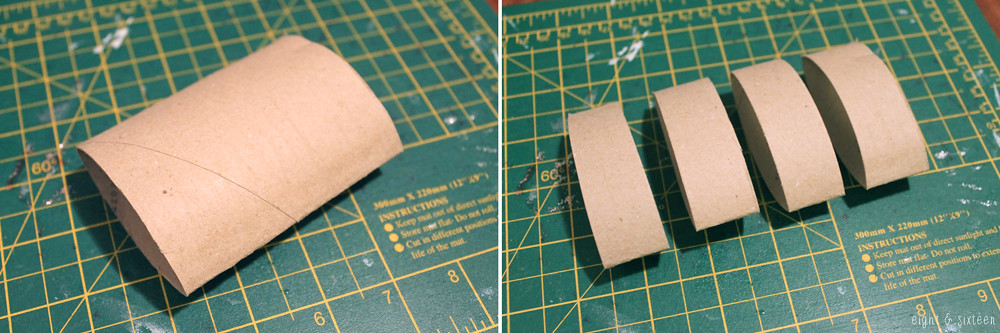
To start off, take your cardboard tubes, flatten them and cut them into 4 pieces. If you prefer, you can paint your tubes before doing this, but I didn't want any plain edges showing once they'd been cut.


Paint all of your tubes (inside and out!) and leave to dry.
Once dry, divide up the tube pieces into the 'flower shapes' and start glueing them together. I used a little glue on the points, and then used paperclips to keep the pieces together until dry.


Repeat with all of your tube pieces, and then join all of these flowers into a circle and glue/paperclip in the same way. Leave to dry.
You can then embellish the wreath - I have used decorative berries on wire that I simply wrapped around the centre of each flower.

This wreath will only be suitable for indoor use, but is a great addition to any festive decor and it can be so easily customised to suit your colour scheme :)


We'd love to hear from you if you give this DIY a go - use the hash tag #eightandsixteen to share your photos with us!

Skye


Friday, 5 December 2014

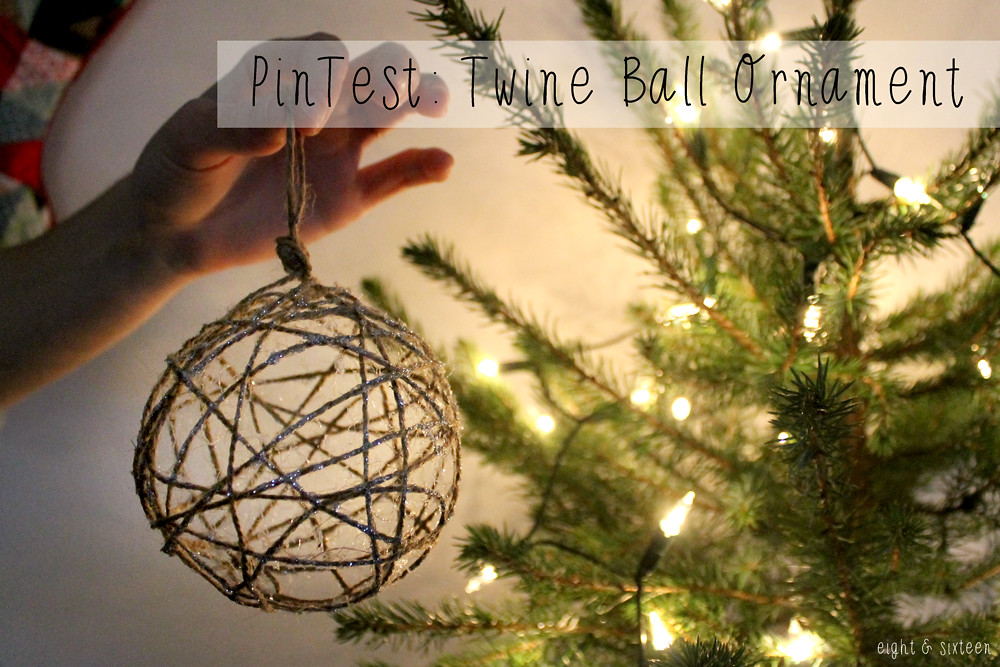
PinTest: Twine Ball Ornament


We have another festive PinTest for you today, and this is another great idea for Christmas tree decorations or decor around the home.
I love the idea of twine decorations and think that the natural look and colour works really well against a Christmas tree draped in fairy lights.

You can find the original Pin here, and here's how I made mine...


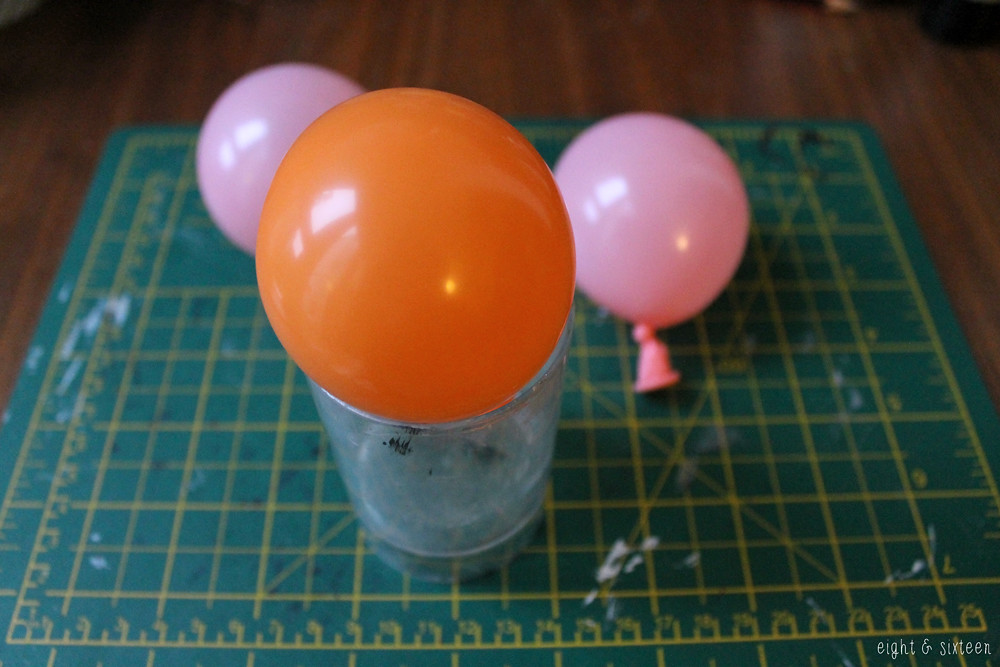
Blow up a balloon to the size you'd like your ornament to be - try and keep it small if you plan to hang them on a tree, but you could also try an oversized one to hang from a door frame or lots of little ones to make a garland.


Cover the balloon in cling film - the original pin says that this step is essential, so I didn't take any chances!


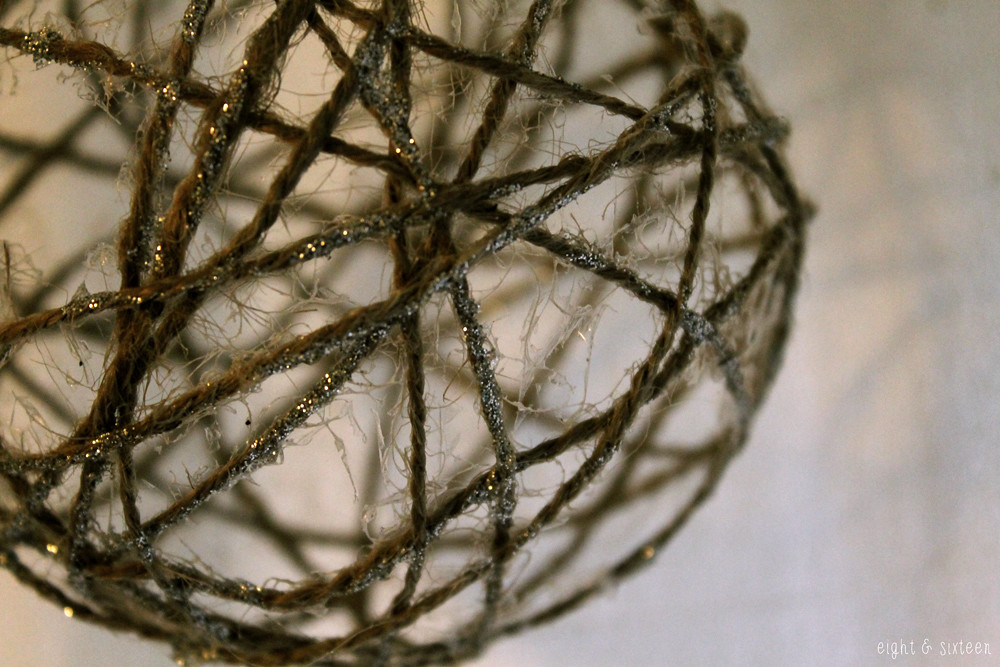
Cover the balloon in a layer of PVA glue, and then start winding twine around it to create a criss cross pattern.


Optional: I used glitter glue to cover several areas of the string, but you can leave it plain.

I used excess twine to create a loop at the top of my decoration, but you could also add some ribbon afterwards.
Leave the ornament to dry overnight somewhere secure - I hung mine on the washing line!
Once dry, pierce the balloon and pull it out of a gap in the twine being careful not to squish the ornament out of shape.

This has been a great PinTest for me and one that I can see myself trying again. It's a little messy but the simplicity of it is so worth it for the outcome, and I think that these would be great fun to spend an afternoon making.


We'd love to hear from you if you give this DIY a go - use the hash tag #eightandsixteen to share your photos with us!

Skye


Friday, 21 November 2014

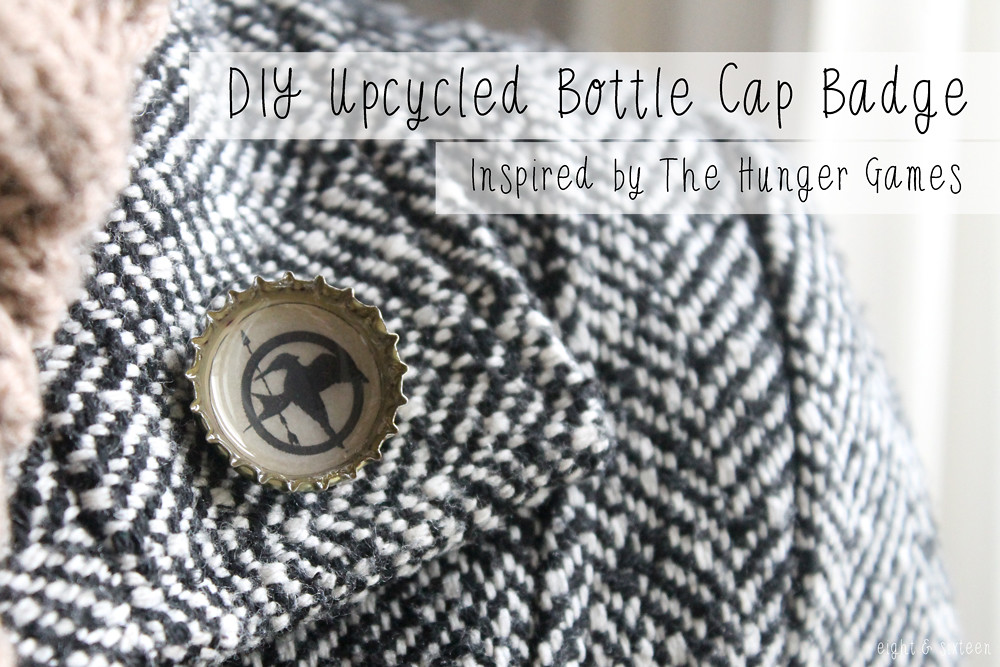
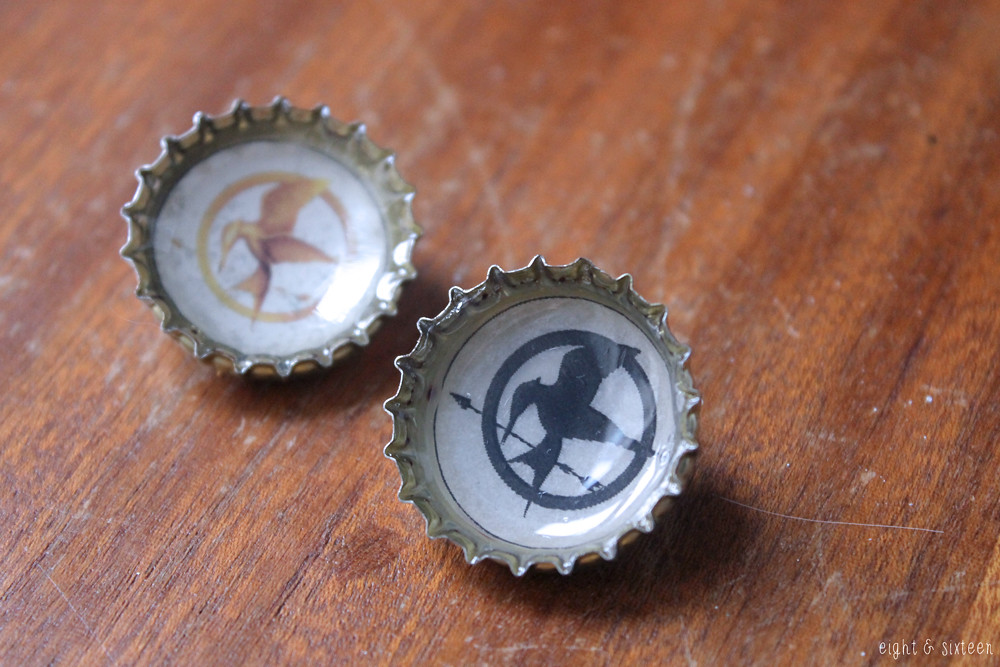
DIY Upcycled Bottle Cap Badge Inspired by The Hunger Games


For my DIY as part of our We love The Hunger Games series, I decided to recreate the infamous Mockingjay pin that Katniss wears and I thought this would be a great way to combine a popular upcycling technique to reuse bottle caps.

You could also try making a template with your favourite quote from the book, or photograph of your favourite character, but if you'd like to stick with the Mockingjay template, you can download the templates I used HERE. Just make sure that your scaling settings are correct when you print them :)

For this DIY you will need: a bottle cap, paper template and scissors, PVA glue, Mod Podge 3D Dimensional (or similar), superglue and a brooch pin.


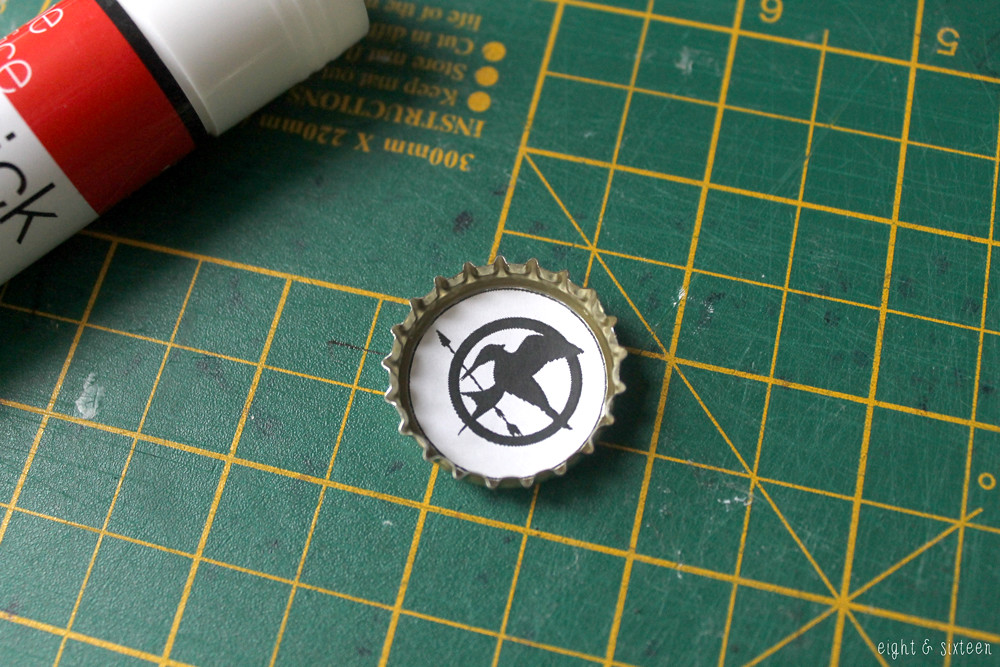
Print out your chosen template and cut to the size of your bottle cap.


Glue your template into the bottle cap, and then cover in two thin coats of PVA glue and leave to dry.


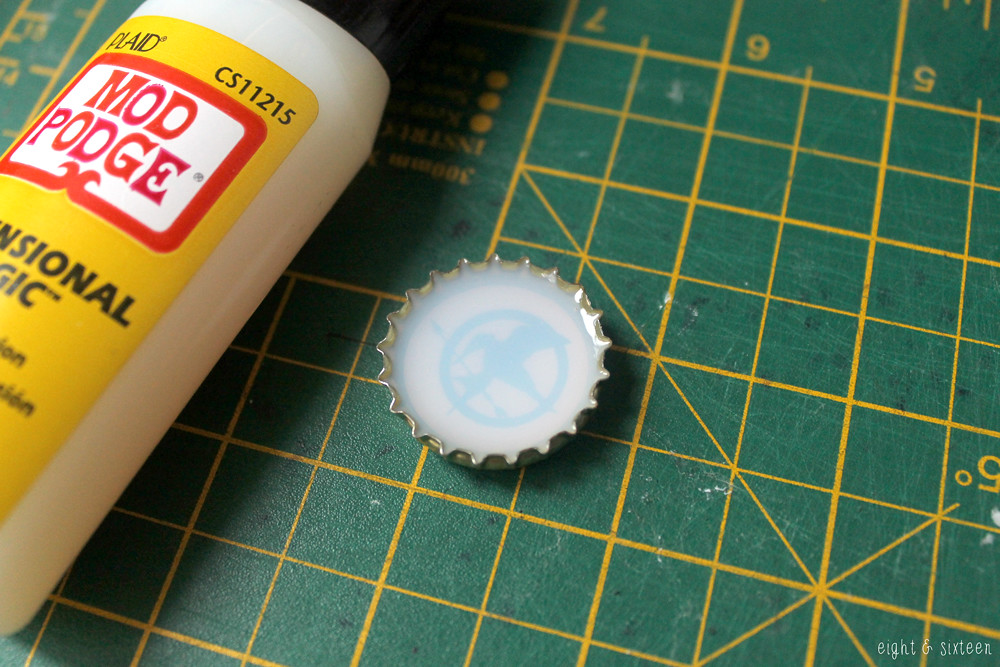
Mod Podge 3D Dimensional is a great glue for jewellery and craft making, and worked amazingly for these badges. Apply to your bottle cap, being careful not to overfill as it will spill over and get messy very quickly! Leave to set.


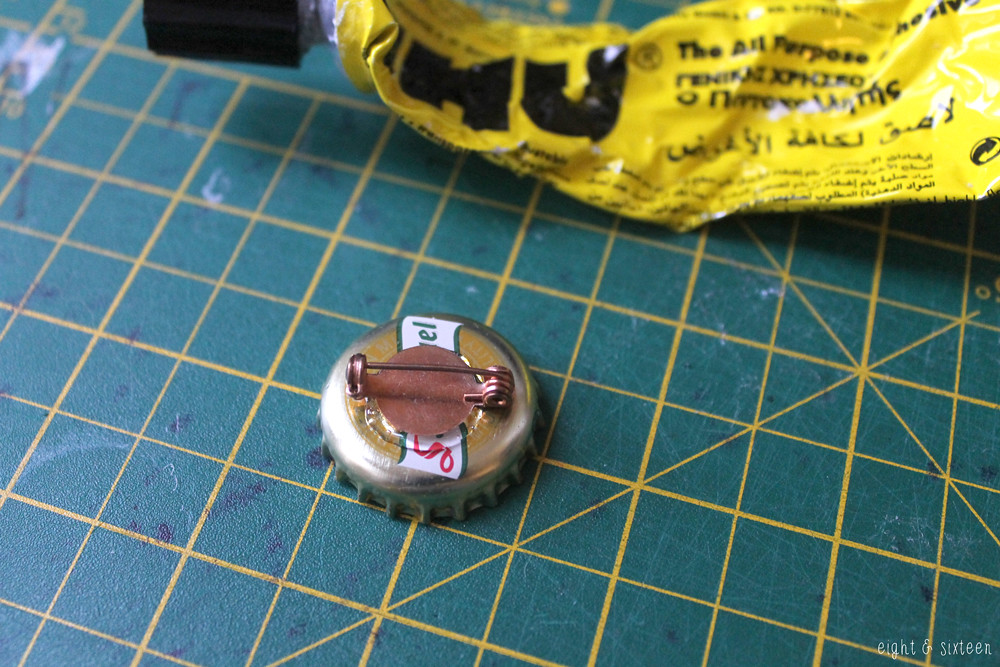
Use superglue to apply a brooch pin to the back of the bottle cap and leave to dry.

May the odds be ever in your favour...


We'd love to hear from you if you give this DIY a go - use the hash tag #eightandsixteen to share your photos with us!

Skye


Friday, 14 November 2014

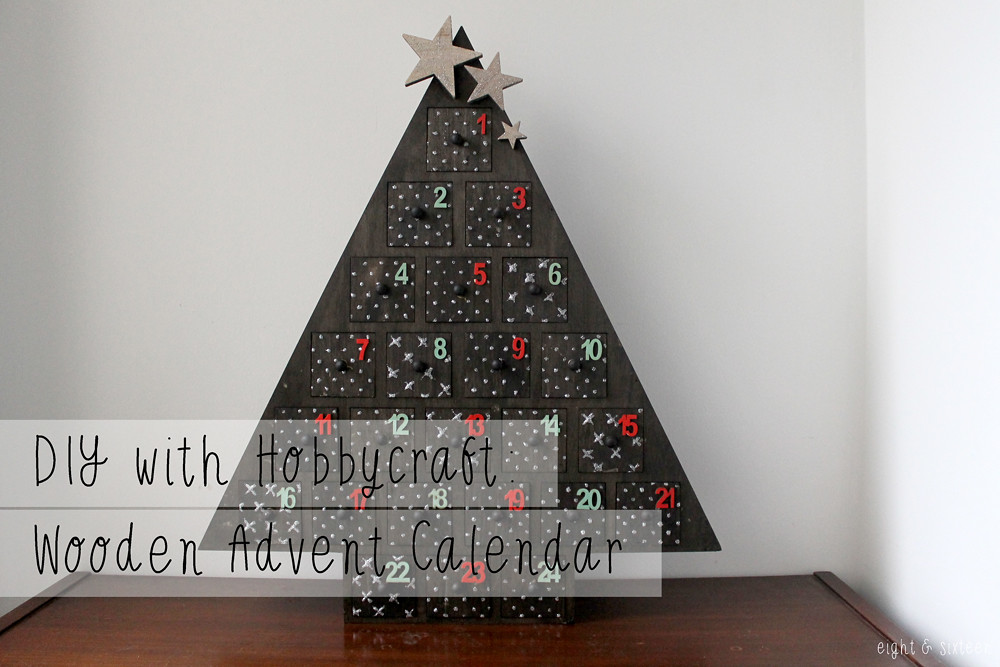
DIY with Hobbycraft: Wooden Advent Calendar

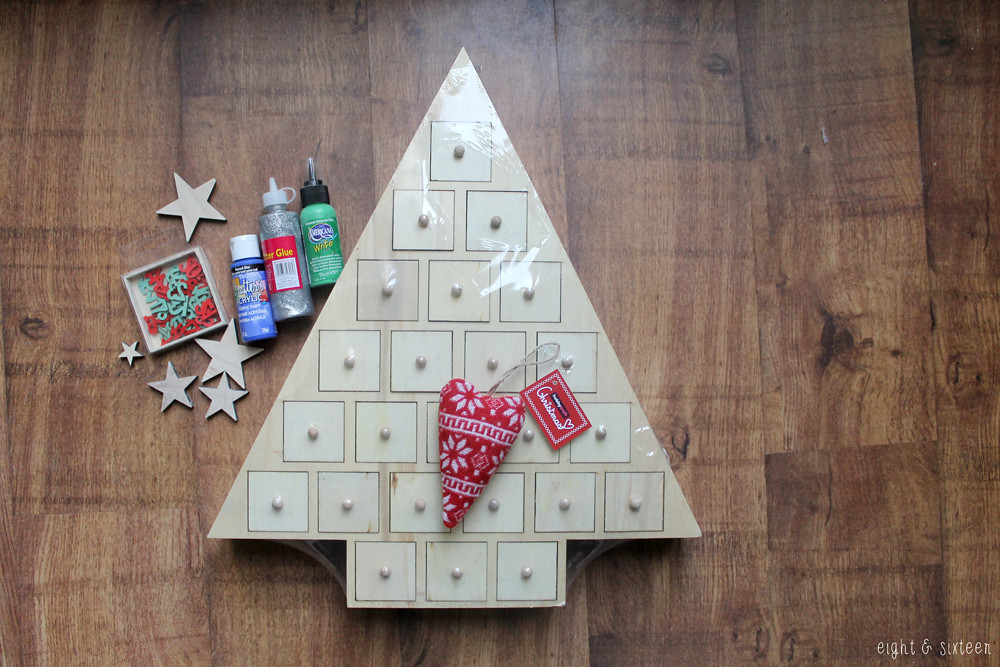
*Wooden advent calendar & craft supplies c/o Hobbycraft, available HERE.


It's time to spread a little festive cheer here at Eight & Sixteen! Today I'm sharing a DIY with you courtesy of Hobbycraft, who provided this wooden advent calendar along with some craft supplies with the challenge to make it my own.

I've always loved these advent calendars as I'm a sucker for traditions, and love the idea that these can be used for years as well as being personalised to suit you. Here's how I personalised mine...


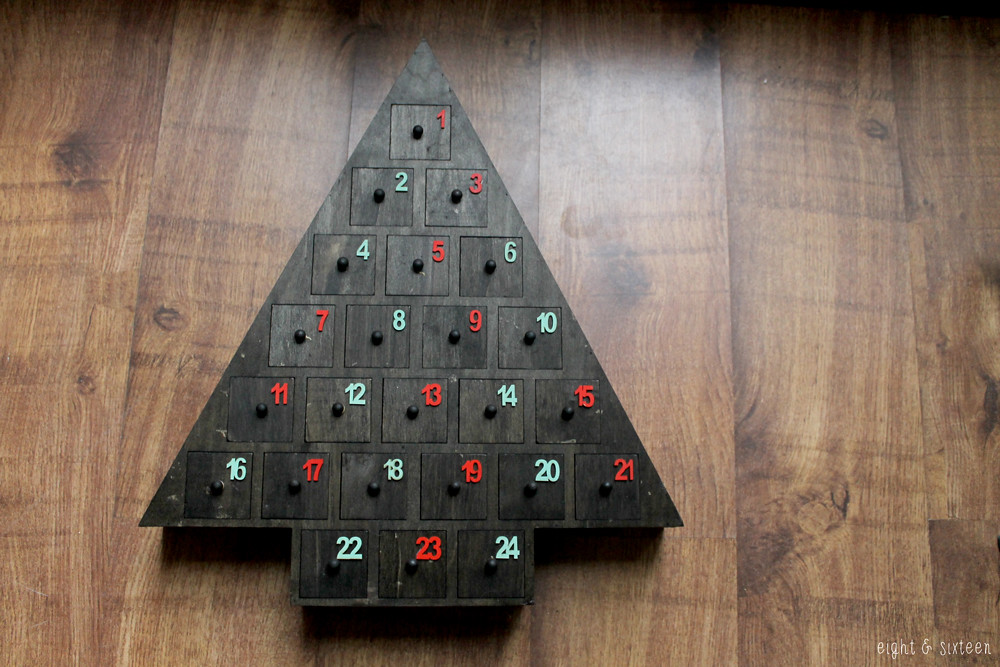
First I made the decision to stain my calendar with a dark oak wood stain. I wanted to keep the calendar looking quite natural so that I could add Christmassy details without overpowering it, and I think that the stain worked really well for this.
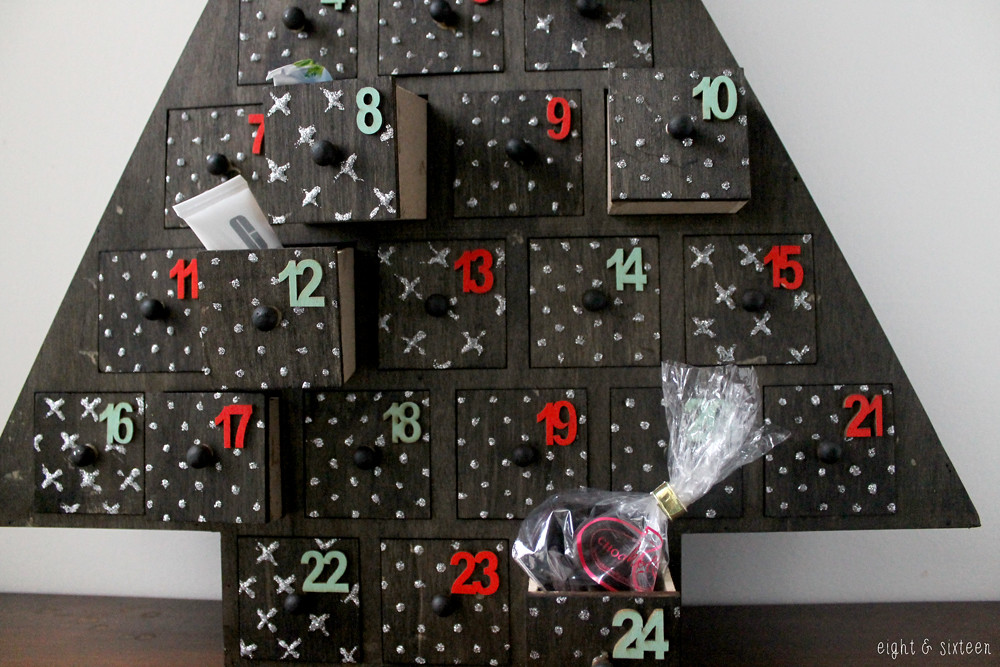
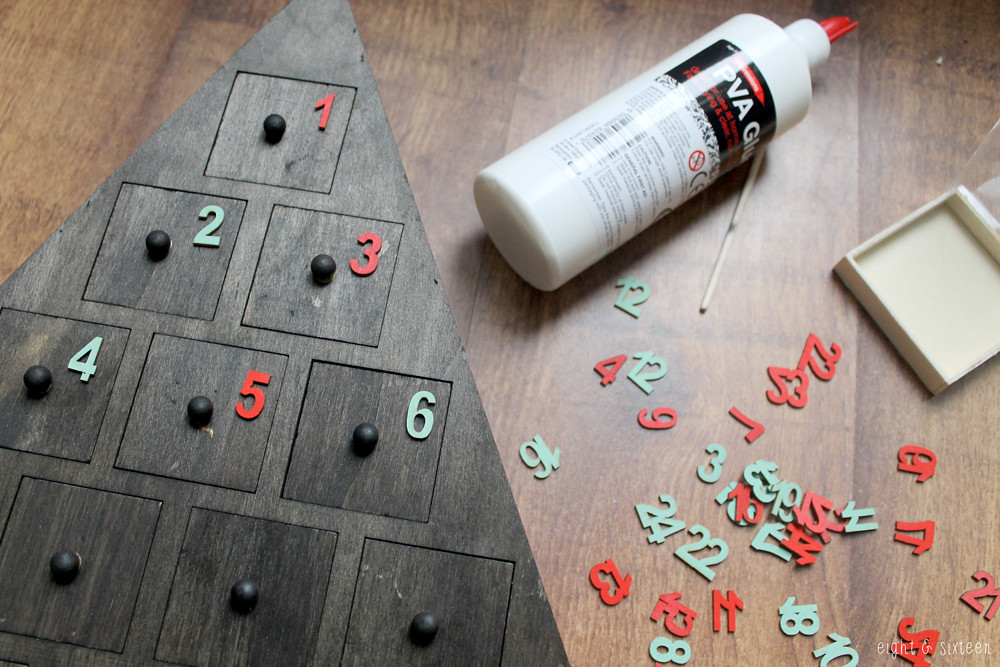
The next step was to number the drawers with the wooden numbers provided by Hobbycraft. I think it's great that they offer both red and green numbers in one set as I was able to mix and match them onto the drawers and I also love the pop of colour that they add.


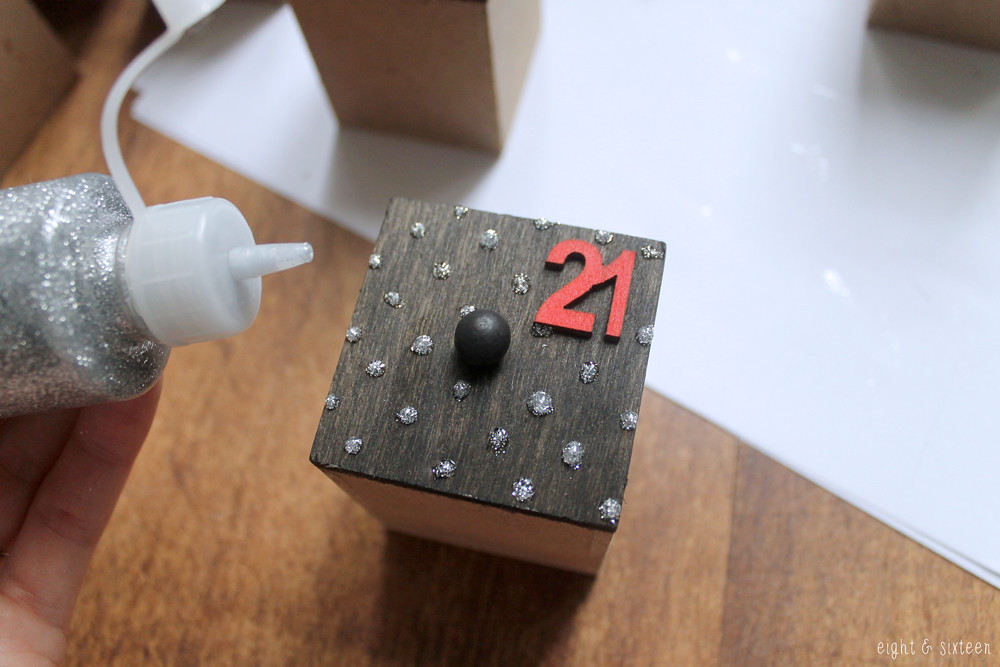
Once I'd finished glueing the numbers on, it was time to get glitter glue happy! I really struggled to pick one way to decorate the calendar at this point - there are so many ways that you could customise it - but in the end I decided that polka dots would be perfect. I also added in a few random drawers with little crosses on to mix it up.
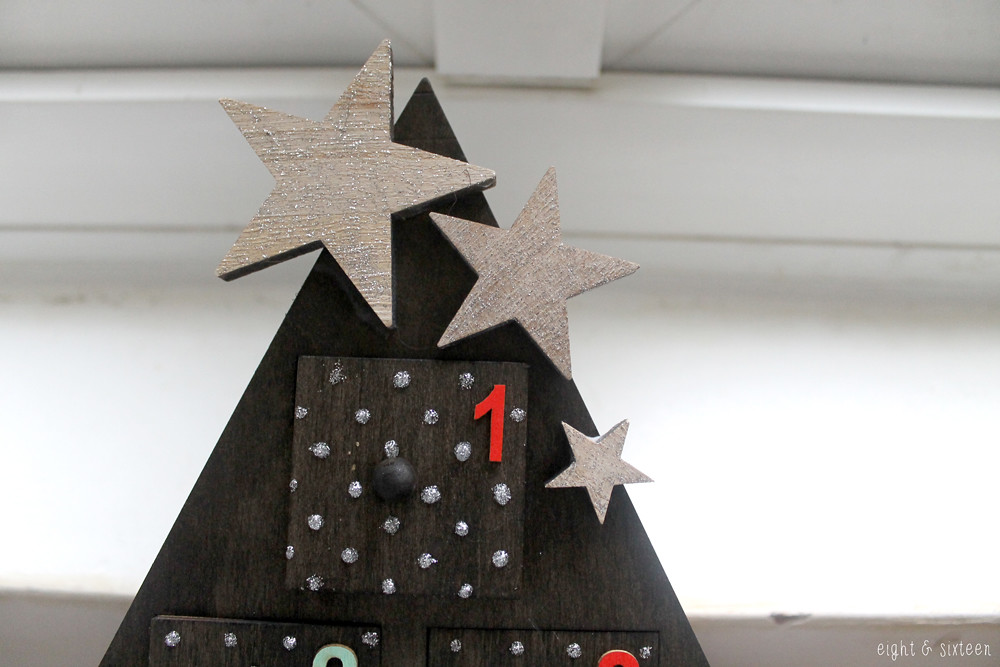
Finally, I gave the the wooden stars provided a coat of the glitter glue and glued them to the top of the calendar to finish it off.

Overall I'm really happy with my finished calendar and I particularly like the effect of the glitter glue when it catches the light :)
It's been a really fun DIY to take part in, and I've really enjoyed working with the Hobbycraft materials. If you're stuck for a Christmas present with a personal touch or are looking for a way to entertain little'uns for an afternoon, I think that a wooden advent calendar might be the way to go!


We'd love to hear from you if you've used this advent calendar from Hobbycraft or if you give this DIY a go - use the hash tag #eightandsixteen to share your photos with us!

Skye


Friday, 7 November 2014

Tea Towel Upcycle Challenge Results: Skye's DIY Lunch Bags


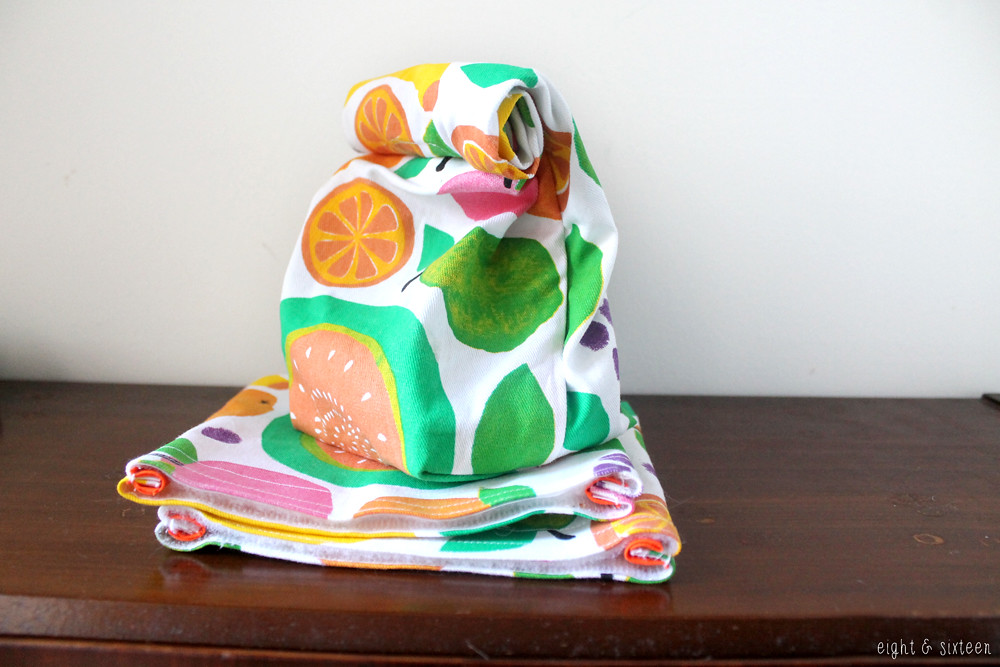
I've always loved the idea of reusable lunch bags, so for my tea towel upcycling challenge I decided to create a set perfect for lunch on the go!

To make your own you will need: a large tea towel, a sewing machine, 1 pair of sew in magnetic snaps, fabric pen, pins, scissors and a ruler.
Optional: bias binding to finish edges, and velcro for the extra sandwich bags.
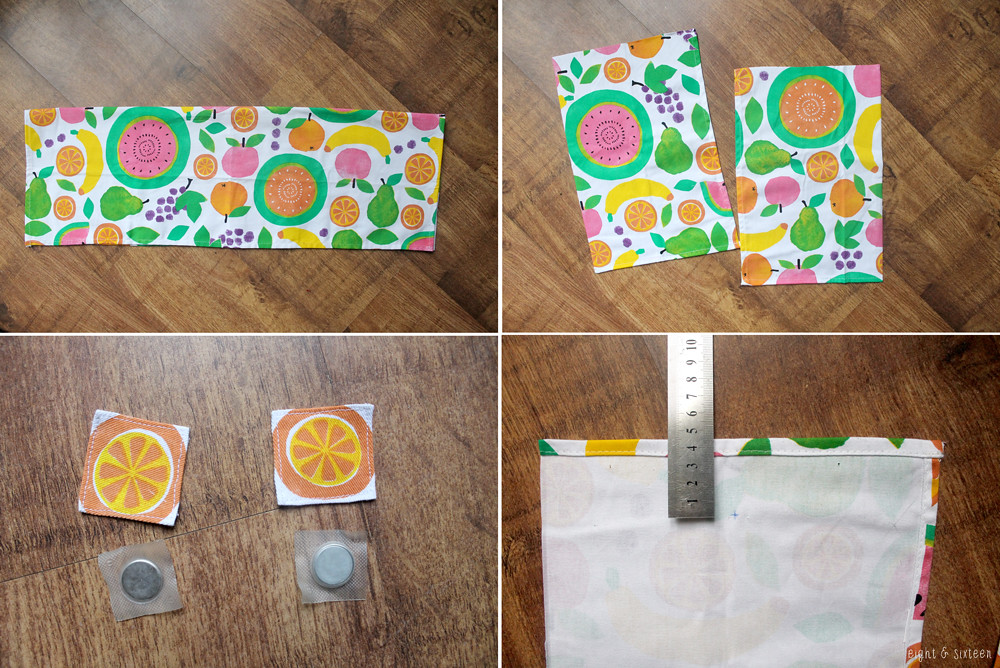

Fold your tea towel in half lengthways and cut in half, placing one half to the side for later. Cut your remaining piece in half again. The two short edges that are already hemmed will be the top of your lunch bag.
To create tabs to cover up the magnetic snaps on the inside of the bag, cut a strip from the piece you put to one side that is 5cm wide. Cut two 5cm x 5cm squares from this strip, and sew under the edges with a 2mm seam allowance.
Take your two main fabric pieces, and mark the placement for your magnetic snaps and tabs. I marked 4.5cm down on one, and 10.5cm on the other. These placements will determine the front and back of your lunch bag - the lower magnetic snap being the front. This is so that when the bag is finished you can roll the fabric down and the snaps will lock into place keeping the bag secure.


Place your magnetic snaps onto these markings on the wrong side of the main fabric, cover with the tabs and sew into place. Note: Make sure that your magnetic snaps are facing the right way so that they don't repel each other!
Place your main fabric pieces right sides together, pin and sew around the sides and bottom edge with a 1cm seam allowance.
Optional: You can choose to leave the edges raw, or use bias binding to cover them as shown.


Create a flat bottom for your bag by flattening one of the bottom corners so that the side seam meets the bottom seam and you create a triangle as shown.
Measure 5cm in from the point of this triangle, and draw a line that measures 9cm across. Stitch across this line and then cut off the excess with a 1cm seam allowance. Repeat with the other bottom corner.
Turn the lunch bag right side out, and iron. You can press the fabric into place to mimic brown paper bag style folds. Fill with snacks and thanks to the magnetic snaps, simply roll the top of your bag down to secure!
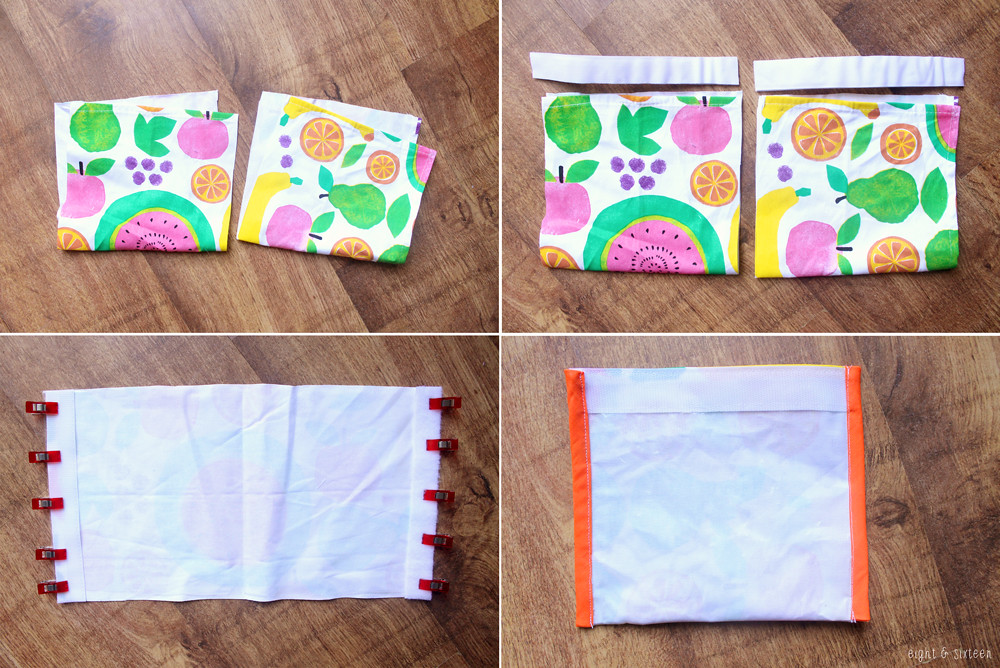

With the remaining tea towel fabric that you put to one side at the beginning, you can either create a second lunch bag as above, or create two small sandwich bags to create a set.
To make the sandwich bags, simply cut your remaining fabric into two pieces. Measure two lengths of sew in velcro the width of the short edges and pin to the fabric. Stitch into place.
Fold the fabric in half right sides together, sew the side seams with a 1cm seam allowance, and as before, binding the raw edges is optional.
Turn right sides out, and you have two reusable and sealable sandwich bags!


We'd love to hear from you if you give this DIY a go - use the hash tag #eightandsixteen to share your photos with us!

Skye



Friday, 31 October 2014

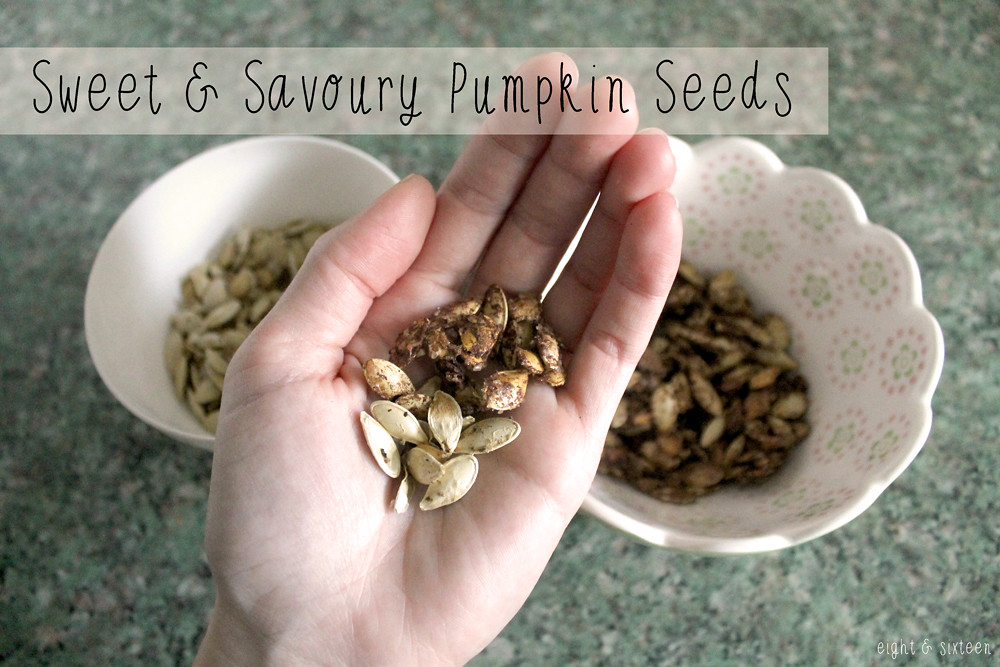
Sweet & Savoury Pumpkin Seeds


Happy Halloween everyone! We hope you have a perfectly spooky day whatever you are doing, and we hope you've enjoyed all of our Halloween posts here at Eight & Sixteen.

This recipe may not be spooky, but it is great for making the most out of your pumpkins! Toasted pumpkin seeds are a very yummy snack and can be flavoured in tons of ways.
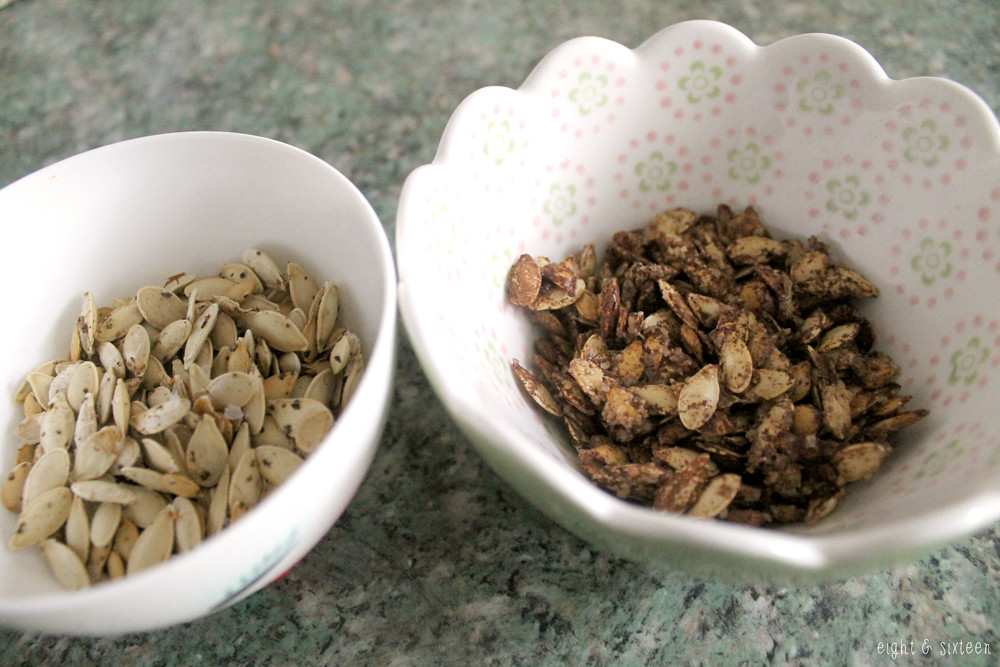
I've chosen a sweet and a savoury combination for my pumpkin seeds, and they were both super tasty.

Ingredients based on seeds from one large pumpkin:
Sweet:
• 1 teaspoon cinnamon
• 1 teaspoon light brown sugar
Savoury:
• 1 teaspoon salt
• 1 teaspoon pepper


First you'll need to scoop out the seeds from your pumpkin and rinse them thoroughly. Be sure to remove as much pumpkin flesh as possible. Place your seeds onto a tea towel and rub to dry them off.


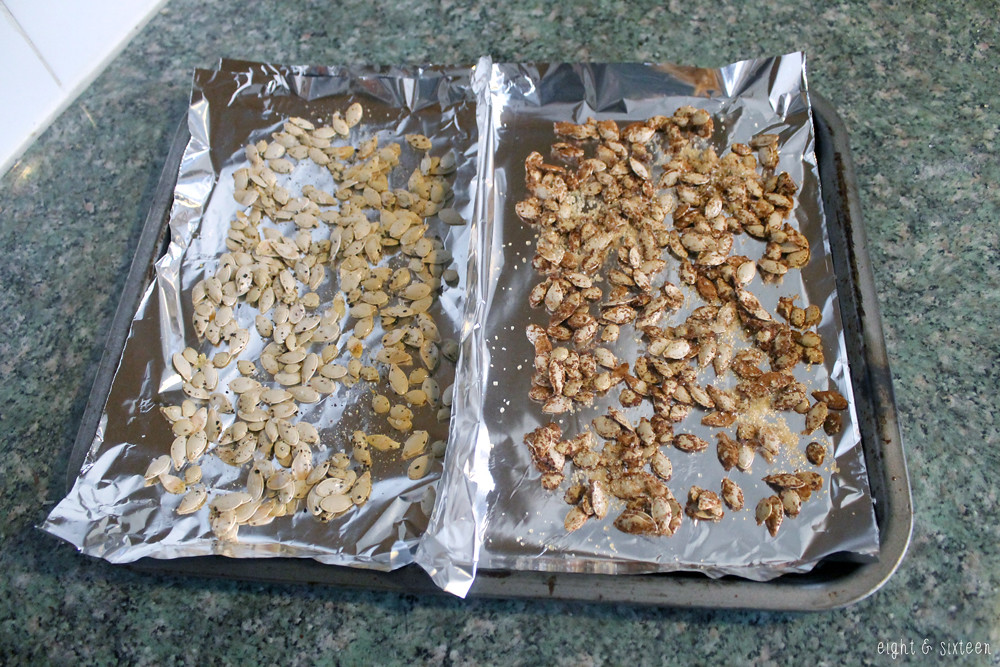
Place your seeds in a bowl, add your flavourings and mix well. Spread out evenly on a baking tray and bake for around 45 minutes at 150°c. Check every 15 minutes and mix the seeds around on the tray; if you don't do this (especially with the sweet variety) you'll find that the seeds stick to the tray.

Once baked, leave to cool and sprinkle a little more of your chosen flavourings on top if needed. Enjoy!


We'd love to hear from you if you give this recipe a go - use the hash tag #eightandsixteen to share your photos with us!

Skye



Related Posts Plugin for WordPress, Blogger...