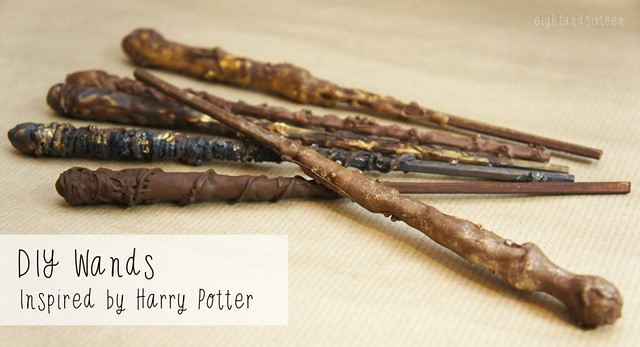
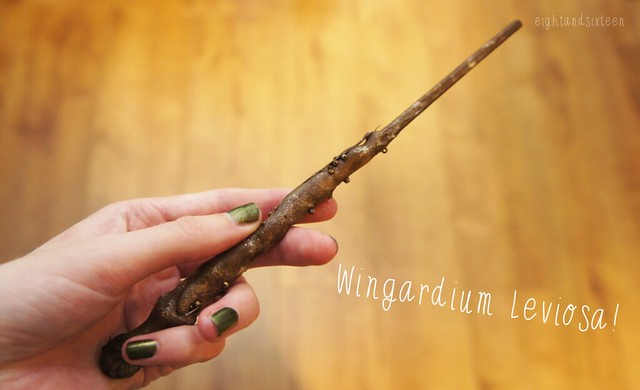
Today's DIY project is one I've been meaning to try out and share for at least two years after seeing this awesome version from majann on deviantART. Although I eventually got around to trying out the idea back at the beginning of the year I never actually shared the results on my blog. So, when Eight & Sixteen came along and we decided to do a We Love... feature on Harry Potter I knew it would be the perfect time to share this DIY!
To make your own wand you will need: a wooden chopstick, a glue gun, small beads, acrylic paints, a paintbrush & sponge brush
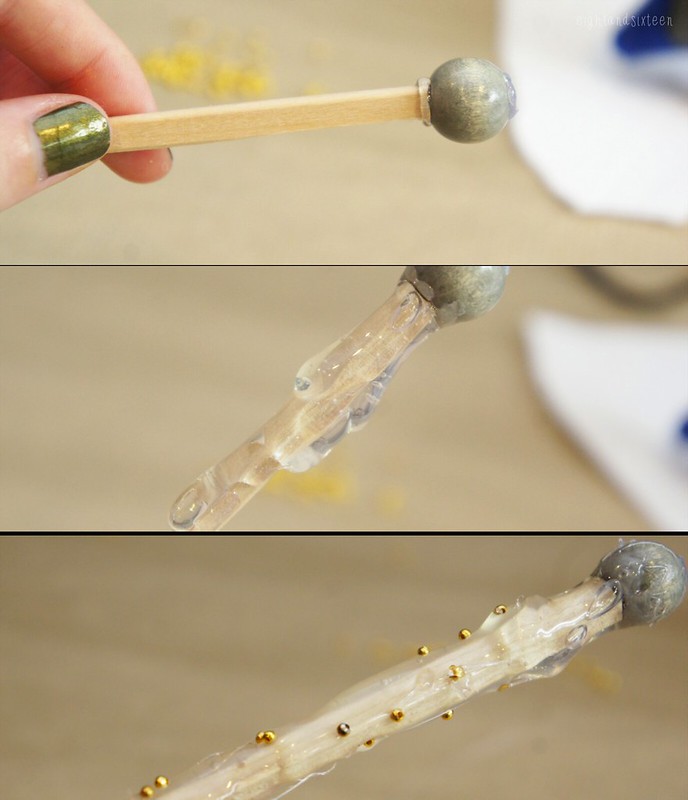
1. Grab a chopstick, your glue gun and a large wooden bead. Attach the bead onto the end of the chopstick using hot glue - this will act as the base of the handle of your wand - and leave to dry before moving on to step two
2. Carefully apply layers of hot glue onto the chopstick, building up a textured surface and handle shape. Whilst the glue is still warm you can manipulate it by twisting and tilting the chopstick to get the glue to drip where you want it to sit
3. Whilst the glue is still warm you can also add on small beads or twine to create a more textured surface. As the glue will still be hot to the touch remember to be careful not to burn your fingers! I used some craft tweezers to gently push the beads into the glue to keep them in place
4. Once you're happy with the shape and texture of the wand set aside to dry fully. You can stand the wand in a glass jar or something similar whilst it is drying to avoid it sticking to your work surface
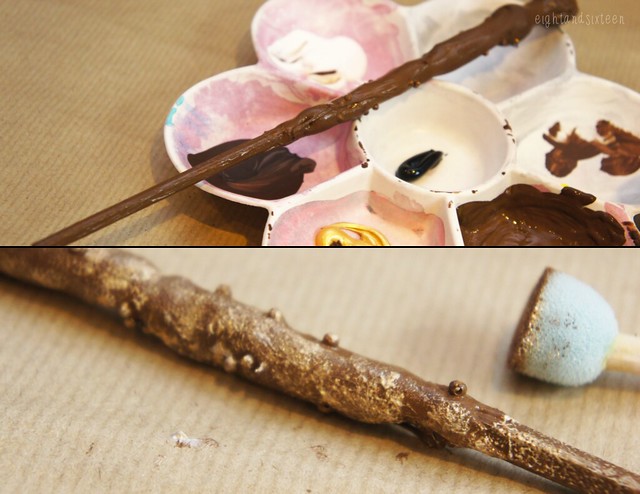
5. Now it's time to get painting! Use acrylic paint to add on a base coat or two in a traditional colour such as brown and set aside to dry
6. If you want to create a more textured looking surface on your wand and give it a 3D effect use a sponge brush to lightly dab on a second colour - metallics work really well for this! Again, set aside to dry fully and you're done!
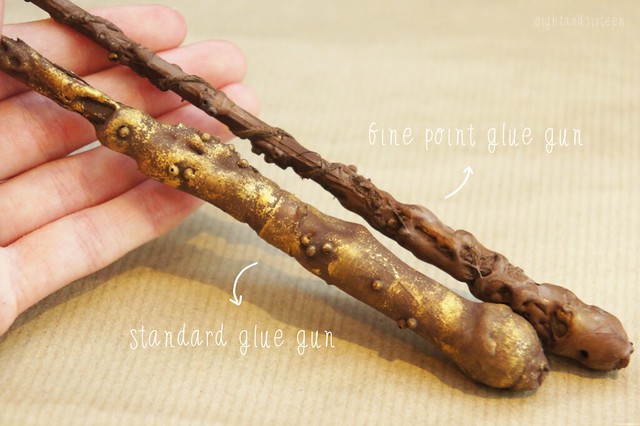
As you can see from the photographs I experimented with both different textures and colours. I also tried out two different types of glue gun - one standard and one with a fine point nozzle (which I often use for more intricate jewellery crafts). As you can see the standard glue gun works best for this project as it makes it much easier to build up a proper handle shape on the chopstick.
The great thing about this project is that no two wands will turn out the same - just experiment, be creative and see how it turns out!
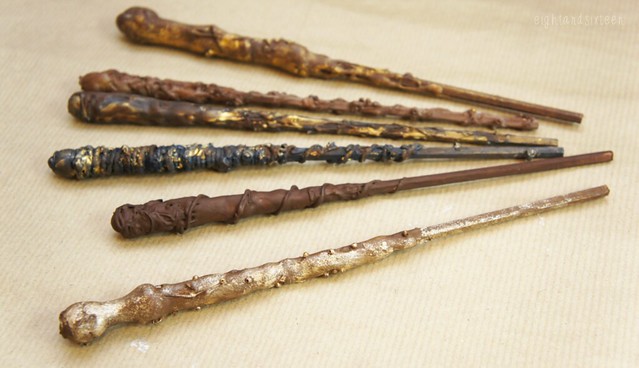
We'd love to hear from you if you try out this DIY project - use the hashtag #eightandsixteen to share your photos with us!
Erin






ohmygosh. I need to make one...or two...or ten....like right now.
ReplyDeleteAmazing!!! Love these so much!
Thanks Anjali! Please send us a photo if you make some :)
DeleteThat is really cool! Thank you for the instructions and tips.
ReplyDeleteGlad you like them Melody! :)
DeleteThis looks brilliant! Thanks for the tutorial!
ReplyDeleteLauren | OhHay Blogs!
xxx
Thank you Lauren! :)
Delete