tabs

es about us es contact es archive es challenge es we love 9 es recipes es pintests es links
Showing posts with label paper crafts. Show all posts

Wednesday, 19 November 2014

DIY Upcycled Paper Garlands (featuring The Hunger Games)

upcycled paper garlands hunger games

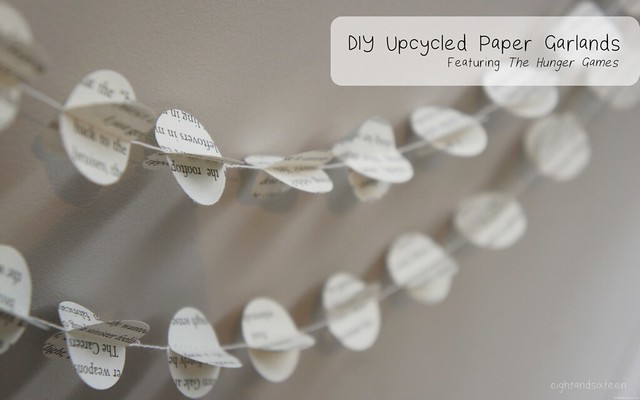
To celebrate the release of Mockingjay - Part 1, which Skye and I are both very excited to see, our latest We Love... topic is of course The Hunger Games!

Today's very simple DIY project shows you how to make your own upcycled paper garland and in honour of Mockingjay's release I have used the better looking pages from an old battered copy of The Hunger Games for this tutorial. I know everyone won't have a falling apart copy to hand so as an alternative you can pick up bags of book confetti on Etsy, use photocopies or type out some text including key words, places and your favourite character's names.

If you're as excited about the film's release as we are why not whip yourself up one of these cute garlands to celebrate? If not, they can easily be customised - try using old magazines, newspapers, maps or pretty scrapbooking papers to make this project perfectly fit the decor of any occasion or party!

You will need: old book pages, a 1" circle punch, a sewing machine & thread

diy garland 3 diy garland 4

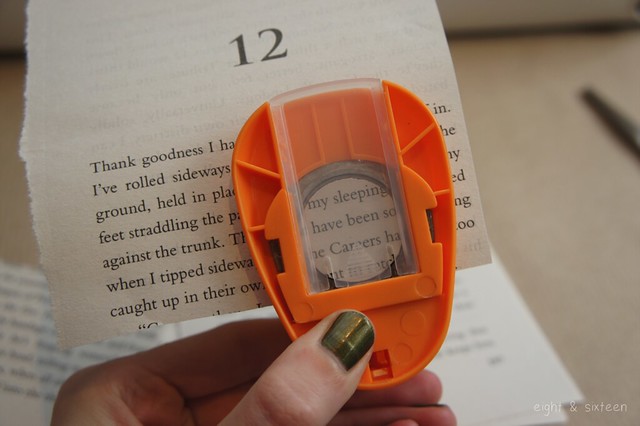
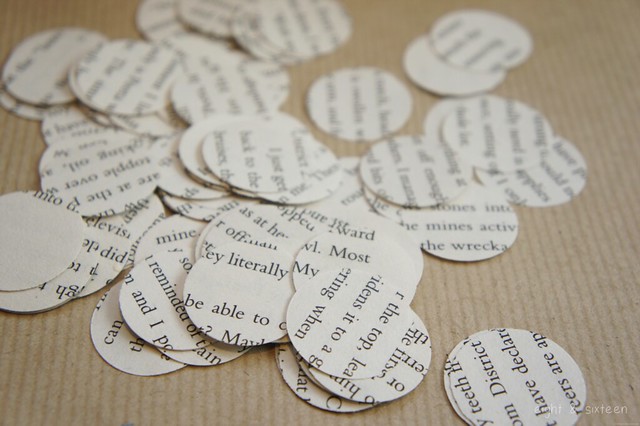
1. Start by punching out your circles until you have enough for the length garland you would like to make - I used approx 60 circles for a 50" garland

You can either punch the circles out at random (this way you can punch through multiple pages at once) or choose to frame specific words or character names within your circles

diy garland 5
diy garland 6

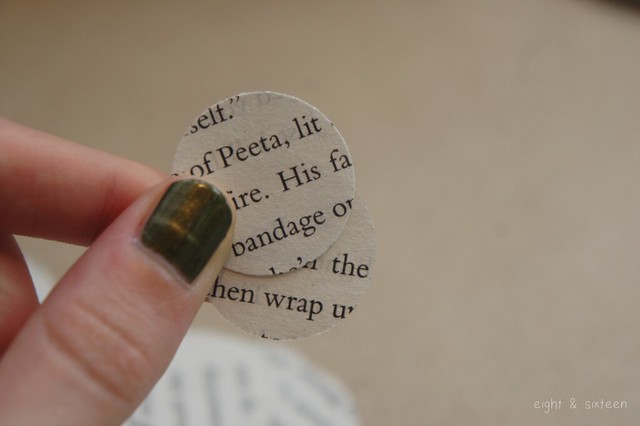
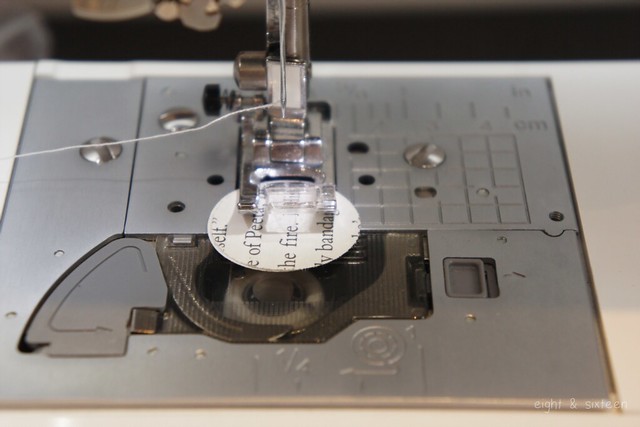
2. Pair up two of your circles and place under your sewing machine foot. Make sure that you leave a tail of thread (approx. 3") before sewing to use for hanging the garland

If you want the text to sit the correct way on your garland make sure you have the circles facing the right direction before you start to sew. Alternatively for a more random arrangement just pick up the circles as they are!

diy garland 7

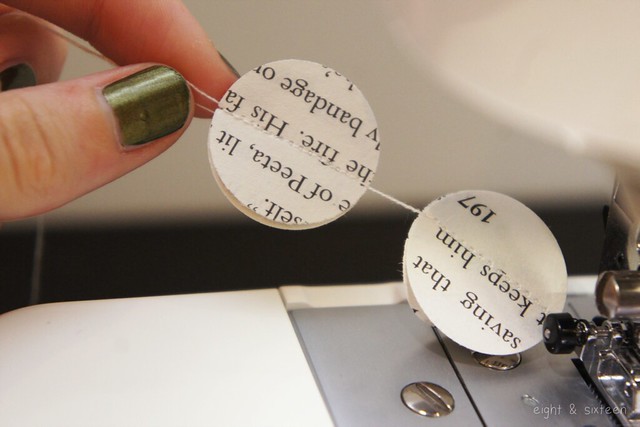
3. Sew through the centre of the circles, then continue on sewing for another 0.5-1" before placing your next set of circles under the sewing machine foot. This way you will get the gap between your circles on the finished garland

4. Continue adding on more circles in this way until you reach the desired garland length and your garland is done!

diy garland 8

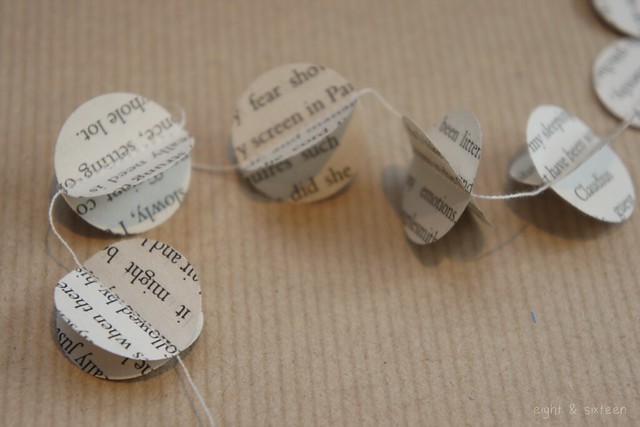
You can leave your garland as is or create more of a 3D effect by carefully pressing out the circles to look like the ones shown above!

May the odds be ever in your favour...

We'd love to hear from you if you try out this DIY project - use the hashtag #eightandsixteen to share your photos with us!

Erin

Wednesday, 17 September 2014

DIY Hanging Flower Garland


I first saw hanging flower garlands on a trip to London with Erin, where Liberty had adorned their ceilings with clusters of garlands - they were gorgeous!
I've created a much smaller scale garland that instead of hanging from the ceiling can simply be hung up on the wall. I think these could also be great decorations for parties or weddings - I went for an autumnal theme with my colour choices but you could go mad with rainbow colours or try a whole garland in one solid colour.


First you need to create your template. Take an A4 sheet of paper and fold it in half and then half again. You can vary the shape of the petals, but I found it easiest to stick to two leaf shapes across each fold in the paper.
Trace your template onto your chosen paper, and cut out. Create a small cross in the middle of your flower by folding it in half one way, and then again the other way.
Using a pair of scissors, curl your petals upwards as you would curl ribbon. You can touch these curls up once the flower is made up, but it is much easier to do the initial curling at this point.
Cut into each petal as shown, but be careful not to cut all the way to the centre of the flower.


Place some glue on the top of one half of a petal, and then bring the petal next to it over and stick it on top.
Repeat this process with the next petal until all 4 are glued together.
You then need to repeat this to join the petals into a flower; work in the same way but try to create a smooth cone shape.

Repeat as many times as needed to create enough flowers for your garland. Then using invisible thread, string your flowers together securing a knot underneath each one so that they hold their place. I used a piece of bamboo as a frame, but you could omit this and just pin your garlands to the wall.


We'd love to hear from you if you give this DIY a go - use the hash tag #eightandsixteen to share your photos with us!

Skye


Related Posts Plugin for WordPress, Blogger...