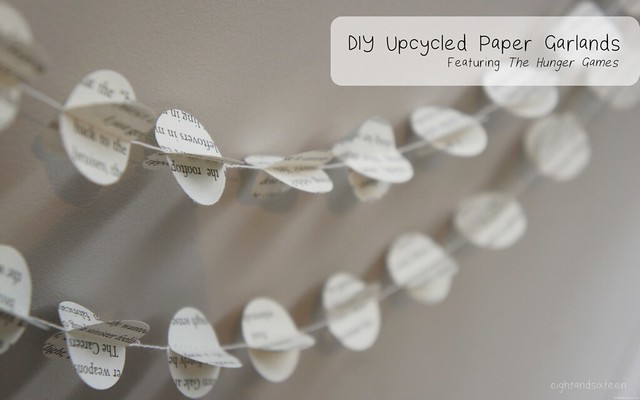
To celebrate the release of Mockingjay - Part 1, which Skye and I are both very excited to see, our latest We Love... topic is of course The Hunger Games!
Today's very simple DIY project shows you how to make your own upcycled paper garland and in honour of Mockingjay's release I have used the better looking pages from an old battered copy of The Hunger Games for this tutorial. I know everyone won't have a falling apart copy to hand so as an alternative you can pick up bags of book confetti on Etsy, use photocopies or type out some text including key words, places and your favourite character's names.
If you're as excited about the film's release as we are why not whip yourself up one of these cute garlands to celebrate? If not, they can easily be customised - try using old magazines, newspapers, maps or pretty scrapbooking papers to make this project perfectly fit the decor of any occasion or party!
You will need: old book pages, a 1" circle punch, a sewing machine & thread
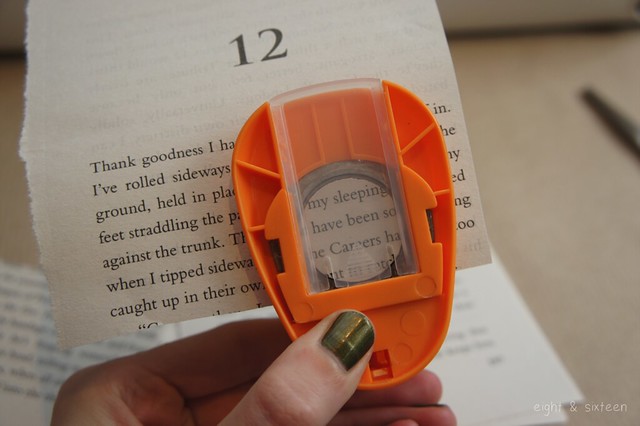
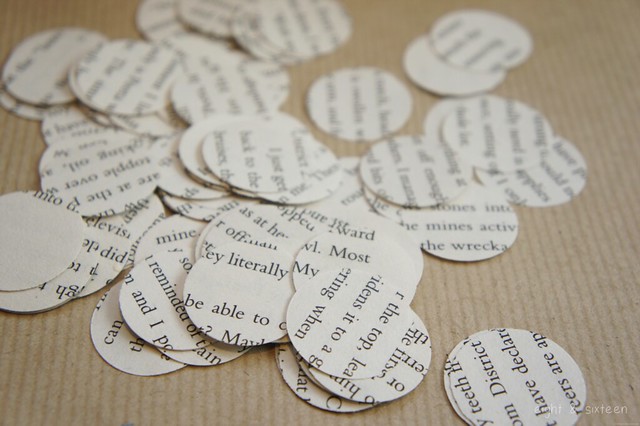
1. Start by punching out your circles until you have enough for the length garland you would like to make - I used approx 60 circles for a 50" garland
You can either punch the circles out at random (this way you can punch through multiple pages at once) or choose to frame specific words or character names within your circles
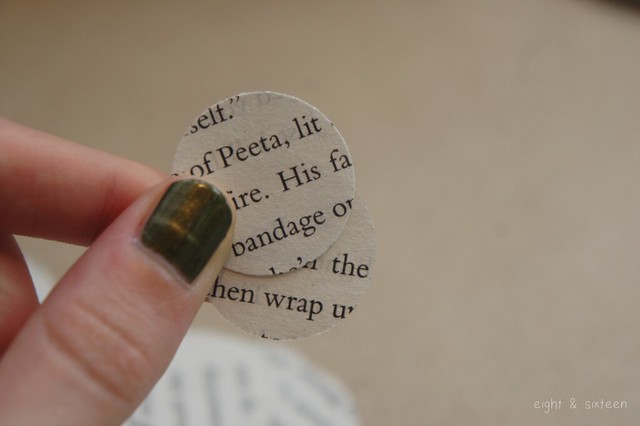
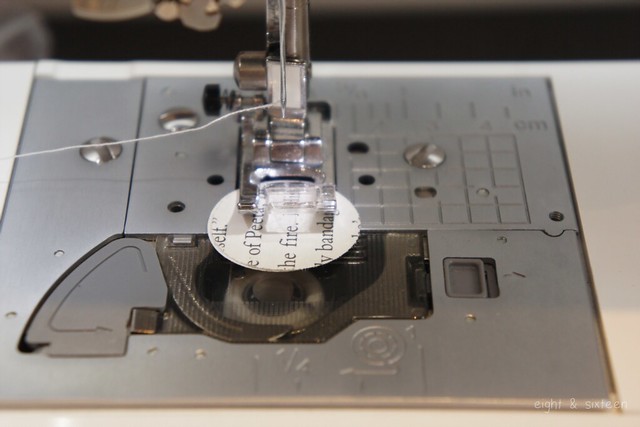
2. Pair up two of your circles and place under your sewing machine foot. Make sure that you leave a tail of thread (approx. 3") before sewing to use for hanging the garland
If you want the text to sit the correct way on your garland make sure you have the circles facing the right direction before you start to sew. Alternatively for a more random arrangement just pick up the circles as they are!
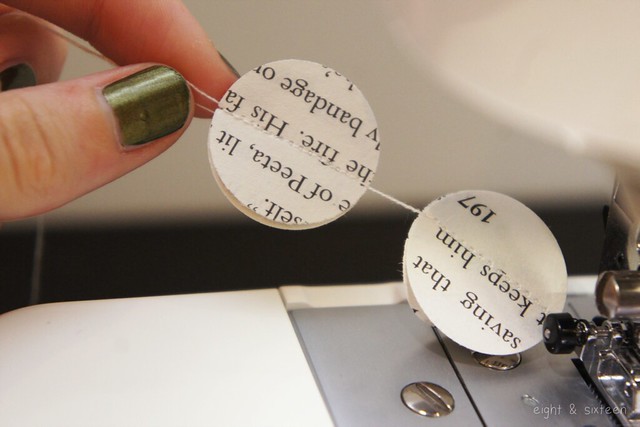
3. Sew through the centre of the circles, then continue on sewing for another 0.5-1" before placing your next set of circles under the sewing machine foot. This way you will get the gap between your circles on the finished garland
4. Continue adding on more circles in this way until you reach the desired garland length and your garland is done!
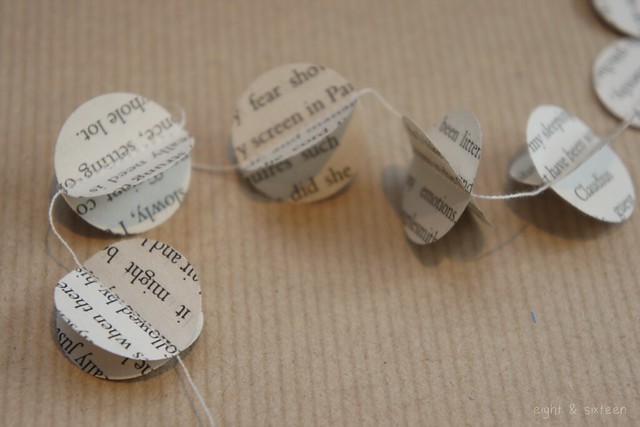
You can leave your garland as is or create more of a 3D effect by carefully pressing out the circles to look like the ones shown above!
May the odds be ever in your favour...
We'd love to hear from you if you try out this DIY project - use the hashtag #eightandsixteen to share your photos with us!
Erin









Whilst I love the look, not sure I could handle doing that to a book!
ReplyDeleteHayley
Water Painted Dreams xo
Photocopied pages would work well as an alternative :)
Delete