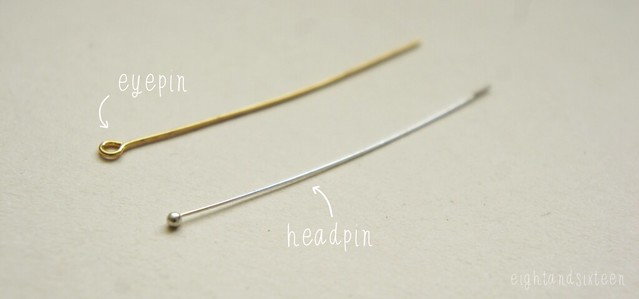
There are lots of different styles of earrings you can create using jewellery wire but for today’s tutorial I’m going to show how you can quickly and easily use eyepins or headpins, which you may already have in your craft stash. All you’ll need to do this is a pair of pliers and a Sharpie!

Headpins are lengths of wire with some sort of stopper at the end, usually a flat circle or ball of metal. They are often used to turn beads into charms as the small base keeps the bead in place however if you choose headpins with a ball on the end they can also look decorative and are perfect for creating earring wires.
Eyepins are similar pieces of wire but instead of a ball or circle of metal they have a loop at one end. The loop allows you to turn beads into connectors but again, they are also perfect for earring wires.

Bail making pliers are perfect for getting the curve into the wire however you don't need to splash out on them as a Sharpie will work just fine!
To turn the eyepins or headpins into earring wires simply wrap around a Sharpie to create a curve, trim off any excess wire then use pliers to slightly bend out the end.
If you're using a headpin finish off by using pliers to bend the end of the wire upwards creating a loop to hang your beads or charms.
For an example of a pair of earrings made using this technique check out my American Eagle Inspired DIY!
We'd love to hear from you if you try out this project - use the hashtag #eightandsixteen to share your photos with us & we may feature them in a future post!
Erin


No comments:
Post a Comment