





tabs

es about us es contact es archive es challenge es we love 9 es recipes es pintests es links
Showing posts with label 101. Show all posts

Friday, 8 August 2014

Jewellery 101 - Turn Eyepins & Headpins Into Earring Wires

jewellery 101 turn eyepins headpins into earring wires

There are lots of different styles of earrings you can create using jewellery wire but for today’s tutorial I’m going to show how you can quickly and easily use eyepins or headpins, which you may already have in your craft stash. All you’ll need to do this is a pair of pliers and a Sharpie!
jewellery 101 turn eyepins headpins into earring wires

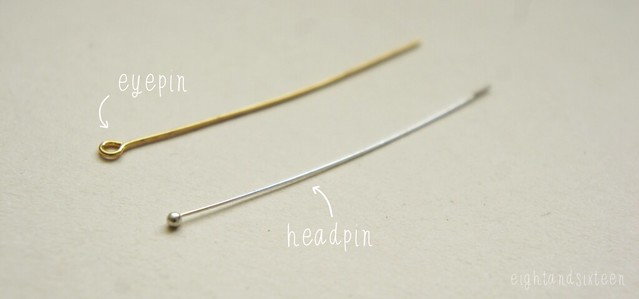
Headpins are lengths of wire with some sort of stopper at the end, usually a flat circle or ball of metal. They are often used to turn beads into charms as the small base keeps the bead in place however if you choose headpins with a ball on the end they can also look decorative and are perfect for creating earring wires.

Eyepins are similar pieces of wire but instead of a ball or circle of metal they have a loop at one end. The loop allows you to turn beads into connectors but again, they are also perfect for earring wires.

jewellery 101 turn eyepins headpins into earring wires

Bail making pliers are perfect for getting the curve into the wire however you don't need to splash out on them as a Sharpie will work just fine!

To turn the eyepins or headpins into earring wires simply wrap around a Sharpie to create a curve, trim off any excess wire then use pliers to slightly bend out the end.

If you're using a headpin finish off by using pliers to bend the end of the wire upwards creating a loop to hang your beads or charms.

For an example of a pair of earrings made using this technique check out my American Eagle Inspired DIY!

We'd love to hear from you if you try out this project - use the hashtag #eightandsixteen to share your photos with us & we may feature them in a future post!

Erin


Monday, 7 July 2014

Jewellery 101 - DIY Wire Bead Cage

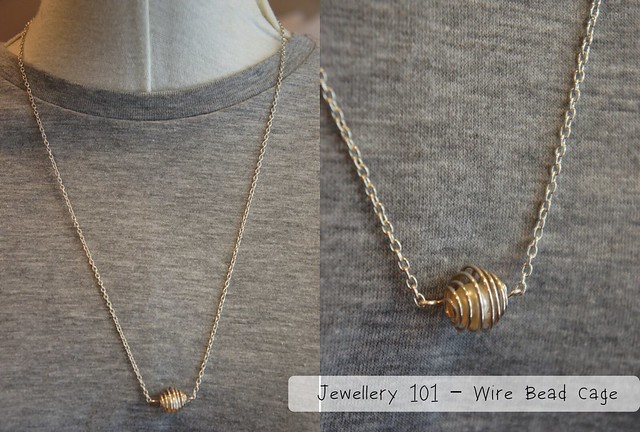
bead cage 0

Today's post is the first in what we hope will be an ongoing series here at Eight & Sixteen - 101s!  In these posts we plan to share basic techniques, tips and tricks for crafts such as jewellery making and sewing.

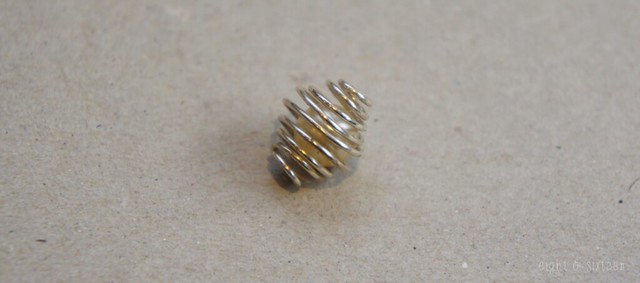
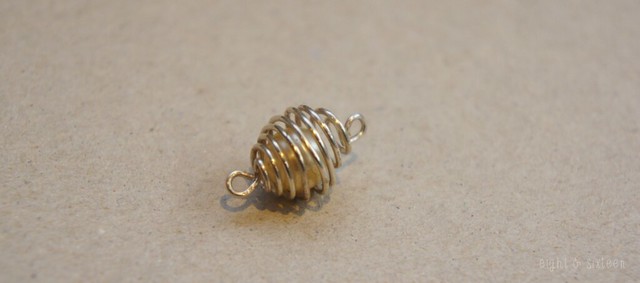
For today's instalment of Jewellery 101 I'm going to show you how to make your own wire bead cage. You only need a few basic supplies and they are perfect for pendants and earrings! Here's how it's done...

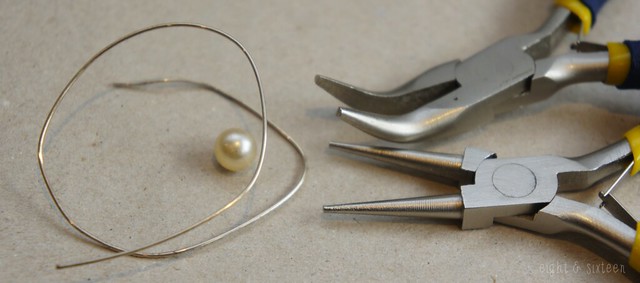
bead cage 1

You will need: jewellery wire, a bead, round & flat nosed pliers, wire cutters

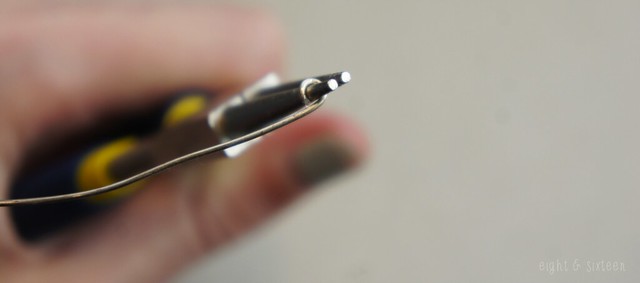
bead cage 2

1. Cut a length of wire and create a loop at one end using your round-nosed pliers

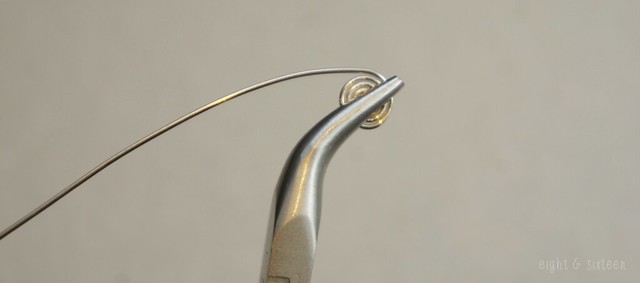
bead cage 3

2. Clamp the loop and hold it in place using your flat-nosed pliers. Begin wrapping the length of wire around the central loop creating a spiral

bead cage 4

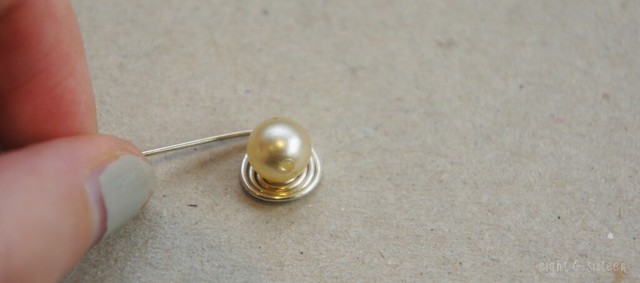
3. Once you have wrapped a small spiral, or have reached halfway along the length of wire, place your bead onto the spiral to make sure it is the correct size

bead cage 5

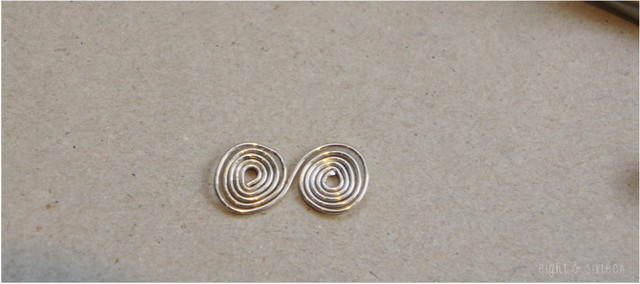
4. Take the other end of the wire and repeat the steps but this time roll the spiral in the opposite direction so that when you reach the centre you are left with an S shape

bead cage 6

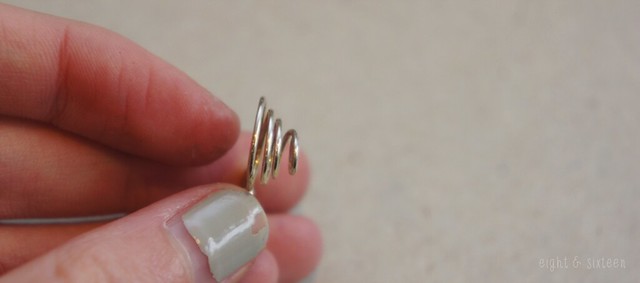
5. Slowly start to pull apart the rings of one spiral to create the spherical shape. You can do this using pliers if you want to, however you may find it easier to use your fingers

bead cage 7

6. Place your bead inside the wire every now and again as you adjust the spiral to check how the shape is looking. Once you are happy with the first half, repeat the process for the second spiral

bead cage 8

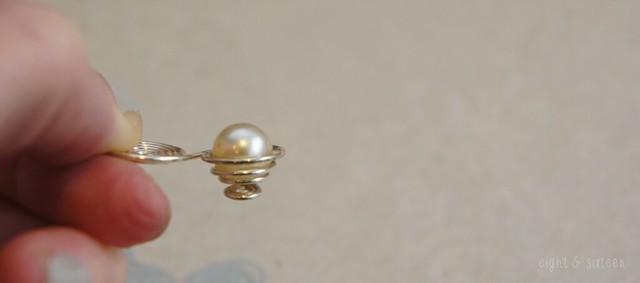
7. Bring the two spirals together around the bead to create the cage. Continue adjusting the wire until you are happy with the final shape

bead cage 9

8. Finally, take your pliers and bend out the loop/s you created at the beginning of each spiral (depending on how you want to hang the cage/what it will be used for) - these will act as the hanging loops to attach the wire cage onto your necklace or earring hook


We'd love to hear from you if you try out this DIY project - use the hashtag #eightandsixteen to share your photos with us!

Erin

Related Posts Plugin for WordPress, Blogger...