


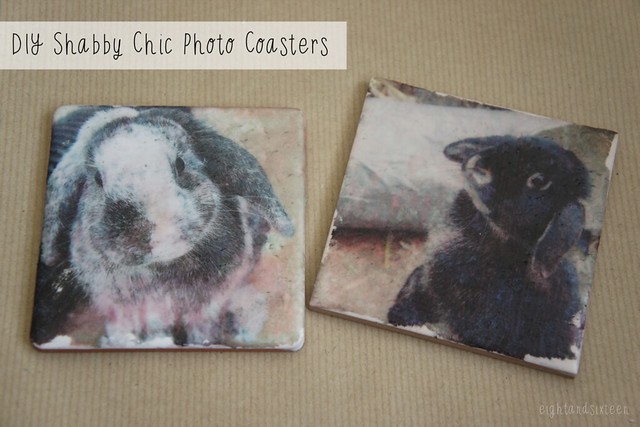
This week's project is these cute personalised photo coasters - a great one to bookmark for when you need a handmade gift idea!
For my coasters I've used photographs of my two bunnies (because they're just adorable!) but you can use whatever images you like. If you don't have any of your own photographs to use you can always pick up some pretty scrapbooking papers or upcycle an old picture book. Just remember if your images have any text it will come out backwards unless you flip it before printing!
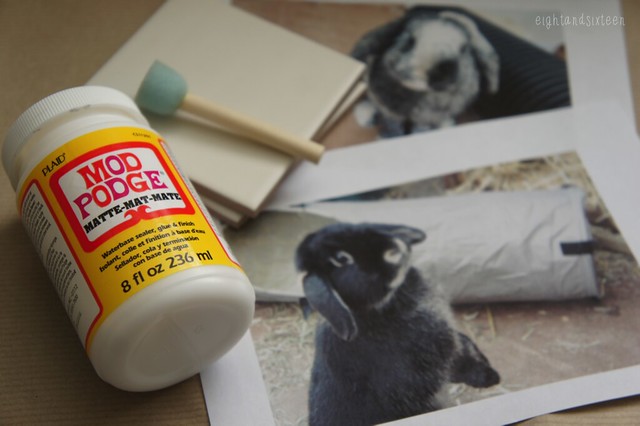
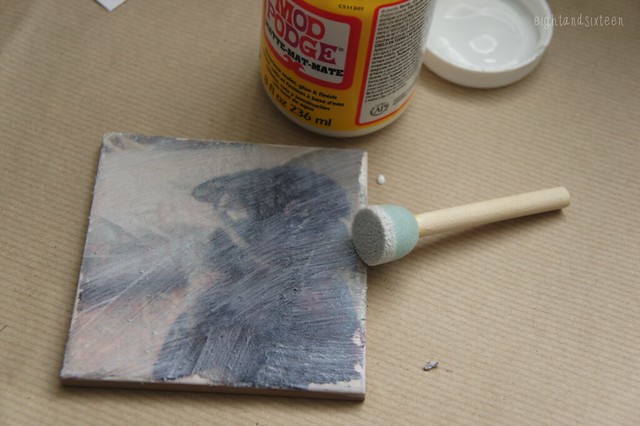
You will need: ceramic tiles, matte Mod Podge, a sponge brush, photographs printed onto matte paper* (or an alternative), a cloth & water
*I have heard that laser print outs are best for this project however I used an inkjet printer for my images
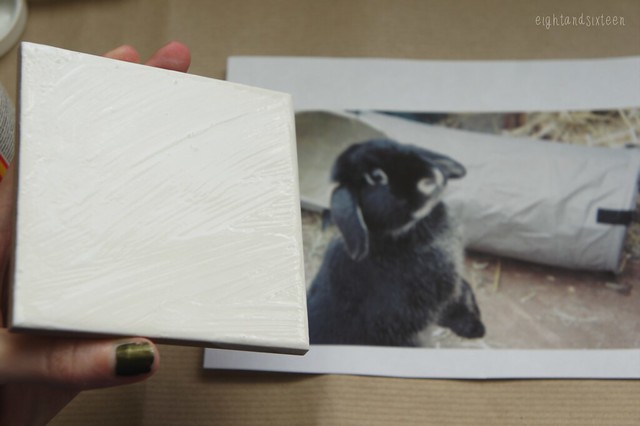
1. Use your sponge brush to coat the top of your tile with a reasonable layer of Mod Podge and place your image face down onto it
2. Carefully smooth out any bubbles that form in the paper then leave to dry, preferably overnight
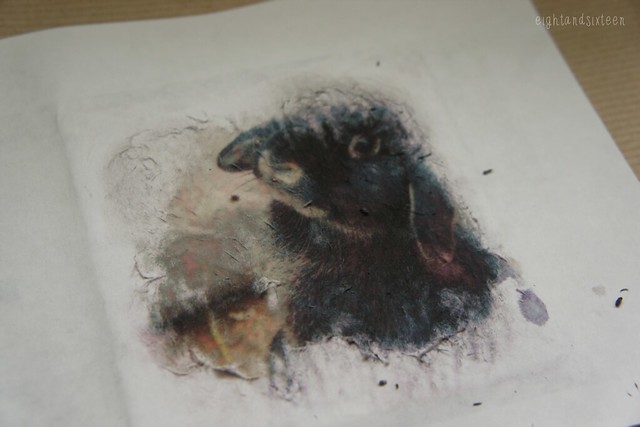
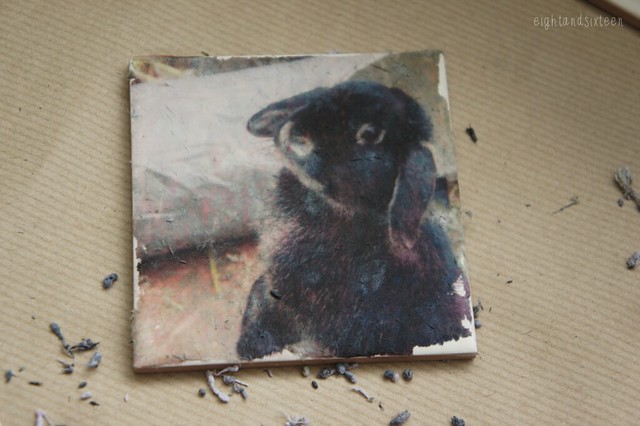
3. Take a damp cloth and rub carefully in circular motions on the surface of the paper and you should start to see your image appearing. Make sure you press lightly and work slowly from the centre outwards to avoid peeling too much of the image off!
Take your time with this step! If you do happen to mess it up and take a whole chunk out of your image you can always wash or peel off the paper whilst it's still wet and try again
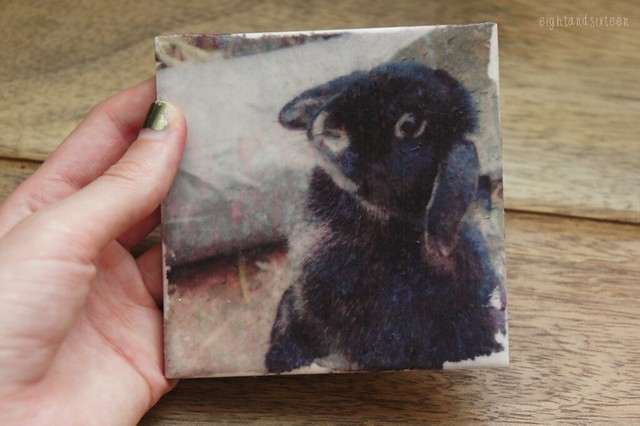
4. Continue until the whole image is visible and gently brush away any loose pieces of paper left on the surface
5. To finish off add a few layers of Mod Podge to seal the photo onto the tile, letting each layer dry completely before applying the next. If you want to you can also add a layer of clear acrylic sealant or dishwasher safe Mod Podge to give a more long lasting finish to the surface and prevent your glasses from sticking to it. After the final coat of Mod Podge or sealant set aside to dry and you're done!
We'd love to hear from you if you try out this DIY project - use the hashtag #eightandsixteen to share your photos with us!
Erin
These look awesome!
ReplyDeleteHayley
Water Painted Dreams xo
Thanks so much Hayley! :)
Deleteeeek that is sooo cool! I'm getting a new rescue bun wife for my Rupert soon, so excited..think i shall do this project once we ave got her:) where do you get your modge podge from? xx
ReplyDeleteThanks Debbie. A new bunny, how exciting! :)
DeleteI buy Mod Podge from Hobbycraft, the small tubs are about £4 x