










I've always loved the idea of reusable lunch bags, so for my tea towel upcycling challenge I decided to create a set perfect for lunch on the go!
To make your own you will need: a large tea towel, a sewing machine, 1 pair of sew in magnetic snaps, fabric pen, pins, scissors and a ruler.
Optional: bias binding to finish edges, and velcro for the extra sandwich bags.
To make your own you will need: a large tea towel, a sewing machine, 1 pair of sew in magnetic snaps, fabric pen, pins, scissors and a ruler.
Optional: bias binding to finish edges, and velcro for the extra sandwich bags.
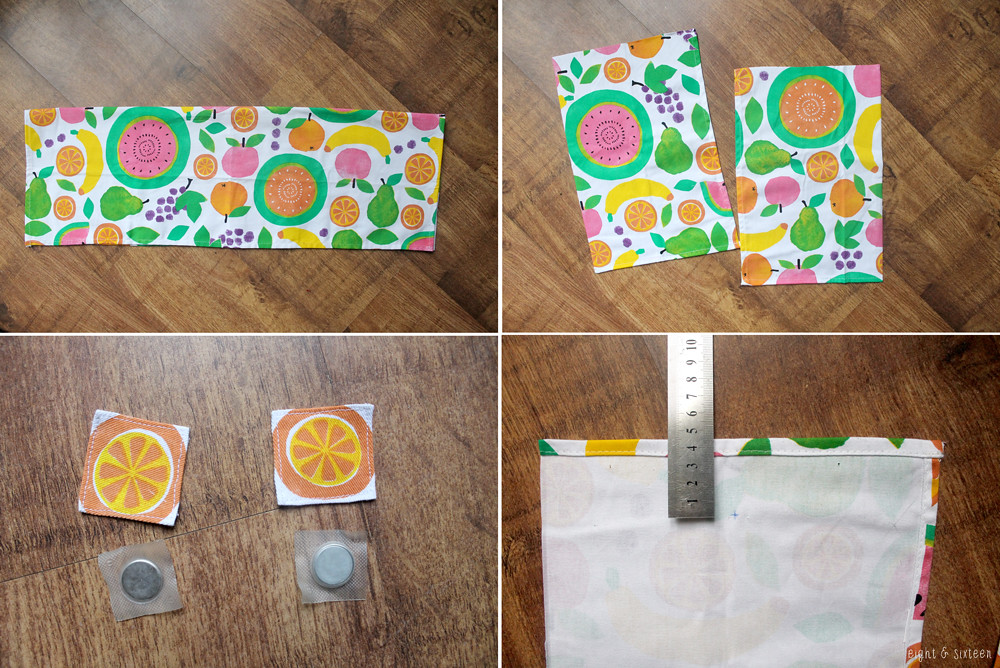
Fold your tea towel in half lengthways and cut in half, placing one half to the side for later. Cut your remaining piece in half again. The two short edges that are already hemmed will be the top of your lunch bag.
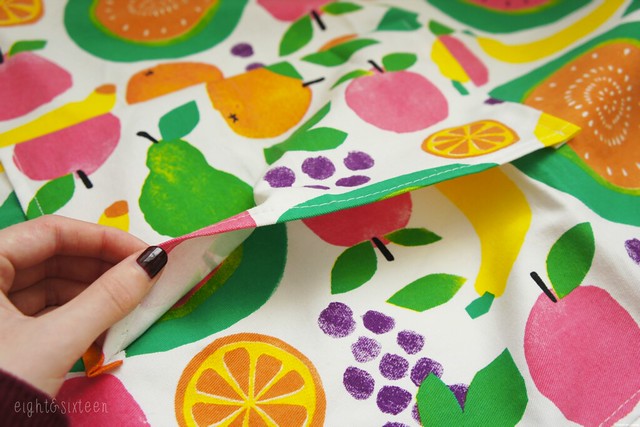
To create tabs to cover up the magnetic snaps on the inside of the bag, cut a strip from the piece you put to one side that is 5cm wide. Cut two 5cm x 5cm squares from this strip, and sew under the edges with a 2mm seam allowance.
Take your two main fabric pieces, and mark the placement for your magnetic snaps and tabs. I marked 4.5cm down on one, and 10.5cm on the other. These placements will determine the front and back of your lunch bag - the lower magnetic snap being the front. This is so that when the bag is finished you can roll the fabric down and the snaps will lock into place keeping the bag secure.
To create tabs to cover up the magnetic snaps on the inside of the bag, cut a strip from the piece you put to one side that is 5cm wide. Cut two 5cm x 5cm squares from this strip, and sew under the edges with a 2mm seam allowance.
Take your two main fabric pieces, and mark the placement for your magnetic snaps and tabs. I marked 4.5cm down on one, and 10.5cm on the other. These placements will determine the front and back of your lunch bag - the lower magnetic snap being the front. This is so that when the bag is finished you can roll the fabric down and the snaps will lock into place keeping the bag secure.

Place your magnetic snaps onto these markings on the wrong side of the main fabric, cover with the tabs and sew into place. Note: Make sure that your magnetic snaps are facing the right way so that they don't repel each other!
Place your main fabric pieces right sides together, pin and sew around the sides and bottom edge with a 1cm seam allowance.
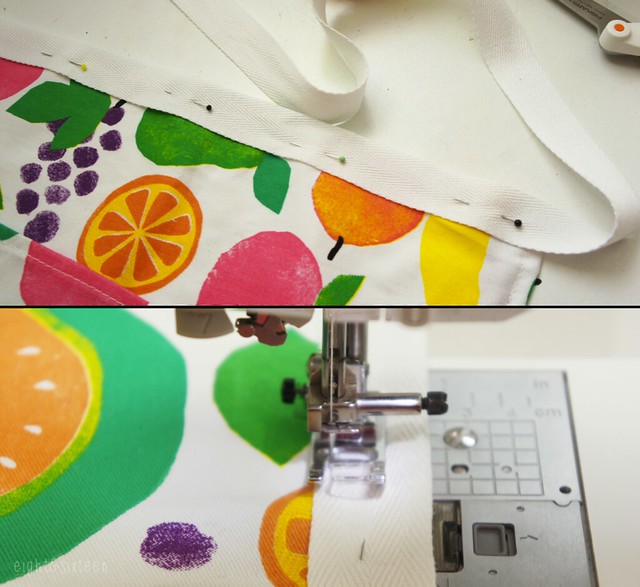
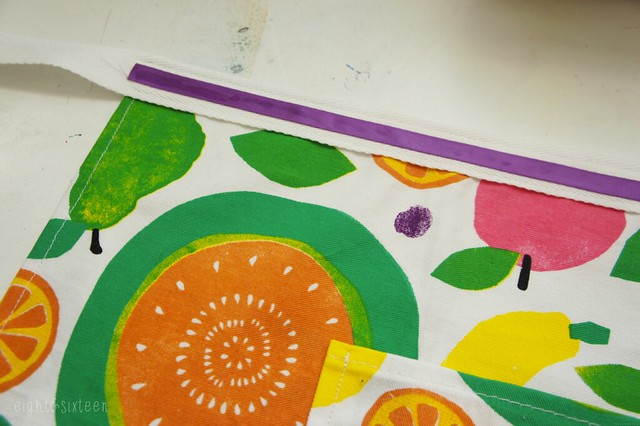
Optional: You can choose to leave the edges raw, or use bias binding to cover them as shown.
Place your main fabric pieces right sides together, pin and sew around the sides and bottom edge with a 1cm seam allowance.
Optional: You can choose to leave the edges raw, or use bias binding to cover them as shown.

Create a flat bottom for your bag by flattening one of the bottom corners so that the side seam meets the bottom seam and you create a triangle as shown.
Measure 5cm in from the point of this triangle, and draw a line that measures 9cm across. Stitch across this line and then cut off the excess with a 1cm seam allowance. Repeat with the other bottom corner.
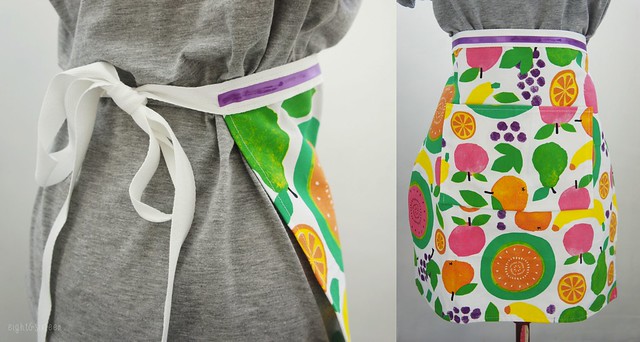
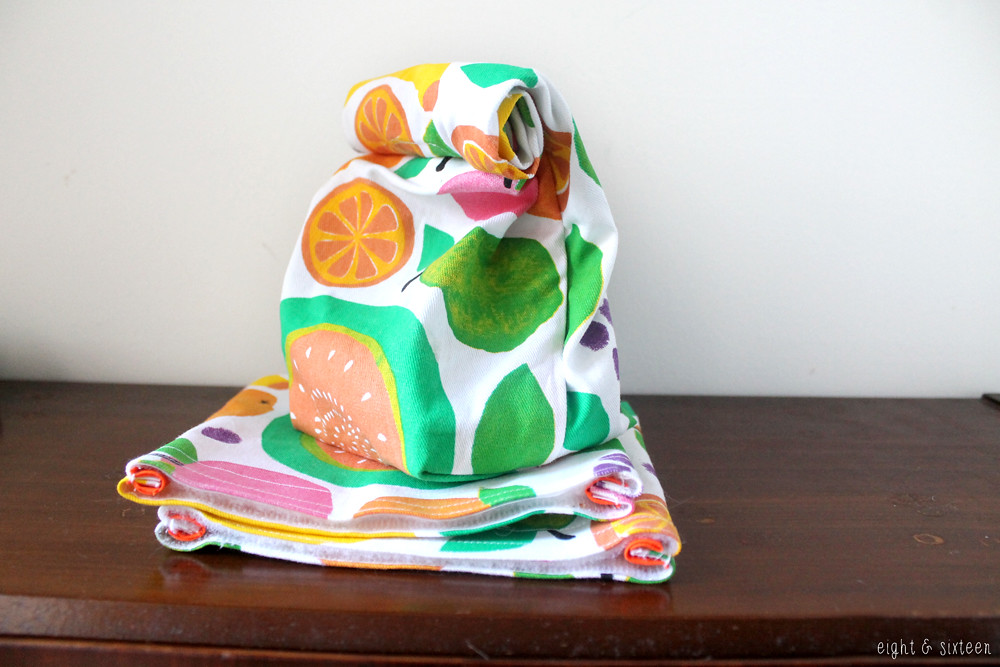
Turn the lunch bag right side out, and iron. You can press the fabric into place to mimic brown paper bag style folds. Fill with snacks and thanks to the magnetic snaps, simply roll the top of your bag down to secure!
Measure 5cm in from the point of this triangle, and draw a line that measures 9cm across. Stitch across this line and then cut off the excess with a 1cm seam allowance. Repeat with the other bottom corner.
Turn the lunch bag right side out, and iron. You can press the fabric into place to mimic brown paper bag style folds. Fill with snacks and thanks to the magnetic snaps, simply roll the top of your bag down to secure!
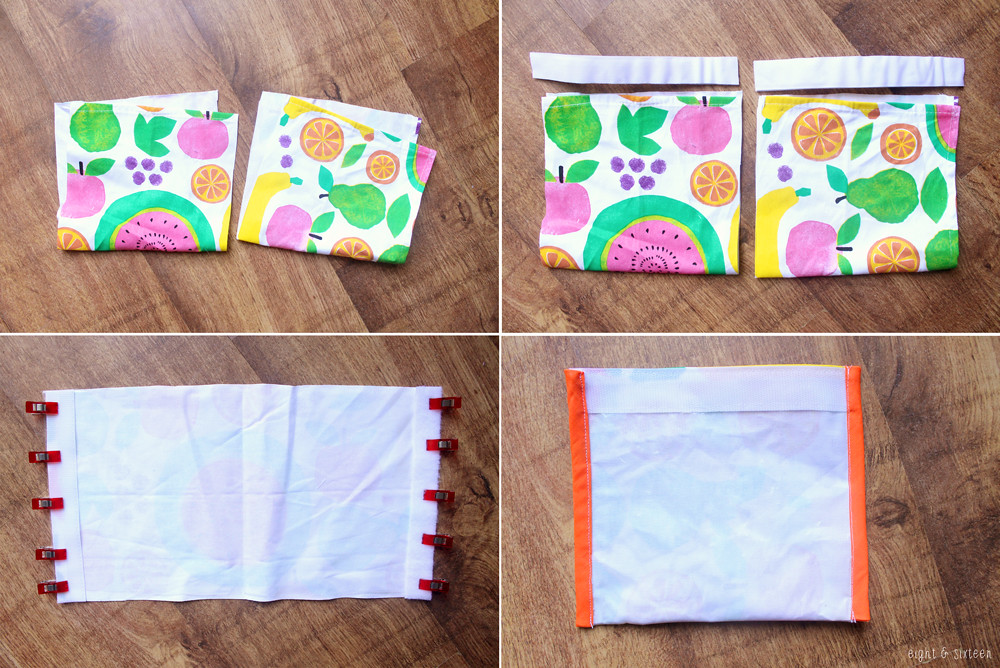
With the remaining tea towel fabric that you put to one side at the beginning, you can either create a second lunch bag as above, or create two small sandwich bags to create a set.
To make the sandwich bags, simply cut your remaining fabric into two pieces. Measure two lengths of sew in velcro the width of the short edges and pin to the fabric. Stitch into place.
Fold the fabric in half right sides together, sew the side seams with a 1cm seam allowance, and as before, binding the raw edges is optional.
Turn right sides out, and you have two reusable and sealable sandwich bags!
To make the sandwich bags, simply cut your remaining fabric into two pieces. Measure two lengths of sew in velcro the width of the short edges and pin to the fabric. Stitch into place.
Fold the fabric in half right sides together, sew the side seams with a 1cm seam allowance, and as before, binding the raw edges is optional.
Turn right sides out, and you have two reusable and sealable sandwich bags!
We'd love to hear from you if you give this DIY a go - use the hash tag #eightandsixteen to share your photos with us!
Skye
Skye