





tabs

es about us es contact es archive es challenge es we love 9 es recipes es pintests es links

Wednesday, 3 December 2014

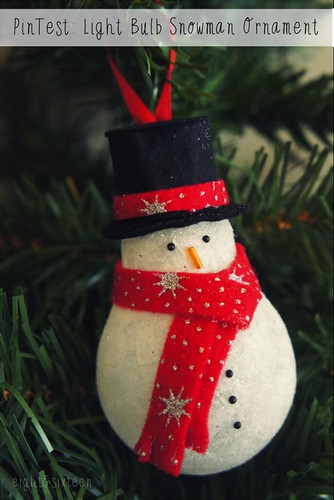
PinTest: Light Bulb Snowman Ornament

diy upcycled light bulb snowman ornament by eight & sixteen diy upcycled snowman ornament eight and sixteen

Welcome to a festive edition of PinTest, this week featuring a popular light bulb ornament idea I originally came across last year. This one caught my eye as I loved the idea of upcycling a simple everyday object into something festive - it's perfect for those on a budget! Of course there are lots of different versions of this idea out there already but here's my take on the project...
pinterest test light bulb snowman ornament eightandsixteen

The Base
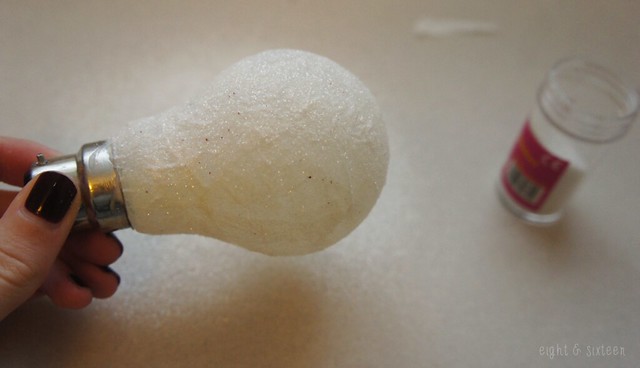
As I wasn't able to get hold of a white bulb I used Mod Podge and tissue paper to create a white base on a clear bulb then sprinkled on white glitter to give both texture and sparkle. There are also ways to colour the bulb with paints but as I had used this method for jars & tea light holders in the past I knew it would work well for this project too. I'd recommend more than one layer of tissue paper if you want to create a fairly opaque finish once the glue has dried.
pinterest test light bulb snowman ornament eightandsixteen

Adding The Details
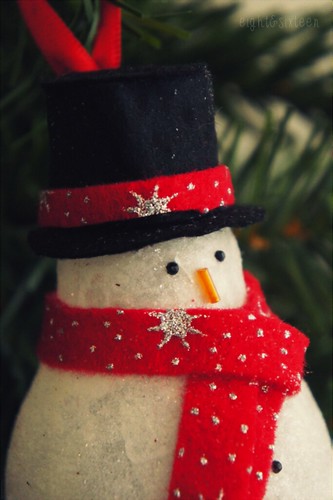
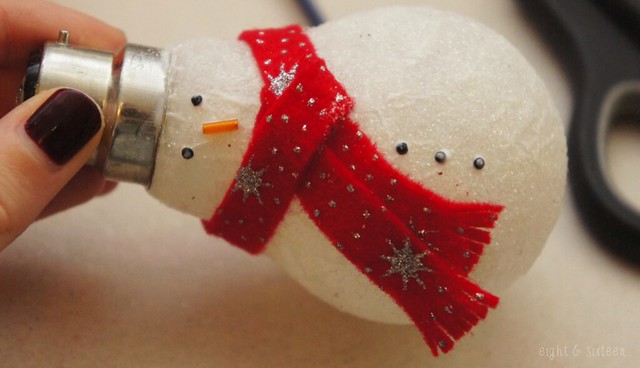
Next up I created a scarf using some festive print felt I had leftover from another project. I cut a thin strip and tied it around the bulb then snipped into the ends to create a tassel look. For the other features I used black nail art gems as coal and an orange bugle bead to represent a classic carrot nose. Again these were both items I already had in my craft stash but you could also use paint, buttons, sequins, paper or felt to add on the features.
pinterest test light bulb snowman ornament eightandsixteen

Finishing touches
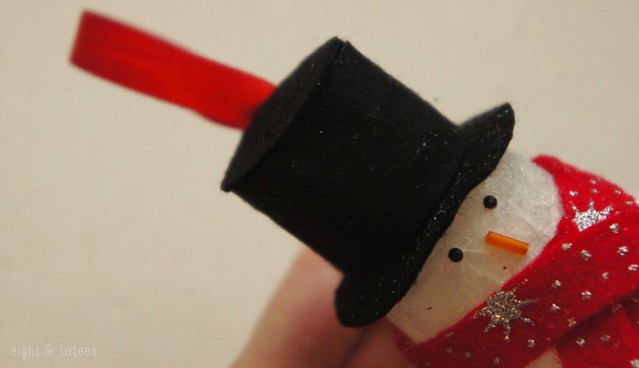
Although a lot of versions of this project seem to leave the silver top of the bulb on show I decided to give the snowman a top hat using black felt. First I cut a circle of the felt that would be big enough to slide over the metal then I cut another circle in the centre of it creating a ring that would fit snugly around the base of the bulb. To make the ornament suitable for hanging I created a loop in a piece of red ribbon then tied it around the metal part of the bulb and used a glue gun to secure it in place - this is where you have to be careful as you don't want it to fall and smash! Finally I covered up the whole thing with a long rectangle of black felt wrapped around the metal and a circle on top, both nicely held in place using hot glue.

The Verdict
For me this is one of the better Christmas ideas out there on Pinterest as it's so easy to do as well as being thrifty and completely customisable! I'm really happy with how my version turned out however if I were to make another one I would definitely try and find a screw top light bulb so that I could hollow it first to make it safer, but overall I think this is definitely one to pop on your to-do lists this year!

We'd love to hear from you if you try out this or any of our other DIY projects - use the hashtag #eightandsixteen to share your photos with us!

Erin

Monday, 1 December 2014

Bloggers Love Hub DIY Booth (+ Free Template Printables!)

bloggers-love-hub-1bloggers-love-hub-6bloggers-love-hub-8bloggers-love-hub-7

Last Monday evening we were kindly invited along to host a small DIY booth at the Bloggers Love Hub taking place at Kanaloa in London.

As we were asked to create a project related to organising we decided to decorate some plain notebooks, perfect for jotting down all of those blog post ideas! Instead of sticking on washi tapes or scrapbooking papers we chose to stitch into the notebook covers creating a textured finish.

We arrived at the event ready to set up our little booth and prepare everything to get crafting. Luckily we arrived super early which turned out to be a good thing - as you can see from the photos the lighting in the venue was not great for crafting, and we decided to use this time to make things a little easier for everyone taking part.
To create the notebooks you simply tape your chosen template onto the front cover of the notebook, and use a pin to pierce holes into the cover about 5mm apart. Then you can use a needle and thread to sew your design on and the pre-pierced holes mean that your design comes out perfectly! Due to the lack of light we decided to pierce the notebook covers with our three designs before people got stuck in as otherwise it may have taken all night to finish!

We had three designs to choose from: a festive snowflake, a cute cactus and "little book of ideas". If you want to make your own version don't forget to download the free templates at the end of this post!

bloggers-love-hub-10bloggers-love-hub-9
Wamiri & Josh with their finished notebooks

We had a great time at the event and met some really lovely bloggers too - Dani @ Floral Danielle, Daisy @ Daisy Jet, Chantelle @ Topix & Tales, Josh @ That Kid In The Bow Tie, Wamiri @ Omowamiri, Afshan @ Afshanesque, Chrissie @ Caprichia, Rebecca @ Rebecca Coco, Victoria @ My Little Black Book,  Justine @ Justine Pendrill & Brenda @ Time & Couture 

completed notebooks
Daisy & Chantelle's notebooks

If you'd like to try any of our templates, you can find them here:

Snowflake Template
Cactus Template
"little book of ideas" Template "blogging notebook" Template

The snowflake is intended to be the quickest of the three, with the "little book of ideas" being the most complex. The text templates aren't dotted, but just remember to pierce the holes onto your notebook around 5mm apart.

Once you've given these templates a go, why not try making your own? You could try your blog name for yourself or monogrammed notebooks to give as presents - perfect for a DIY Christmas!

Thank you to everyone we met at The Bloggers Hub for taking such an interest in our little DIY booth, and of course to Danielle for inviting us to be a part of the event! :)

We'd love to hear from you if you try out this DIY - use the hash tag #eightandsixteen to share your photos with us!

Erin & Skye

Friday, 28 November 2014

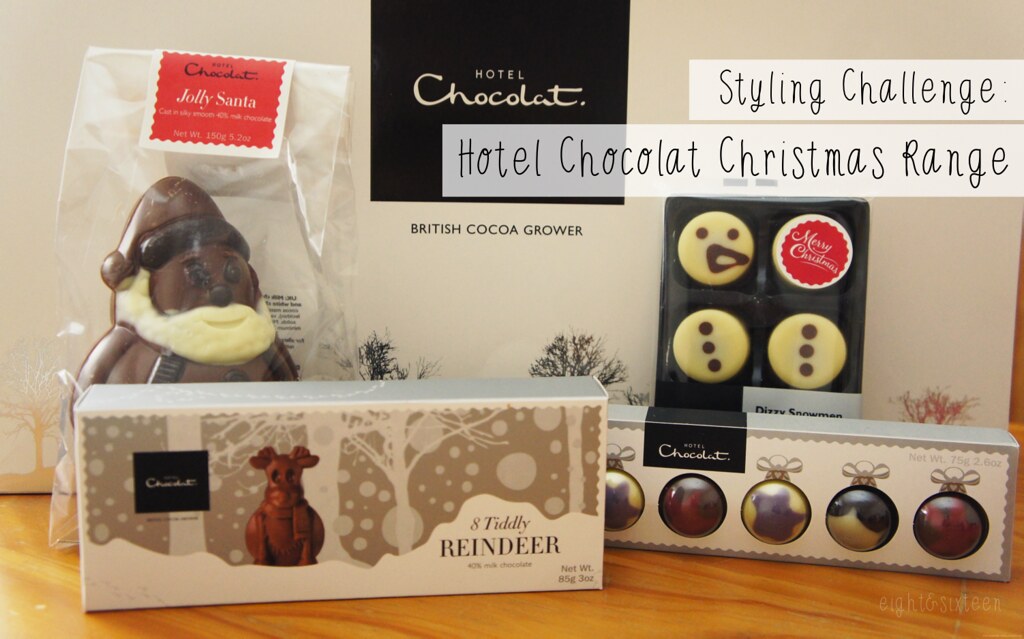
Styling Challenge: Hotel Chocolat Christmas Range

*Hotel Chocolat products c/o Hotel Chocolat available HERE.


Welcome to another challenge post! This time we're showcasing some festive treats from British company Hotel Chocolat and will each be sharing how we would style the selection of products shown above! All of the products here are gluten free which is great for the both of us, and they would all make perfect little gifts for your friends and family.

Here's how we styled them...

hotel chocolat styling challenge
hotel chocolat styling challenge hotel chocolat styling challenge
hotel chocolat styling challenge

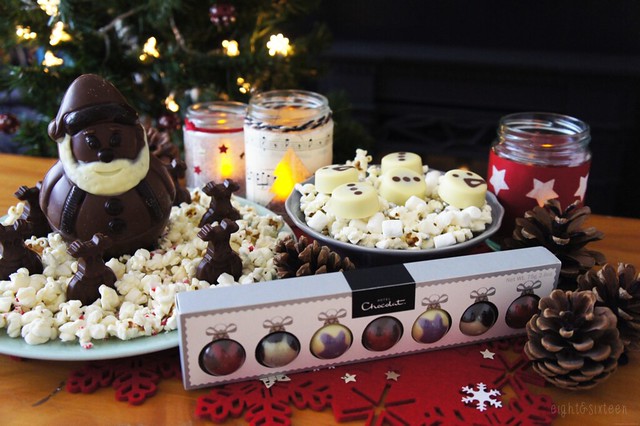
As many people catch up with friends and family over the holiday season I decided to style the products for a festive get together, sharing a few ideas of how to display them on a coffee table as treats for you and your guests to enjoy. All perfect for a little bit of luxury this Christmas, the products are great for creating an eyecatching display that your guests won't be able to resist!

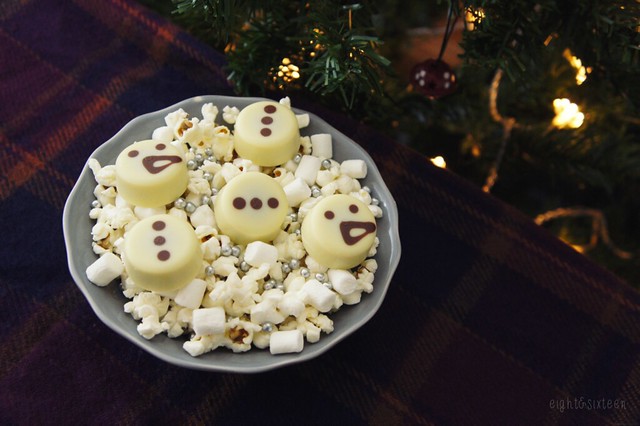
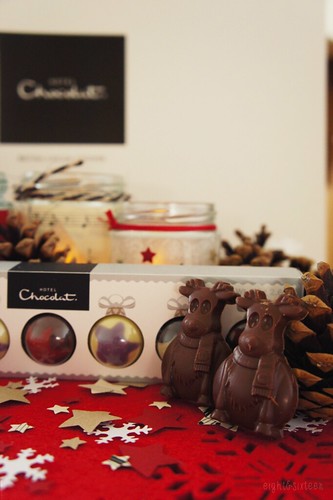
For the Dizzy Snowmen I chose to create a snowy backdrop filling a bowl with sweet popcorn, white marshmallows and edible silver balls, placing the cute (and delicious!) praline treats on top. Similarly I also used popcorn to showcase the Jolly Santa and milk chocolate Tiddly Reindeer, this time adding in some crushed candy canes for a little pop of colour and peppermint flavour which compliments the chocolate well.

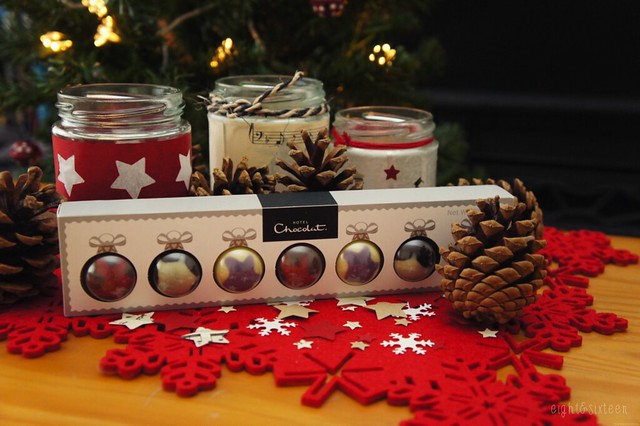
I particularly loved the chic festive packaging of the truffles, designed to look like miniature baubles,  and opted to leave them in the box surrounded by upcycled tea light jars and some homemade confetti created using craft punches. This year I've collected some woodland themed decorations for our tree and am trying to create more of a nature-inspired festive look so a few pine cones also made their way into the display! - Erin


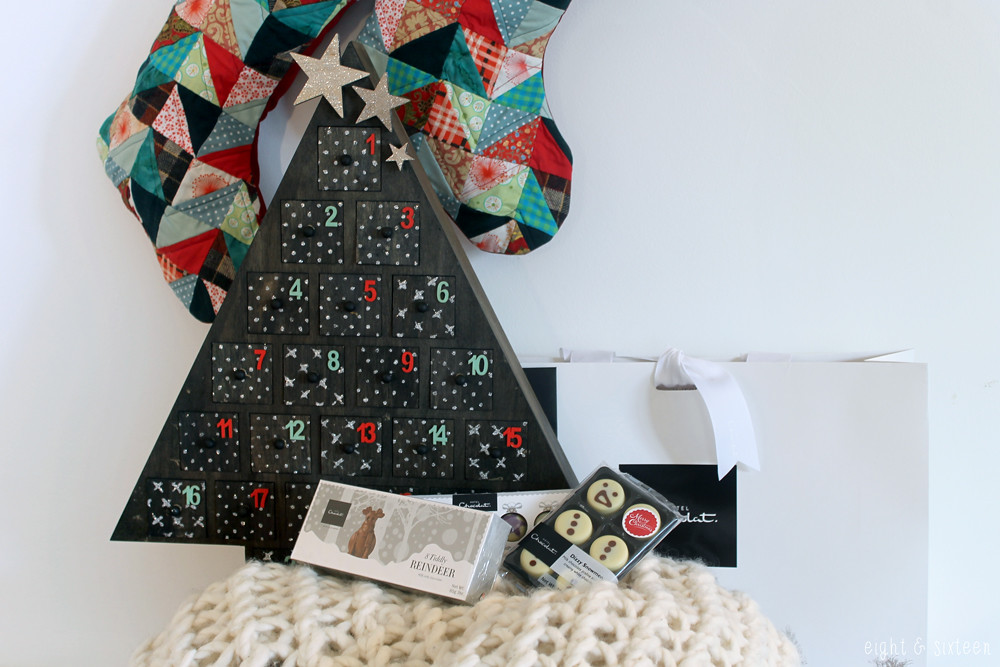
To keep the festivities going throughout December, I decided to use the products as gifts to fill an advent calendar. Ever since I finished my advent calendar a few weeks ago, I've been wondering what sort of treats to fill it with come December, and these goodies have proved to be a great match!

With very little space for a big Christmas tree, the calendar became the centrepiece for me to show off the beautifully packaged chocolates and I filled the drawers with mixtures of the Tiddly Reindeer, truffle filled Chocolate Baubles and praline filled Dizzy Snowmen.
The presentation of the Chocolate Baubles is so cute and it felt a bit wrong to remove them from their packaging, but they are the perfect size for a little daily treat. I love that it's been possible to use the chocolates in this way - being able to divide them out to fill a calendar is a great way to make them last, as tempting as it might be to scoff them all at once!
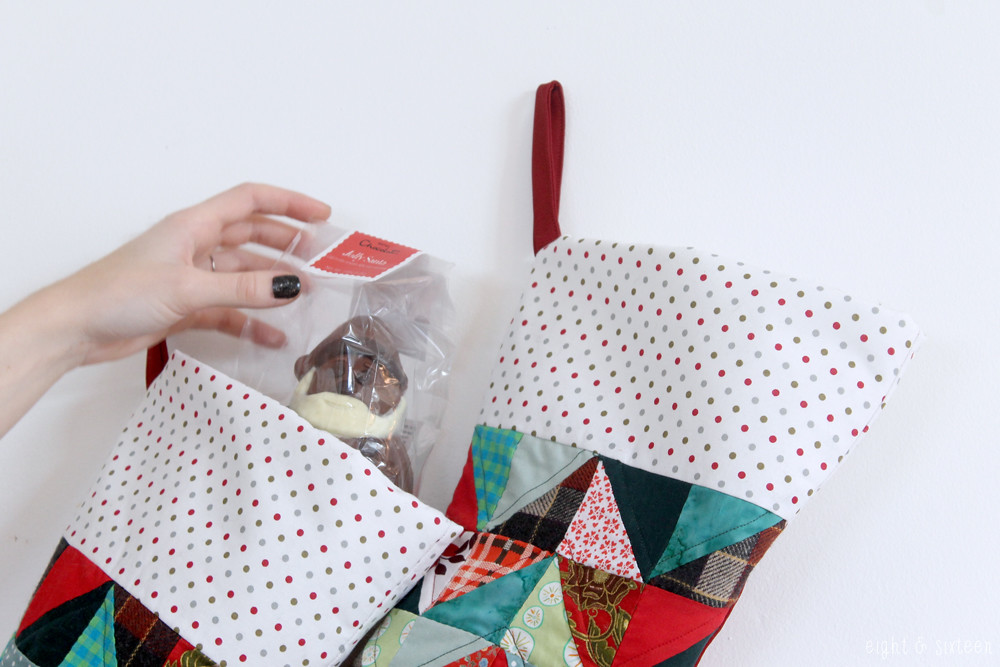
I then hung up my hand made Christmas stockings to finish off the scene, and popped Jolly Santa into the top of one as a little sneak peek to get the festive spirits in full swing.

Hotel Chocolat really do know how to present their products, and it's something that has always drawn them to me. As soon as you see a glimpse of their logo or packaging under the tree or in a stocking, you know you're in for a real treat. - Skye


Have you tried anything from the Hotel Chocolat Christmas range yet? We'd love to know what your top picks are!

Erin & Skye

Wednesday, 26 November 2014

20 Awesome Festive Decorations To DIY

20 awesome festive decorations to diy

1/ Tiny Tree Decorations (via Noodlehead)
2/ Rustic Snowflakes (via Little Things Bring Smiles)
3/ Beaded Star Ornaments (via Tara Dennis)
4/ Toilet Roll Reindeer (via The Craft Train)
5/ Quilted Christmas Stockings (via Even Artichokes have Hearts)
6/ DIY Lantern (via All Things Handmade)
7/ Bottle Cap Snowman Ornaments (via One Artsy Mama)
8/ Crafty Reindeer Games (via Jen Kim Made)
9/ Felt House (via Poopscape Projects)
10/ Sewing Machine Sampler Ornaments (via Craft Log)
11/ Button Wreath Ornament (via Martha Stewart)
12/ Cinnamon Wrapped Candles (via e-elise etc)
13/ Light Bulb Snowman Ornament (via Ginger Snap Crafts)
14/ Ribbon Christmas Tree Decoration (via Be A Fun Mum)
15/ Christmas Card Baubles (via Tara Dennis)
16/ Popcorn Garland (via A Kiss Of Colour)
17/ Snow Globe Ornament (via Cook Love Craft)
18/ Candy Cane Mice (via Martha Stewart)
19/ Felt Snowflake Decorations (via e-elise etc)
20/ DIY Advent Calendar (via Even Artichokes Have Hearts)

We'd love to hear from you if you give these DIY's a go - use the hash tag #eightandsixteen to share your photos with us!

Erin


Monday, 24 November 2014

5 Simple Gift Wrap Ideas!

With Christmas fast approaching we thought it might be nice to put together another '5 Things' style post, this time sharing some of our favourite gift wrap ideas! 

snowflake gift wrap idea

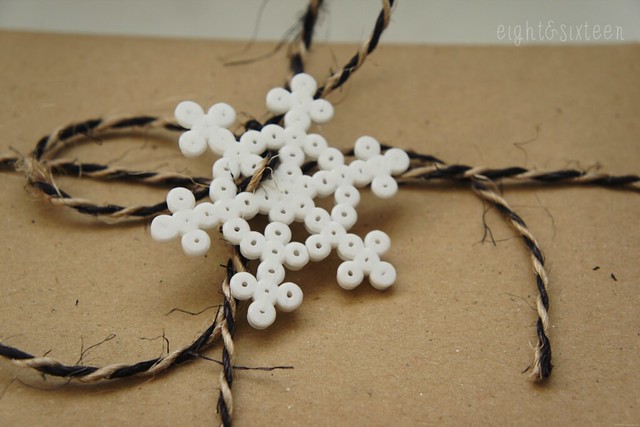
Hama Bead Snowflakes
This Pinterest inspired idea is an easy way to add a little something extra to simple brown paper and twine style gift wrap. Depending on what size peg boards and beads you have you can create lots of different snowflake designs, perhaps even a unique one for each gift! - E

origami bows

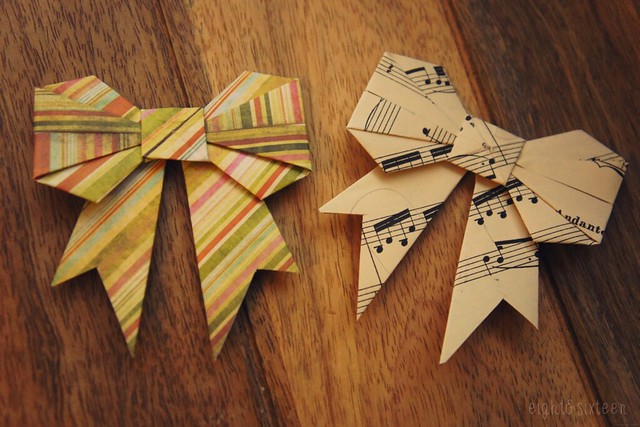
Origami Bows
Origami bows like these are perfect for gift wrap as you can use any paper you like to make them - wrapping paper, scrapbooking sheets, even upcycled books and magazines. To create the bows pictured above I followed this great tutorial which has step-by-step photographs, once you get the hang of the technique you'll be able to whip up a whole batch in no time! - E

washi tape transfer

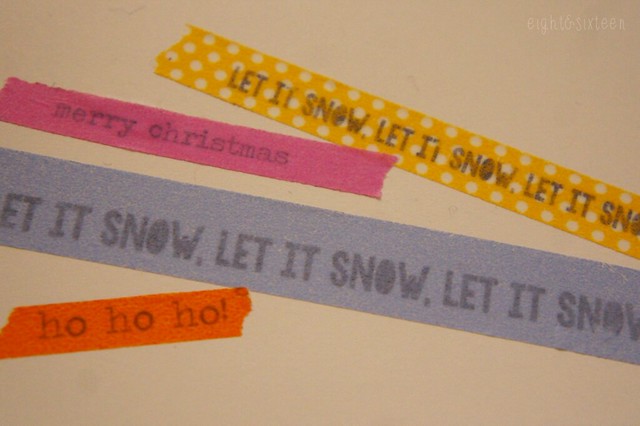
Washi Tape Transfers 
This awesome idea found on A Girl And A Glue Gun is an easy way to add text to wrapped gifts or cards. Simply type out your text, print onto a sheet of paper then place a strip of washi tape over the top lightly. When you peel away the tape the text will come with it! (Fonts used: American Typewriter & KG Bless Your Heart) - E


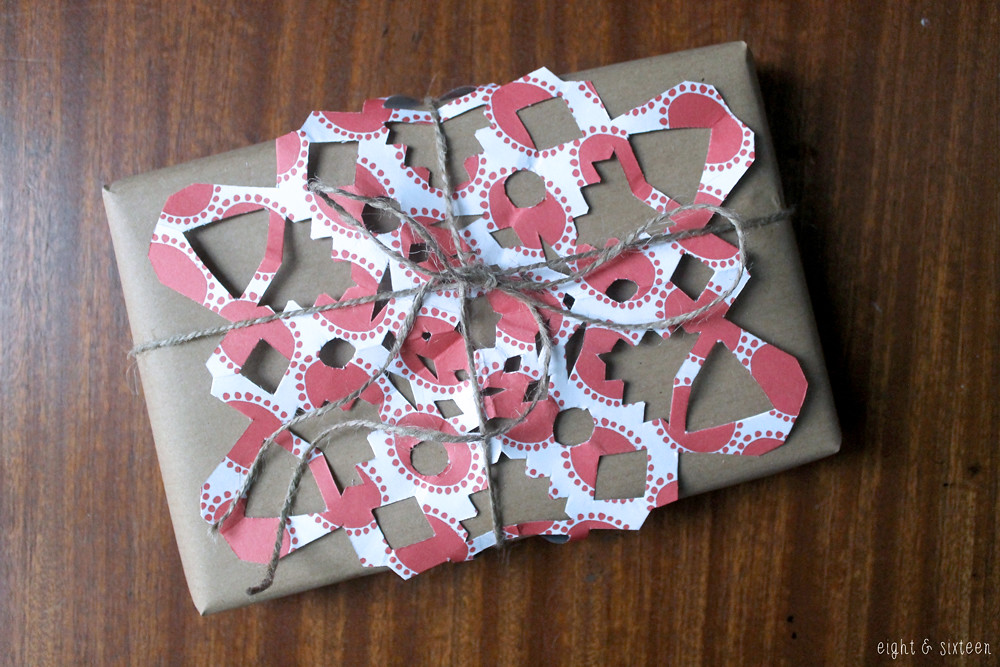
Paper Snowflake
The great thing about making paper snowflakes for your wrapping paper is that they will all be completely unique! I followed this great tutorial to get started, but you can personalise them any way you want. Use contrasting coloured paper to your main wrapping paper, or recycle magazines, and then either glue in place or tuck underneath some string. - S


Personalised Washi Tape Flags
This is such a simple but effective way to personalise your wrapping. Simply fold a strip of washi tape in half around your string, cut a triangle out from the end to create the flag shape and then write or stamp on the name. You don't have to stick to names either, why not write more personalised messages, or keep it simple with just initials.- S


We'd love to hear from you if you give these DIY's a go - use the hash tag #eightandsixteen to share your photos with us! 
Erin & Skye

Friday, 21 November 2014

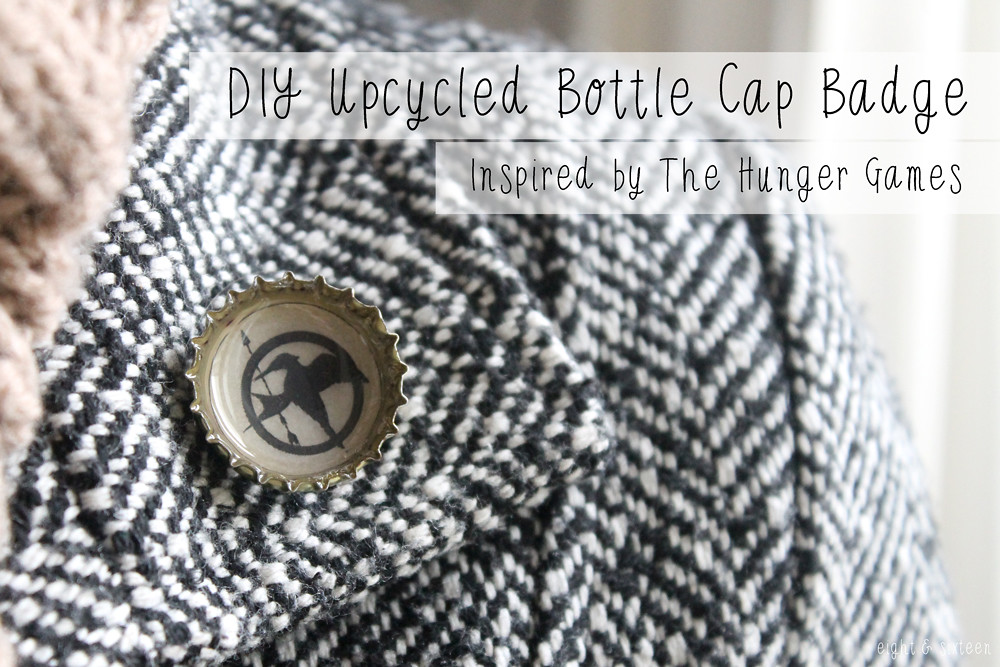
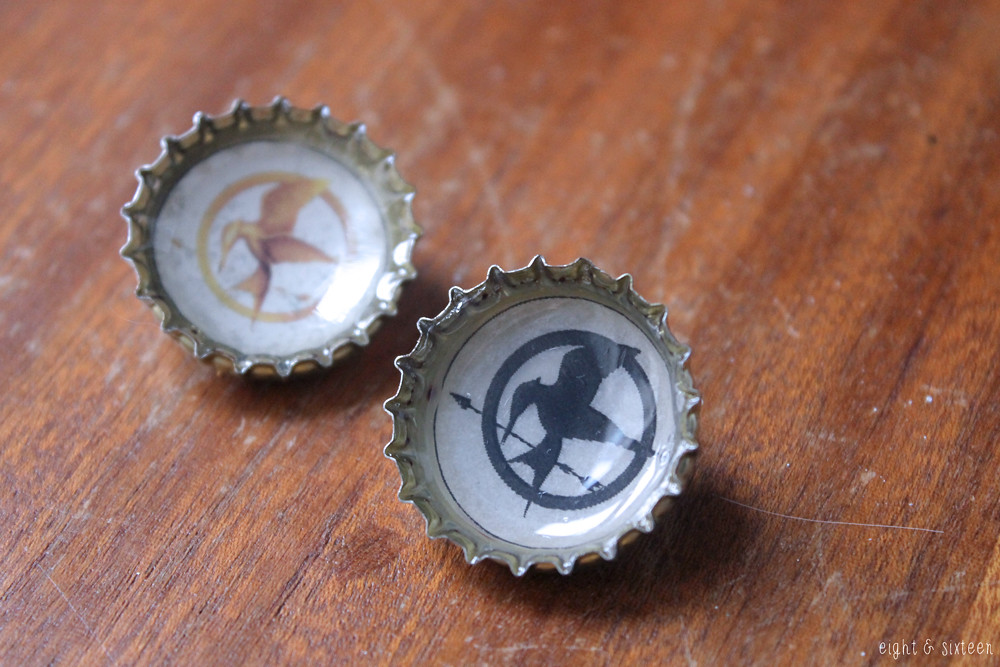
DIY Upcycled Bottle Cap Badge Inspired by The Hunger Games


For my DIY as part of our We love The Hunger Games series, I decided to recreate the infamous Mockingjay pin that Katniss wears and I thought this would be a great way to combine a popular upcycling technique to reuse bottle caps.

You could also try making a template with your favourite quote from the book, or photograph of your favourite character, but if you'd like to stick with the Mockingjay template, you can download the templates I used HERE. Just make sure that your scaling settings are correct when you print them :)

For this DIY you will need: a bottle cap, paper template and scissors, PVA glue, Mod Podge 3D Dimensional (or similar), superglue and a brooch pin.


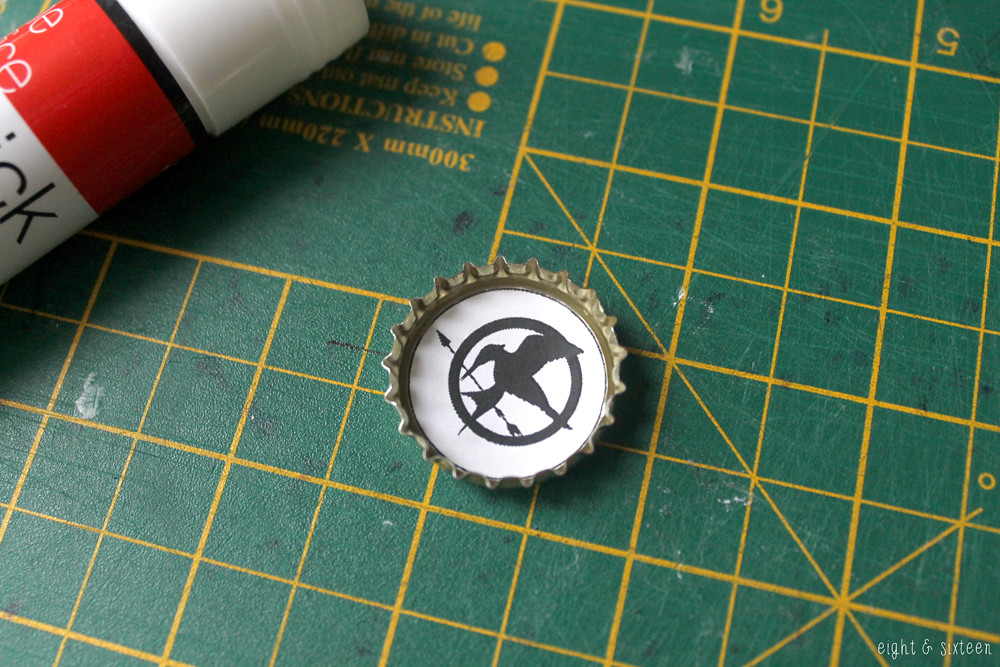
Print out your chosen template and cut to the size of your bottle cap.


Glue your template into the bottle cap, and then cover in two thin coats of PVA glue and leave to dry.


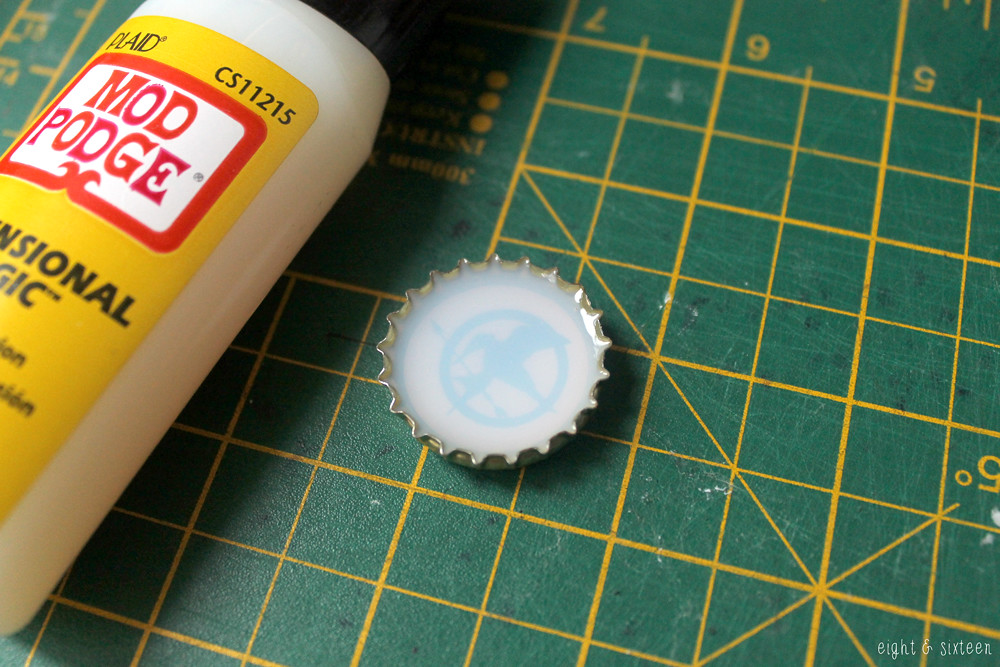
Mod Podge 3D Dimensional is a great glue for jewellery and craft making, and worked amazingly for these badges. Apply to your bottle cap, being careful not to overfill as it will spill over and get messy very quickly! Leave to set.


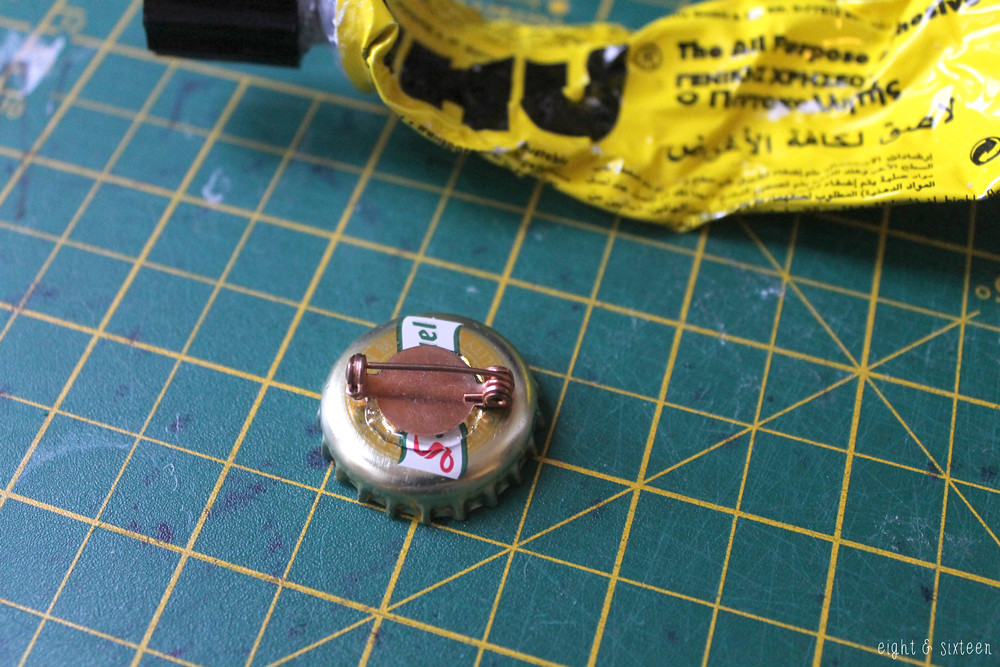
Use superglue to apply a brooch pin to the back of the bottle cap and leave to dry.

May the odds be ever in your favour...


We'd love to hear from you if you give this DIY a go - use the hash tag #eightandsixteen to share your photos with us!

Skye


Wednesday, 19 November 2014

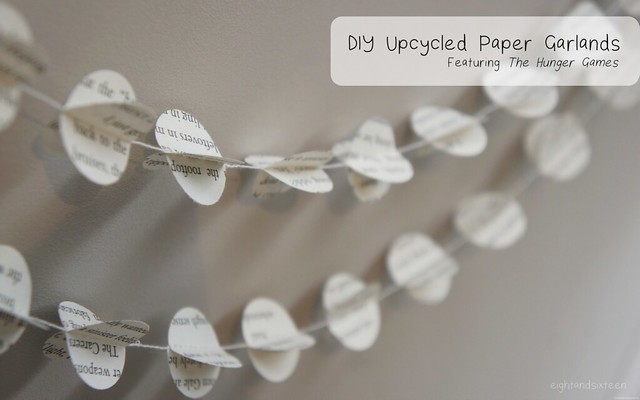
DIY Upcycled Paper Garlands (featuring The Hunger Games)

upcycled paper garlands hunger games

To celebrate the release of Mockingjay - Part 1, which Skye and I are both very excited to see, our latest We Love... topic is of course The Hunger Games!

Today's very simple DIY project shows you how to make your own upcycled paper garland and in honour of Mockingjay's release I have used the better looking pages from an old battered copy of The Hunger Games for this tutorial. I know everyone won't have a falling apart copy to hand so as an alternative you can pick up bags of book confetti on Etsy, use photocopies or type out some text including key words, places and your favourite character's names.

If you're as excited about the film's release as we are why not whip yourself up one of these cute garlands to celebrate? If not, they can easily be customised - try using old magazines, newspapers, maps or pretty scrapbooking papers to make this project perfectly fit the decor of any occasion or party!

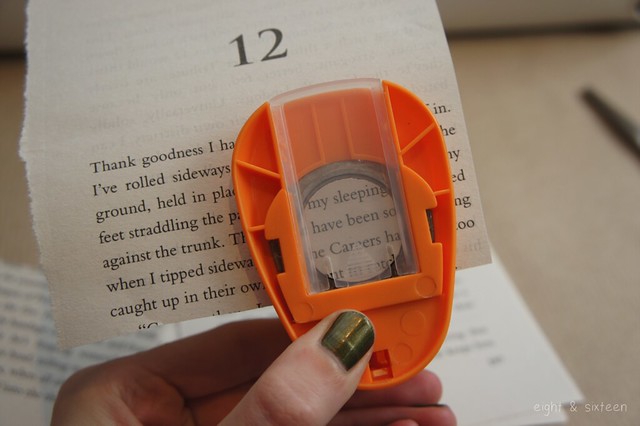
You will need: old book pages, a 1" circle punch, a sewing machine & thread

diy garland 3 diy garland 4

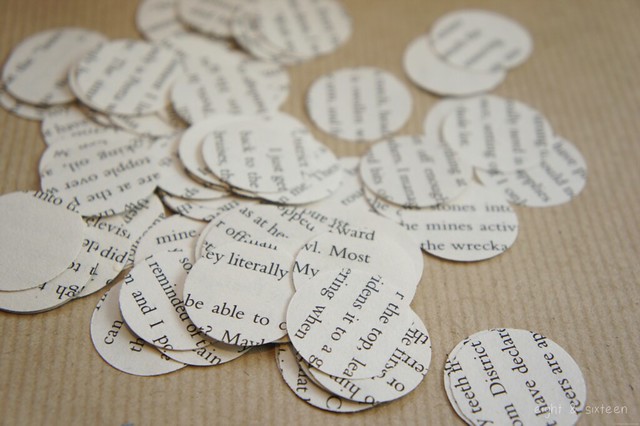
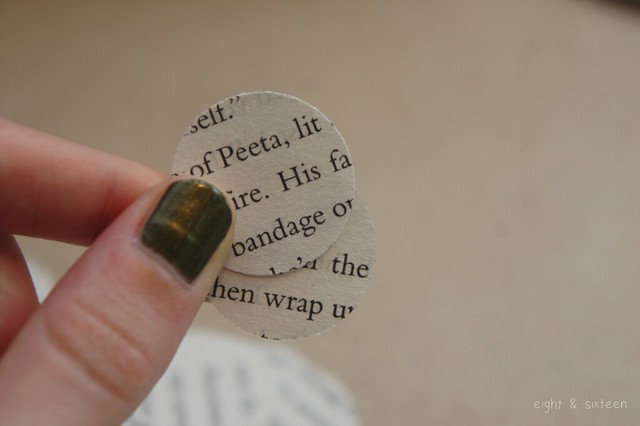
1. Start by punching out your circles until you have enough for the length garland you would like to make - I used approx 60 circles for a 50" garland

You can either punch the circles out at random (this way you can punch through multiple pages at once) or choose to frame specific words or character names within your circles

diy garland 5
diy garland 6

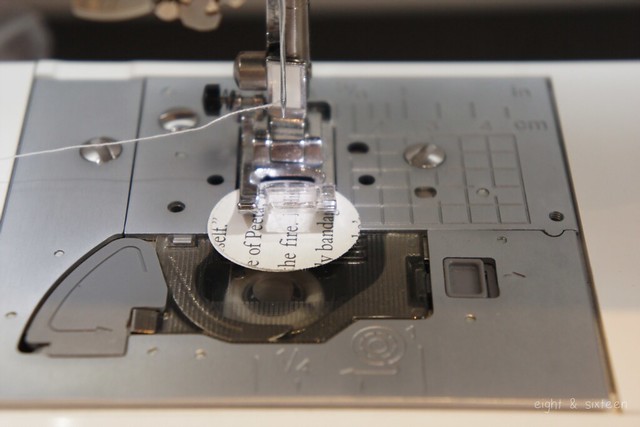
2. Pair up two of your circles and place under your sewing machine foot. Make sure that you leave a tail of thread (approx. 3") before sewing to use for hanging the garland

If you want the text to sit the correct way on your garland make sure you have the circles facing the right direction before you start to sew. Alternatively for a more random arrangement just pick up the circles as they are!

diy garland 7

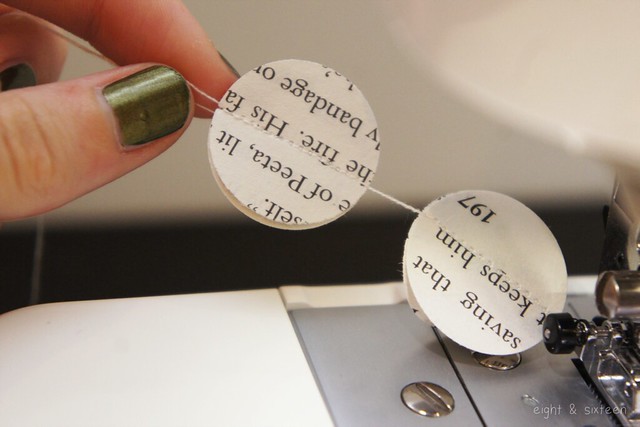
3. Sew through the centre of the circles, then continue on sewing for another 0.5-1" before placing your next set of circles under the sewing machine foot. This way you will get the gap between your circles on the finished garland

4. Continue adding on more circles in this way until you reach the desired garland length and your garland is done!

diy garland 8

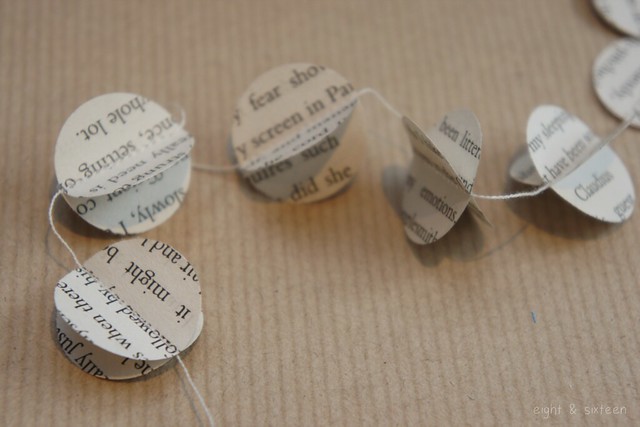
You can leave your garland as is or create more of a 3D effect by carefully pressing out the circles to look like the ones shown above!

May the odds be ever in your favour...

We'd love to hear from you if you try out this DIY project - use the hashtag #eightandsixteen to share your photos with us!

Erin
Related Posts Plugin for WordPress, Blogger...