


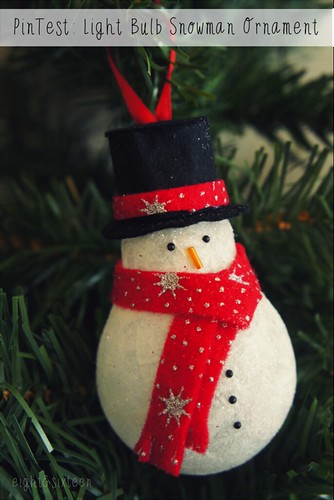
Welcome to a festive edition of PinTest, this week featuring a popular light bulb ornament idea I originally came across last year. This one caught my eye as I loved the idea of upcycling a simple everyday object into something festive - it's perfect for those on a budget! Of course there are lots of different versions of this idea out there already but here's my take on the project...
The Base
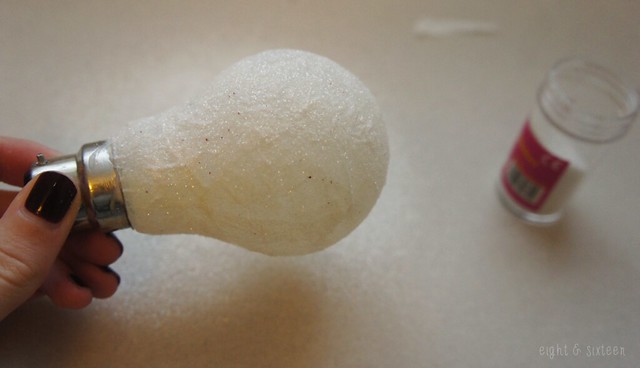
As I wasn't able to get hold of a white bulb I used Mod Podge and tissue paper to create a white base on a clear bulb then sprinkled on white glitter to give both texture and sparkle. There are also ways to colour the bulb with paints but as I had used this method for jars & tea light holders in the past I knew it would work well for this project too. I'd recommend more than one layer of tissue paper if you want to create a fairly opaque finish once the glue has dried.
Adding The Details
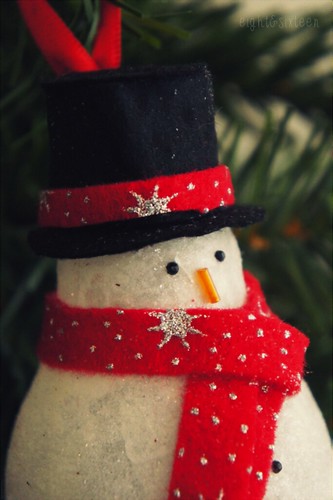
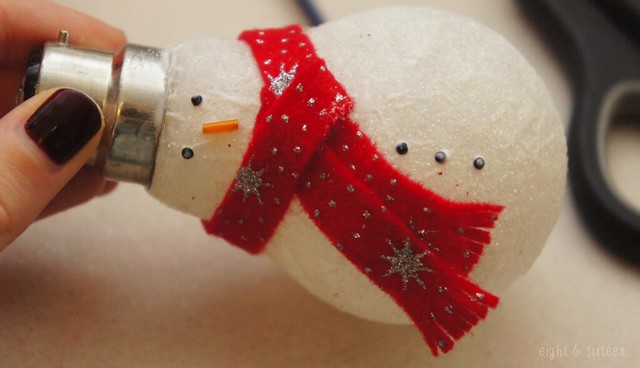
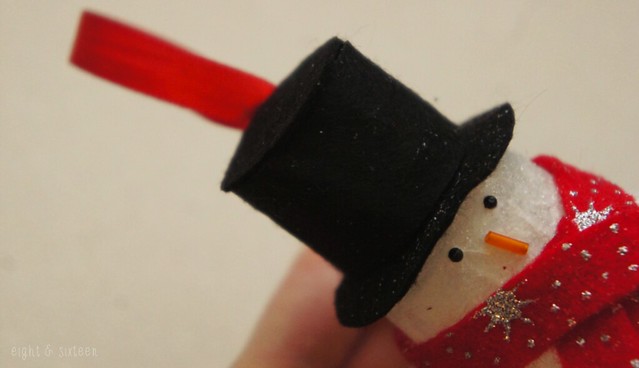
Next up I created a scarf using some festive print felt I had leftover from another project. I cut a thin strip and tied it around the bulb then snipped into the ends to create a tassel look. For the other features I used black nail art gems as coal and an orange bugle bead to represent a classic carrot nose. Again these were both items I already had in my craft stash but you could also use paint, buttons, sequins, paper or felt to add on the features.
Finishing touches
Although a lot of versions of this project seem to leave the silver top of the bulb on show I decided to give the snowman a top hat using black felt. First I cut a circle of the felt that would be big enough to slide over the metal then I cut another circle in the centre of it creating a ring that would fit snugly around the base of the bulb. To make the ornament suitable for hanging I created a loop in a piece of red ribbon then tied it around the metal part of the bulb and used a glue gun to secure it in place - this is where you have to be careful as you don't want it to fall and smash! Finally I covered up the whole thing with a long rectangle of black felt wrapped around the metal and a circle on top, both nicely held in place using hot glue.
The Verdict
For me this is one of the better Christmas ideas out there on Pinterest as it's so easy to do as well as being thrifty and completely customisable! I'm really happy with how my version turned out however if I were to make another one I would definitely try and find a screw top light bulb so that I could hollow it first to make it safer, but overall I think this is definitely one to pop on your to-do lists this year!
We'd love to hear from you if you try out this or any of our other DIY projects - use the hashtag #eightandsixteen to share your photos with us!
Erin
Great idea, may have to give this a try :) I wonder what you could make with one of those funny shaped energy saving lightbulbs!
ReplyDeleteAmber
http://locketzwithlove.co.uk/blog/
Thanks Amber! :)
DeleteThe energy saving bulbs could be could for a little craft challenge!
That is really nice to hear. thank you for the update and good luck. full spectrum led grow light
ReplyDelete