





tabs

es about us es contact es archive es challenge es we love 9 es recipes es pintests es links

Monday, 15 December 2014

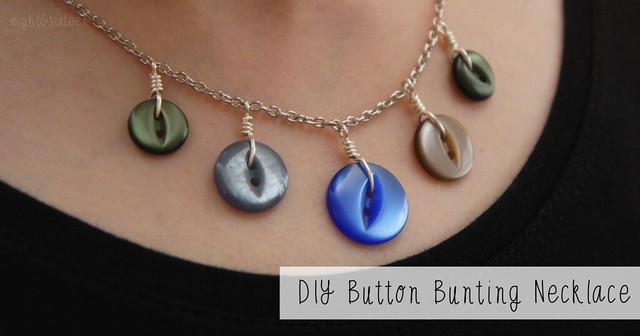
DIY Button Bunting Necklace

diy button bunting necklace tutorial by eight & sixteen

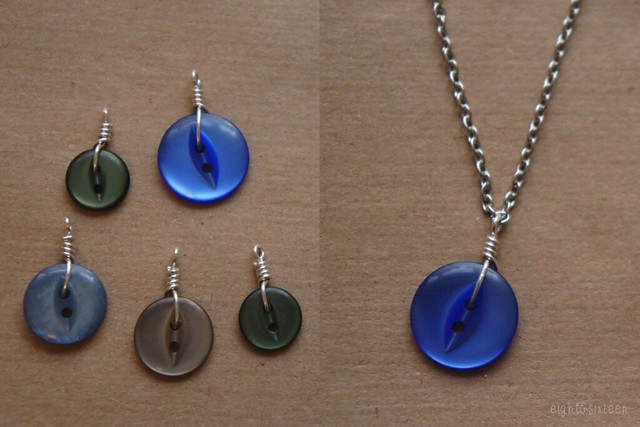
With Christmas fast approaching we've decided to share four button projects including gifts and decorations! For the first project of the week I wanted to share this necklace design that I think could be the perfect DIY for anyone looking to give unique handmade gifts this year!

To make your own you will need: buttons, jewellery wire, wire cutters, flat and round nose pliers, an assembled chain (or supplies to make your own)
diy button bunting necklace tutorial by eight & sixteen

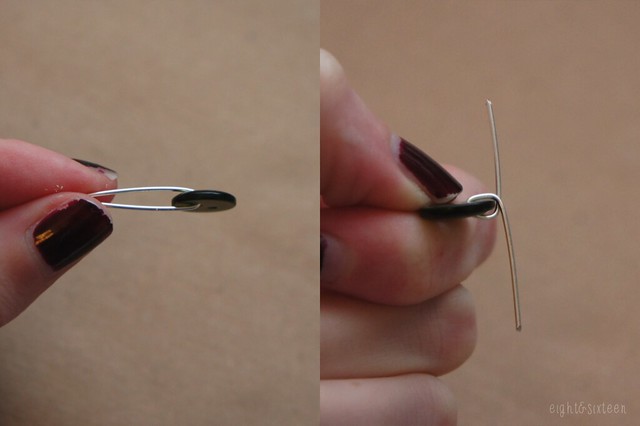
1. To make your bunting necklace you will need to turn each of your chosen buttons into a charm. Start with a piece of wire approx. 2" long, thread it through one of the holes in your button and bend in half

2. Use your flat nose pliers to bend out the lengths of wire in the opposite directions, creating a loop around the edge of the button
diy button bunting necklace tutorial by eight & sixteen

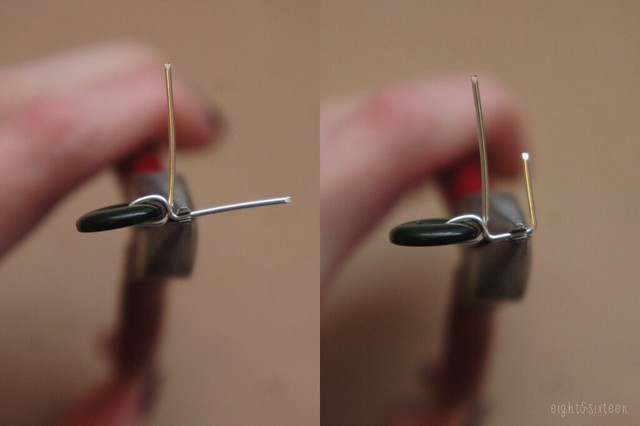
3. Take your pliers and bend the wire that sits on the front side of the button up at a right angle - this will be the piece you turn into the loop

4. Move a little way along the wire then add a second bend in the opposite direction
diy button bunting necklace tutorial by eight & sixteen

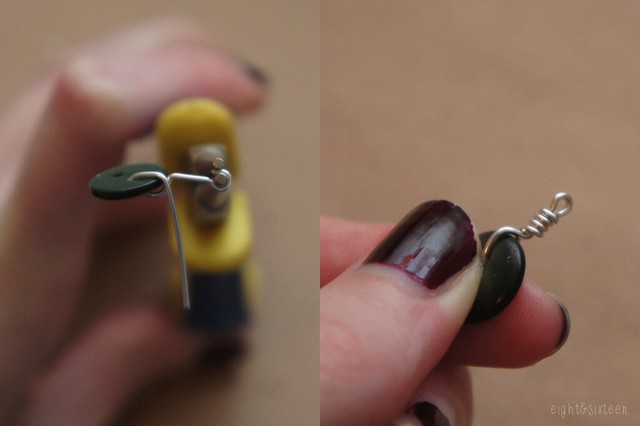
5. Switch to your round nose pliers and bend the end of the wire around them to create a loop

6. Finally, wrap the other length of the wire around it securing it in place and adding a decorative finish
diy button bunting necklace tutorial by eight & sixteen

7. Once you have all of your button charms, find the centre of your necklace chain and attach on your middle charm. To do this use pliers to gently open up the hanging loop you created, thread through the chain link and close.

8. Repeat this process to add on the remaining button charms making sure to space them apart evenly, and your necklace is done!

We'd love to hear from you if you try out this DIY project - use the hashtag #eightandsixteen to share your photos with us!

Erin

Friday, 12 December 2014

DIY Cardboard Tube Wreath


Today's DIY is a super simple festive wreath made from painted cardboard tubes and a few decorative berries. Depending on how many tubes you have to hand you can make this wreath as simplistic or extravagant as you like, and you could also try adding different embellishments such as bows or mistletoe.


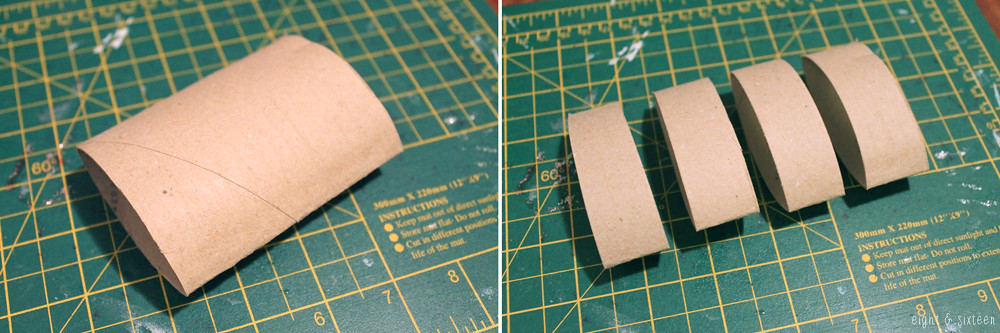
To start off, take your cardboard tubes, flatten them and cut them into 4 pieces. If you prefer, you can paint your tubes before doing this, but I didn't want any plain edges showing once they'd been cut.


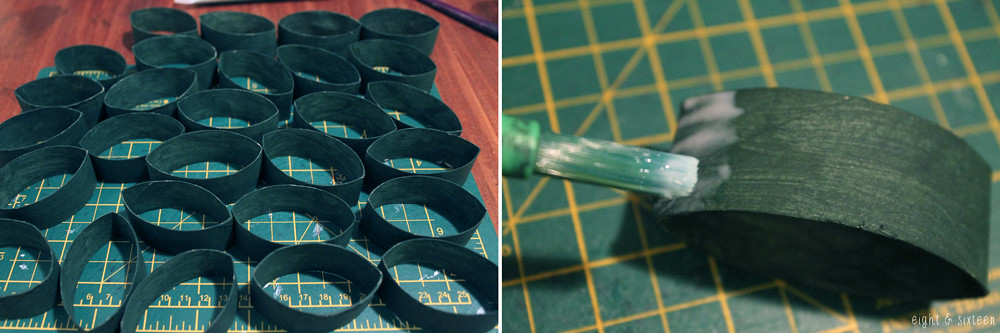
Paint all of your tubes (inside and out!) and leave to dry.
Once dry, divide up the tube pieces into the 'flower shapes' and start glueing them together. I used a little glue on the points, and then used paperclips to keep the pieces together until dry.


Repeat with all of your tube pieces, and then join all of these flowers into a circle and glue/paperclip in the same way. Leave to dry.
You can then embellish the wreath - I have used decorative berries on wire that I simply wrapped around the centre of each flower.

This wreath will only be suitable for indoor use, but is a great addition to any festive decor and it can be so easily customised to suit your colour scheme :)


We'd love to hear from you if you give this DIY a go - use the hash tag #eightandsixteen to share your photos with us!

Skye


Wednesday, 10 December 2014

#PaperHaul - Crafty Creatives New Subscription Box!

* #PaperHaul box c/o Crafty Creatives
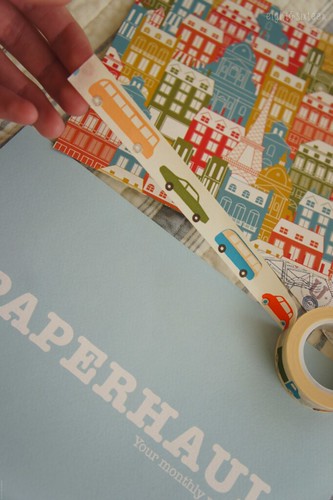
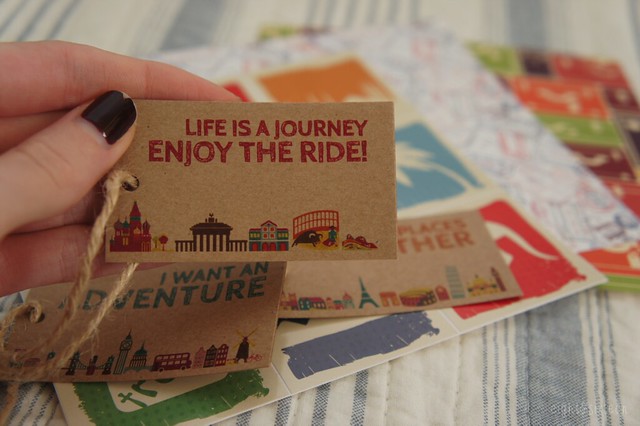
PaperHaul Box December 2014 PaperHaul Box December 2014 PaperHaul Box December 2014

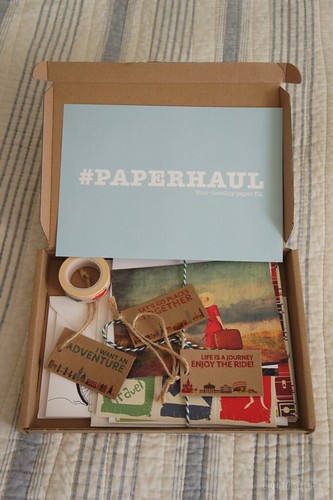
#PaperHaul is a brand new monthly box of goodies from the team behind Crafty Creatives. The idea is that you sign up to receive a box of paper treats each month (priced at £10), each with a different theme. We’ll be taking it in turns to review each month’s box and I was lucky enough to receive the first one which spoiler alert; I love!

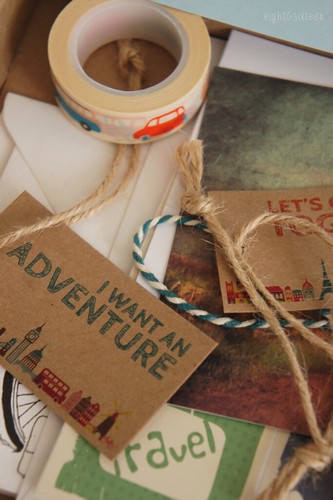
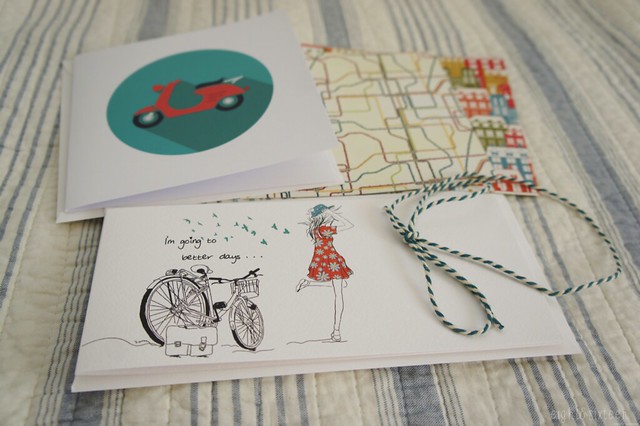
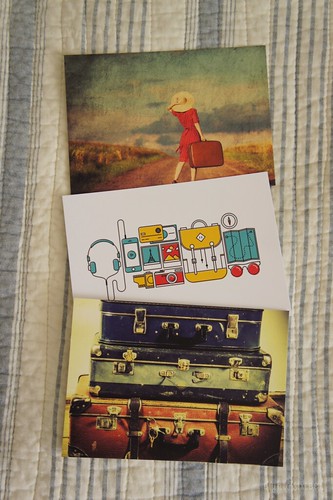
The theme for December is travel and adventure with a mixture of items including postcards, scrapbooking papers, cards, stickers, gift tags and washi tape - all adorned with bicycles, suitcases and other travel-inspired prints. Although centred around the same theme the items have a good mixture of styles with vintage looking postcards next to bold graphic style stickers - there's definitely something for everyone! To be honest there isn't really anything I don't like in the box so it's hard to pick a favourite item but I think I'd probably have to go with the tags or the cute washi tape adorned with various vehicles.

Not only is the box filled with stationery goodness but it also arrived neatly packaged and well-presented - the items were even tied together using a string which could also come in handy for a project! The box is slim and designed to fit through your letterbox so there's no need to worry about being home when it arrives. The only additional thing I would have liked to have seen included would be a little leaflet or card with information on the theme and the month's items - the brands, why they were chosen etc (similar to those found in beauty subscription boxes) as I'd love to know more about how it all came together - but overall I'm very impressed with the first #PaperHaul box and am looking forward to seeing what next month's theme will be!

If you're looking to treat yourself or a friend you can sign up or find out more about #PaperHaul on the Crafty Creatives website.

PaperHaul Box December 2014 PaperHaul Box December 2014 PaperHaul Box December 2014

Will you be subscribing to #PaperHaul? We'd love to hear your thoughts!

Erin

Monday, 8 December 2014

DIY Festive Miniature Bottle Ornaments

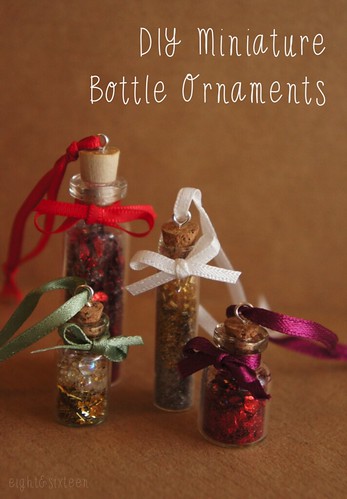
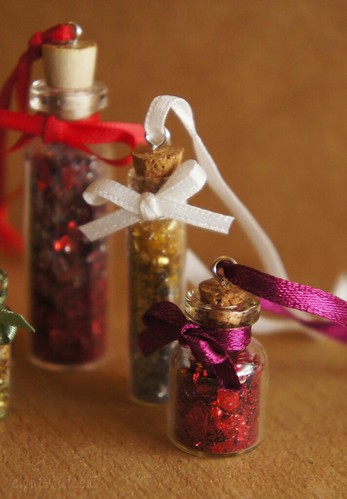
DIY Festive Miniature Bottle Ornaments by eight and sixteenDIY Festive Miniature Bottle Ornaments by eight and sixteen

These pretty glitter-filled miniature bottle ornaments are the perfect addition to anyone's decor this season, no matter how much space you have! With just a few supplies they're easy to make and can be customised to suit your colour scheme.

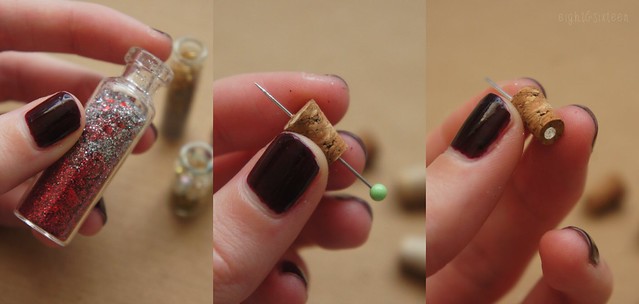
You will need: miniature glass bottles with corks, headpins, flat and round nose pliers, a pin, glitter/beads/sequins, thin ribbon, scissors & strong glue

DIY Festive Miniature Bottle Ornaments by eight and sixteen

1. Fill up your bottles with glitter, beads, sequins or other sparkly items and set aside

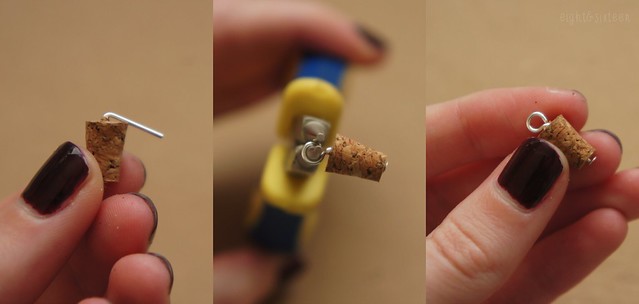
2. To hang the bottle you'll need to add wire hoops to the corks. To do this first use a pin to pierce through them vertically - this will allow you to thread through a headpin more easily

DIY Festive Miniature Bottle Ornaments by eight and sixteen

3. Next use pliers to turn the end of the headpin into a hanging loop. Start by bending the wire to the side then use round nose pliers to shape into a loop

DIY Festive Miniature Bottle Ornaments by eight and sixteen

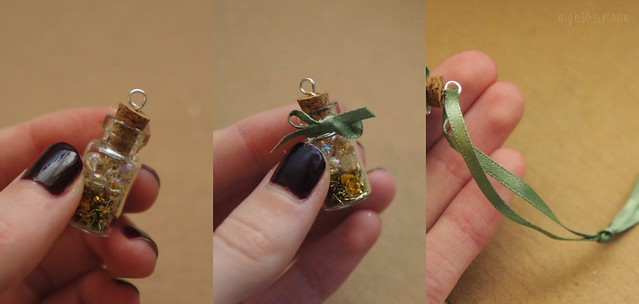
4. Use strong glue to secure a cork into each bottle

5. Cut lengths of ribbon and tie one into a bow around the bottle neck for an extra embellishment. Use another length of ribbon for hanging by threading it through the wire loop and tying a knot

We'd love to hear from you if you try out this DIY project - use the hashtag #eightandsixteen to share your photos with us!

Erin

Friday, 5 December 2014

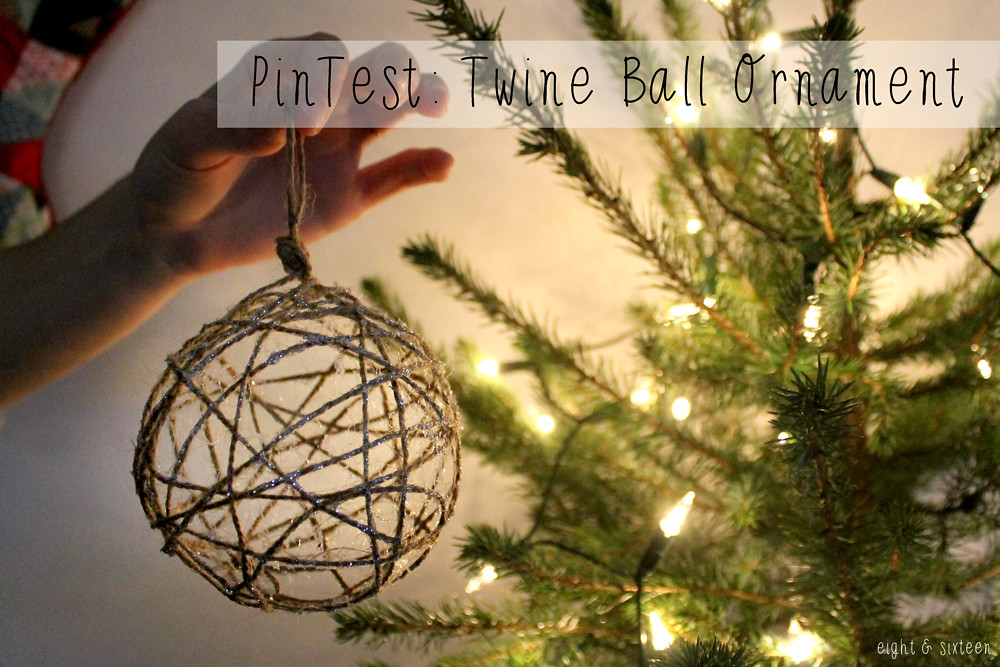
PinTest: Twine Ball Ornament


We have another festive PinTest for you today, and this is another great idea for Christmas tree decorations or decor around the home.
I love the idea of twine decorations and think that the natural look and colour works really well against a Christmas tree draped in fairy lights.

You can find the original Pin here, and here's how I made mine...


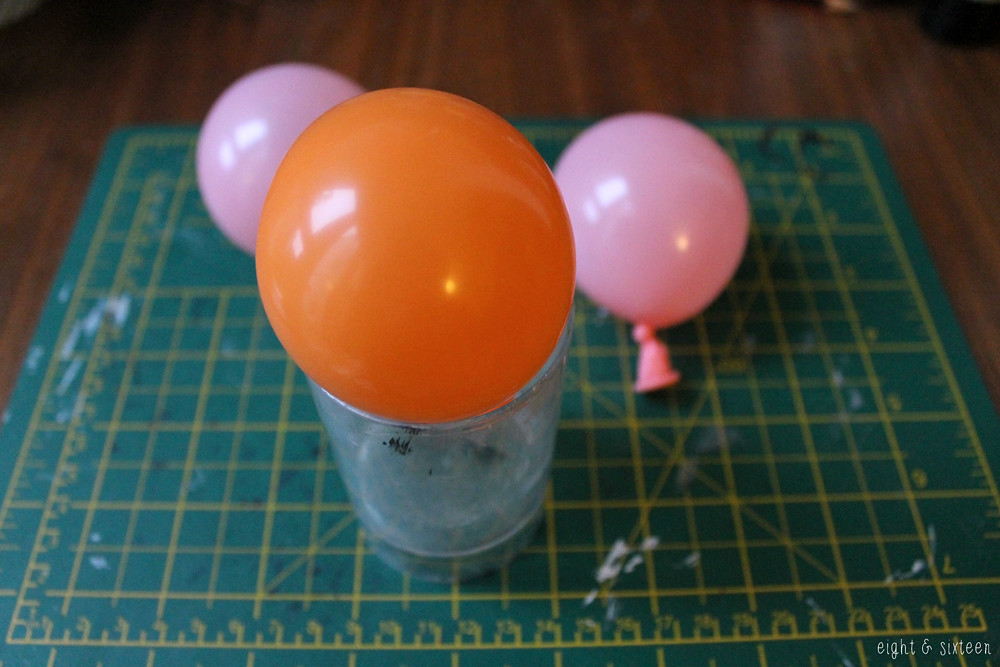
Blow up a balloon to the size you'd like your ornament to be - try and keep it small if you plan to hang them on a tree, but you could also try an oversized one to hang from a door frame or lots of little ones to make a garland.


Cover the balloon in cling film - the original pin says that this step is essential, so I didn't take any chances!


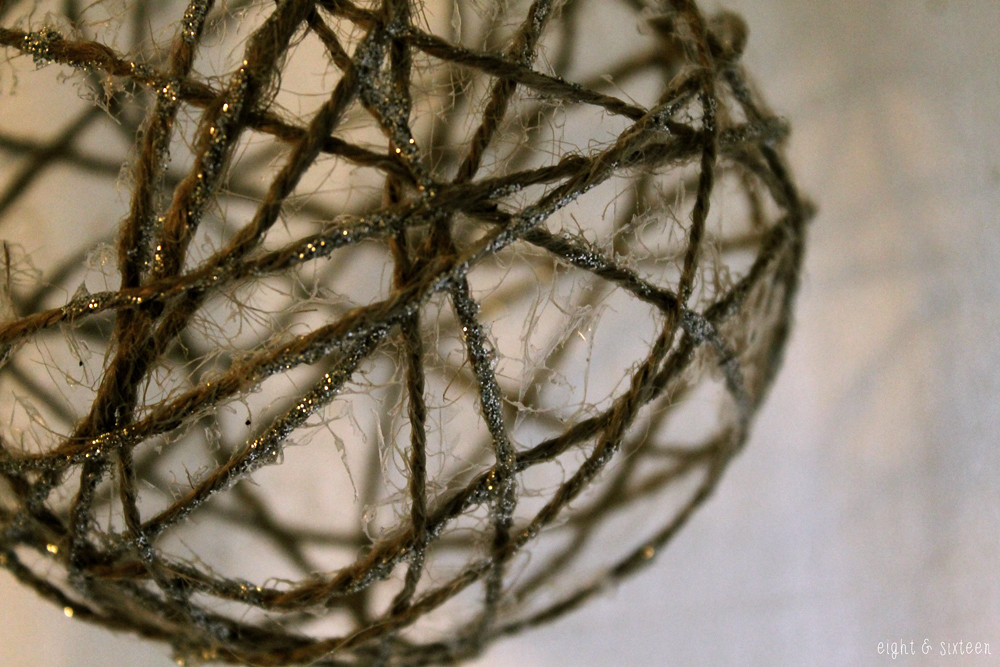
Cover the balloon in a layer of PVA glue, and then start winding twine around it to create a criss cross pattern.


Optional: I used glitter glue to cover several areas of the string, but you can leave it plain.

I used excess twine to create a loop at the top of my decoration, but you could also add some ribbon afterwards.
Leave the ornament to dry overnight somewhere secure - I hung mine on the washing line!
Once dry, pierce the balloon and pull it out of a gap in the twine being careful not to squish the ornament out of shape.

This has been a great PinTest for me and one that I can see myself trying again. It's a little messy but the simplicity of it is so worth it for the outcome, and I think that these would be great fun to spend an afternoon making.


We'd love to hear from you if you give this DIY a go - use the hash tag #eightandsixteen to share your photos with us!

Skye


Wednesday, 3 December 2014

PinTest: Light Bulb Snowman Ornament

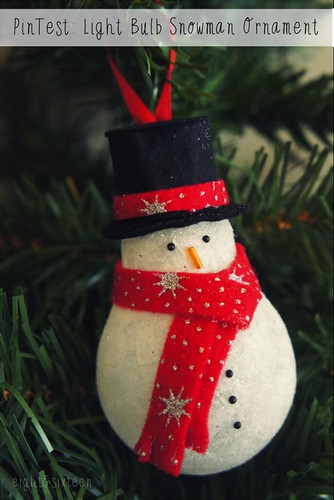
diy upcycled light bulb snowman ornament by eight & sixteen diy upcycled snowman ornament eight and sixteen

Welcome to a festive edition of PinTest, this week featuring a popular light bulb ornament idea I originally came across last year. This one caught my eye as I loved the idea of upcycling a simple everyday object into something festive - it's perfect for those on a budget! Of course there are lots of different versions of this idea out there already but here's my take on the project...

pinterest test light bulb snowman ornament eightandsixteen

The Base
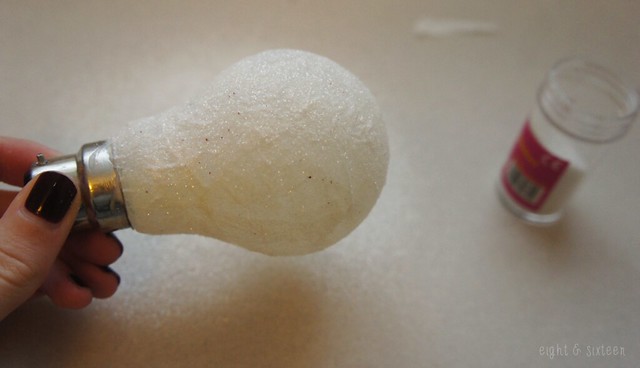
As I wasn't able to get hold of a white bulb I used Mod Podge and tissue paper to create a white base on a clear bulb then sprinkled on white glitter to give both texture and sparkle. There are also ways to colour the bulb with paints but as I had used this method for jars & tea light holders in the past I knew it would work well for this project too. I'd recommend more than one layer of tissue paper if you want to create a fairly opaque finish once the glue has dried.

pinterest test light bulb snowman ornament eightandsixteen

Adding The Details
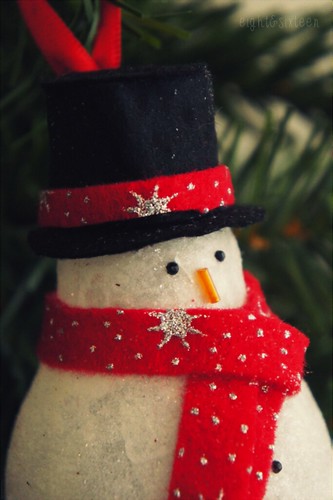
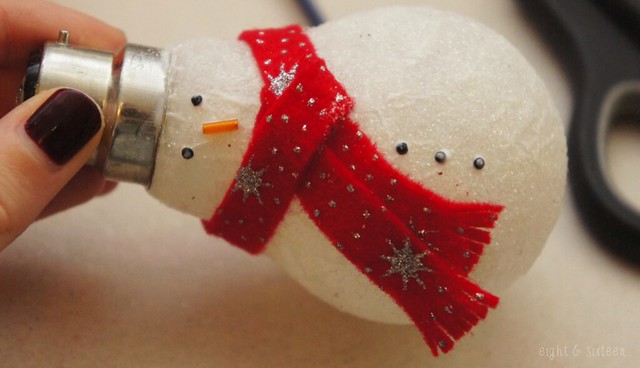
Next up I created a scarf using some festive print felt I had leftover from another project. I cut a thin strip and tied it around the bulb then snipped into the ends to create a tassel look. For the other features I used black nail art gems as coal and an orange bugle bead to represent a classic carrot nose. Again these were both items I already had in my craft stash but you could also use paint, buttons, sequins, paper or felt to add on the features.

pinterest test light bulb snowman ornament eightandsixteen

Finishing touches
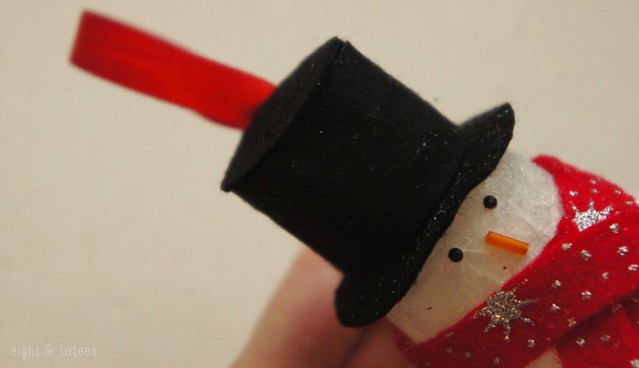
Although a lot of versions of this project seem to leave the silver top of the bulb on show I decided to give the snowman a top hat using black felt. First I cut a circle of the felt that would be big enough to slide over the metal then I cut another circle in the centre of it creating a ring that would fit snugly around the base of the bulb. To make the ornament suitable for hanging I created a loop in a piece of red ribbon then tied it around the metal part of the bulb and used a glue gun to secure it in place - this is where you have to be careful as you don't want it to fall and smash! Finally I covered up the whole thing with a long rectangle of black felt wrapped around the metal and a circle on top, both nicely held in place using hot glue.

The Verdict
For me this is one of the better Christmas ideas out there on Pinterest as it's so easy to do as well as being thrifty and completely customisable! I'm really happy with how my version turned out however if I were to make another one I would definitely try and find a screw top light bulb so that I could hollow it first to make it safer, but overall I think this is definitely one to pop on your to-do lists this year!

We'd love to hear from you if you try out this or any of our other DIY projects - use the hashtag #eightandsixteen to share your photos with us!

Erin
Monday, 1 December 2014

Bloggers Love Hub DIY Booth (+ Free Template Printables!)

bloggers-love-hub-1bloggers-love-hub-6bloggers-love-hub-8bloggers-love-hub-7

Last Monday evening we were kindly invited along to host a small DIY booth at the Bloggers Love Hub taking place at Kanaloa in London.

As we were asked to create a project related to organising we decided to decorate some plain notebooks, perfect for jotting down all of those blog post ideas! Instead of sticking on washi tapes or scrapbooking papers we chose to stitch into the notebook covers creating a textured finish.

We arrived at the event ready to set up our little booth and prepare everything to get crafting. Luckily we arrived super early which turned out to be a good thing - as you can see from the photos the lighting in the venue was not great for crafting, and we decided to use this time to make things a little easier for everyone taking part.
To create the notebooks you simply tape your chosen template onto the front cover of the notebook, and use a pin to pierce holes into the cover about 5mm apart. Then you can use a needle and thread to sew your design on and the pre-pierced holes mean that your design comes out perfectly! Due to the lack of light we decided to pierce the notebook covers with our three designs before people got stuck in as otherwise it may have taken all night to finish!

We had three designs to choose from: a festive snowflake, a cute cactus and "little book of ideas". If you want to make your own version don't forget to download the free templates at the end of this post!

bloggers-love-hub-10bloggers-love-hub-9
Wamiri & Josh with their finished notebooks

We had a great time at the event and met some really lovely bloggers too - Dani @ Floral Danielle, Daisy @ Daisy Jet, Chantelle @ Topix & Tales, Josh @ That Kid In The Bow Tie, Wamiri @ Omowamiri, Afshan @ Afshanesque, Chrissie @ Caprichia, Rebecca @ Rebecca Coco, Victoria @ My Little Black Book,  Justine @ Justine Pendrill & Brenda @ Time & Couture 

completed notebooks
Daisy & Chantelle's notebooks

If you'd like to try any of our templates, you can find them here:

Snowflake Template
Cactus Template
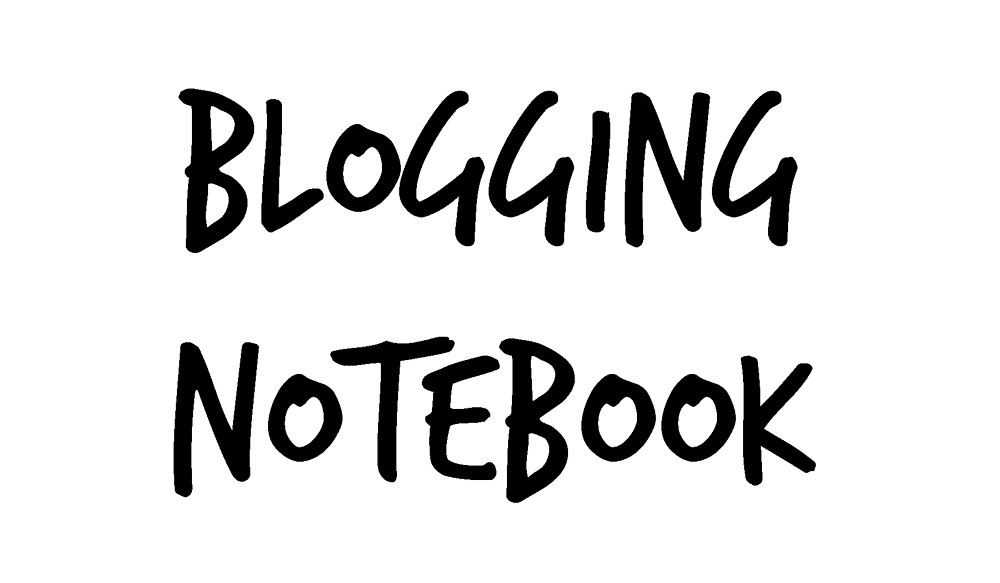
"little book of ideas" Template "blogging notebook" Template

The snowflake is intended to be the quickest of the three, with the "little book of ideas" being the most complex. The text templates aren't dotted, but just remember to pierce the holes onto your notebook around 5mm apart.

Once you've given these templates a go, why not try making your own? You could try your blog name for yourself or monogrammed notebooks to give as presents - perfect for a DIY Christmas!

Thank you to everyone we met at The Bloggers Hub for taking such an interest in our little DIY booth, and of course to Danielle for inviting us to be a part of the event! :)

We'd love to hear from you if you try out this DIY - use the hash tag #eightandsixteen to share your photos with us!

Erin & Skye
Related Posts Plugin for WordPress, Blogger...