


On Monday we introduced our Halloween inspired pumpkin decorating challenge and today I get to share my results! Right from the start I knew I wanted to try and use items that I already had in my craft stash to decorate the pumpkins, unintentionally making an extra challenge for myself. In the end I managed to do this using paints, felt, jewellery wire, Mod Podge and even nail art gems!
My pumpkin design was initially inspired by various Pins featuring bats and other animals attached onto the surface of plain coloured pumpkins to create a 3D effect. As someone who is terrible at pumpkin carving I loved the idea of being able to create something 3D without having to cut into the pumpkin at all.
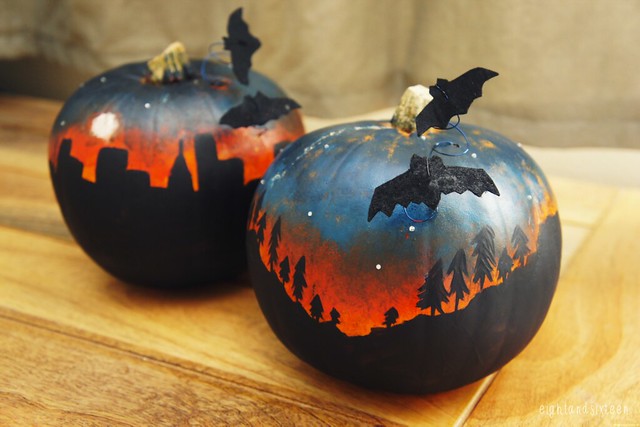
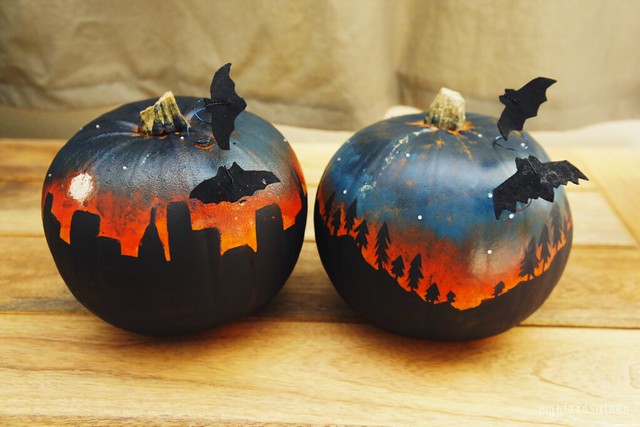
Next came the idea to not just leave the pumpkins one colour but to create a backdrop for the bats to fly against. I had decided I didn't want to completely cover up the natural orange of the pumpkin and so settled on a sunset and contrasting silhouette background which allowed me to incorporate it.
Overall I'm really pleased with how the pumpkins turned out and think they would be perfect for indoor display on windowsills, by fireplaces or as table centrepieces at your Halloween party, however I wouldn't recommend placing them outside in bad weather! Here's a little bit more about how I achieved the final designs...
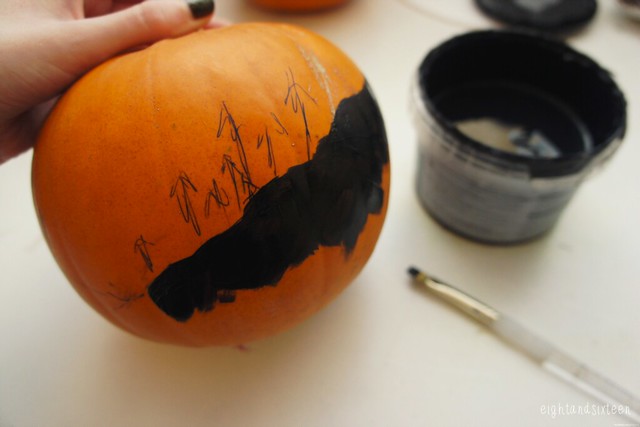
I started off by mapping out the landscape design onto the surface of the pumpkin using a trusty FriXion pen. I then used chalkboard paint to black out these areas, choosing this type of paint as I thought it would adhere best to the surface. It also gave a nice matte finish once dried, adding to the final effect of the design.
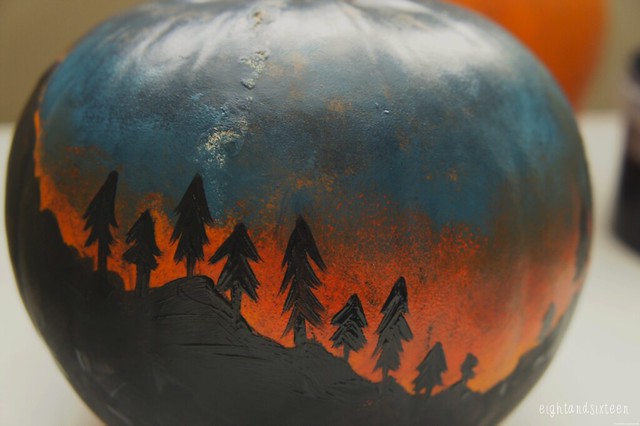
Next I used acrylic paints mixed with Mod Podge (to help them stick to the surface) and sponge brushes to create a sunset effect on the top half of the pumpkin. As I mentioned above I wanted to try and include the bright natural orange tones of the pumpkin's skin so a sunset seemed like the perfect way to do this.
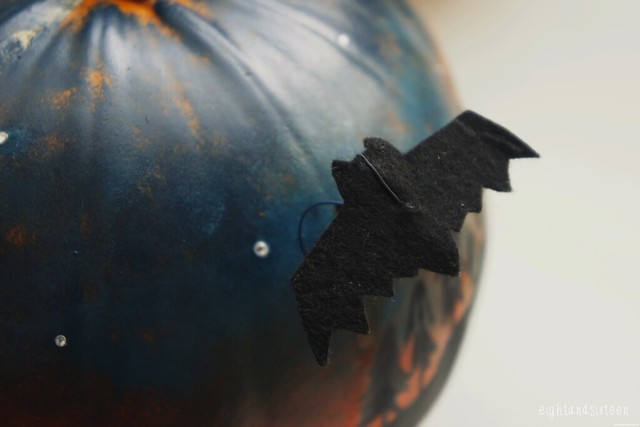
For an extra final touch I used Mod Podge to stick on a few tiny nail art gems to represent stars in the evening sky. Then finally I added on the felt bats that had originally inspired the whole idea. After cutting out the bats I used jewellery wire to attach them onto the pumpkin. To make sure they were secure I used a wooden skewer to first pierce holes into the pumpkin's surface then threaded the wires through these and the outer layer of the pumpkin.
For my second pumpkin the process was exactly the same except this time I opted for a cityscape style silhouette, which with the bats I think feels very Gotham!
We'd love to hear from you if you try out this or any of our other DIY projects - use the hashtag #eightandsixteen to share your photos with us!
Erin
Seriously!? These are the coolest pumpkins ever!!! I love them!!!
ReplyDeleteWELL DONE!
Thank you Anjali! :)
DeleteWell done, these are beautiful!!!!
ReplyDeleteStephanie
http://missstephanieusher.blogspot.co.uk/
http://www.bloglovin.com/blog/3436251
xxxx
Thank you so much Stephanie :)
Delete