tabs

es about us es contact es archive es challenge es we love 9 es recipes es pintests es links

Monday, 22 December 2014

9 Wearable Festive DIYs

9 wearable festive diys

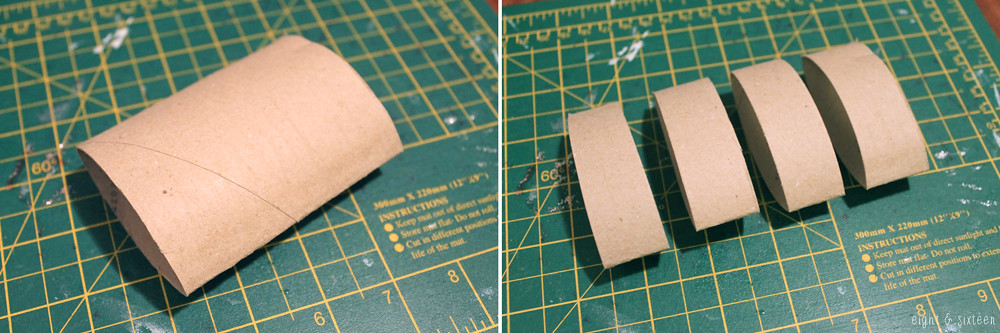
1/ Christmas Tree Earrings (via Legendary Beads) - if you want to practise your wire work skills these earrings are the perfect project. Made simply from coils of wire with bead embellishments they're great for beginners.

2/ Snow Globe Necklace (via Tatertots & Jello) - this design takes a classic Christmas decoration and recreates it in miniature to be used as an eye catching necklace pendant.

3/ Icy Earrings (via Epbot) - this idea is perfect for anyone who loves to upcycle as these pretty statement earrings are made from bubble wrap!

4/ Bracelet For Christmas Day (via PandaHall) - if beading is your craft you'll love this festive bracelet made using tiger tail wire and Swarovski crystals.

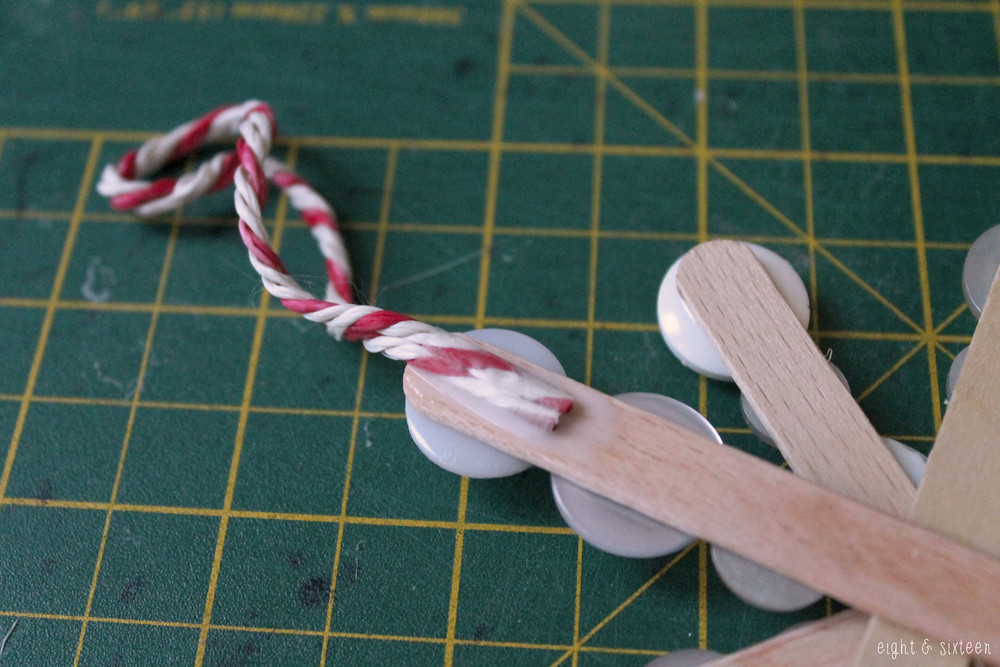
5/ Quickie Candy Cane Earrings (via All Free Jewelry Making) - another beginner project is these cute candy cane earrings that can be made in no time! Again they are perfect for beginners and don't require too many supplies.

6/ Frosted Snowflake Charm Bracelet (via e-elise etc) - this tutorial uses frosted shrink plastic to create snowflake charms which hang alongside simple beads for a fun festive bracelet.

7/ Ornament Headband (via in-lala-land) - if you want to go for something more quirky this bold headband is sure to turn heads. Made from colourful baubles this one could be perfect for a festive party!

8/ Quilted Christmas Booties (via Fave Quilts) - if sewing and quilting are your favourite crafts you'll love these cute patchwork slippers, brilliant for a handmade gift!

9/ Glitter Christmas Light Bulb Necklace (via Sugar Bee Crafts) - another colourful piece, these glittery bulb pendants are sure to make a statement.

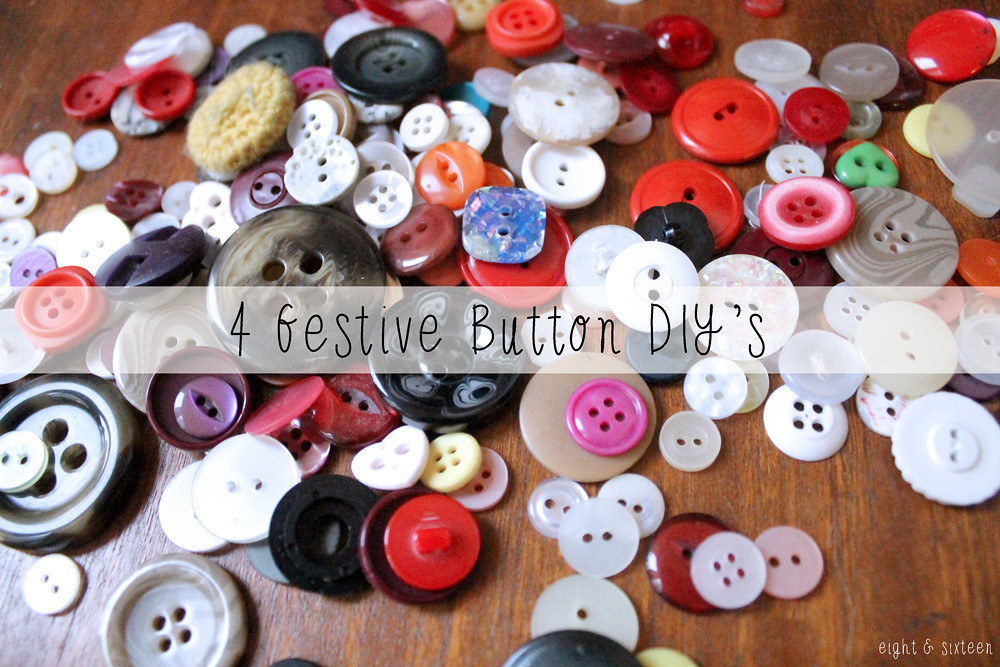
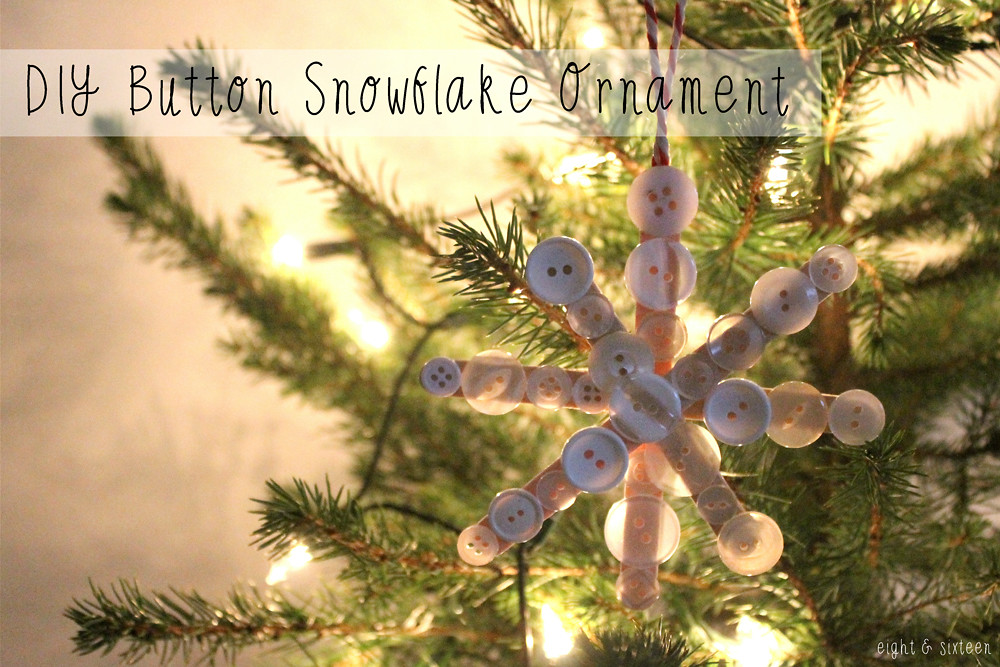
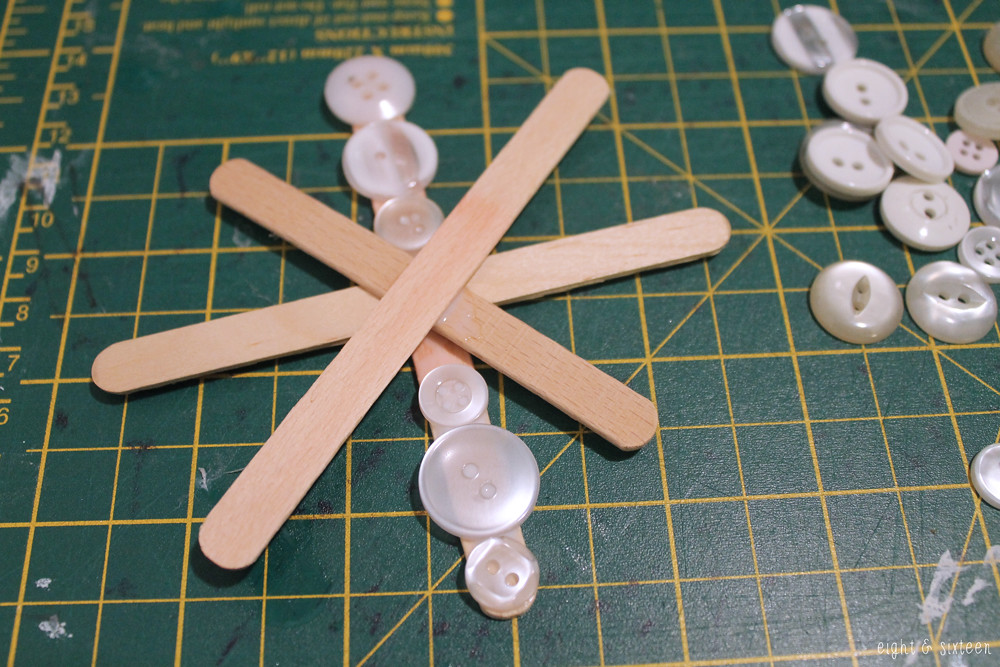
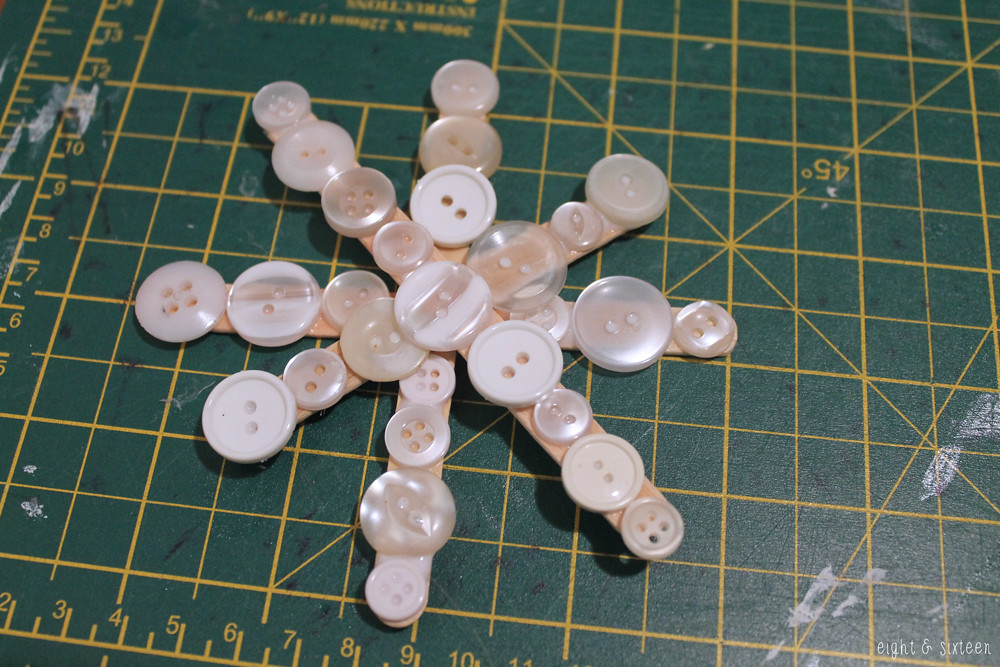
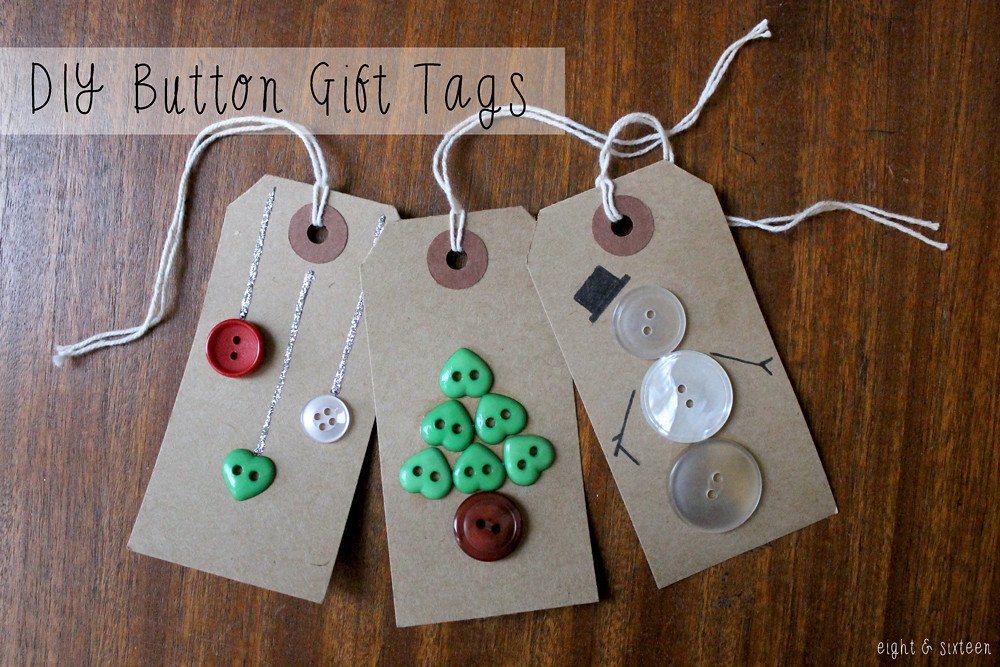
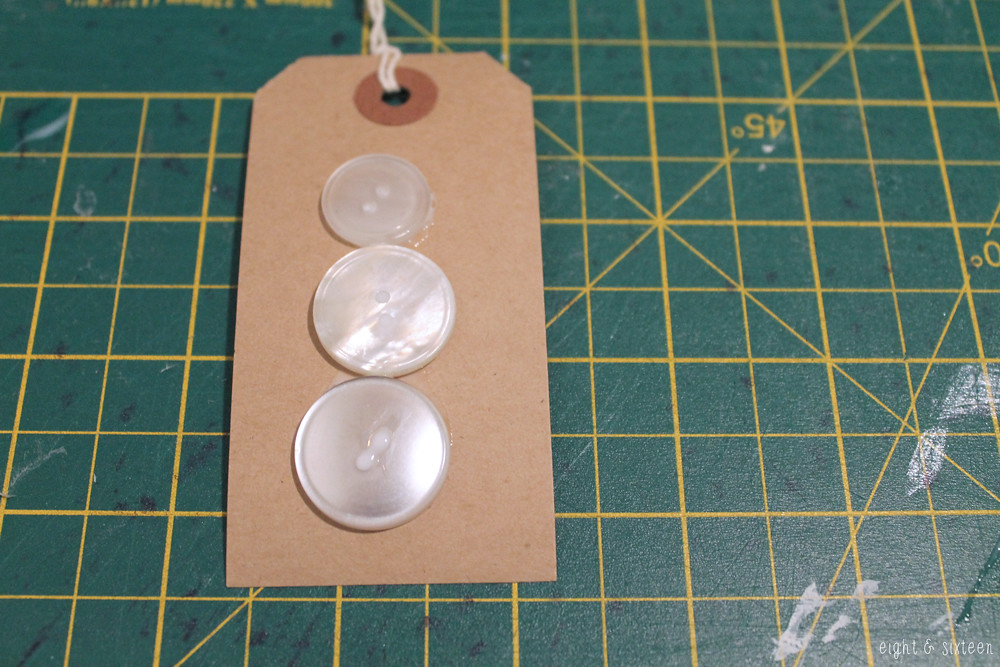
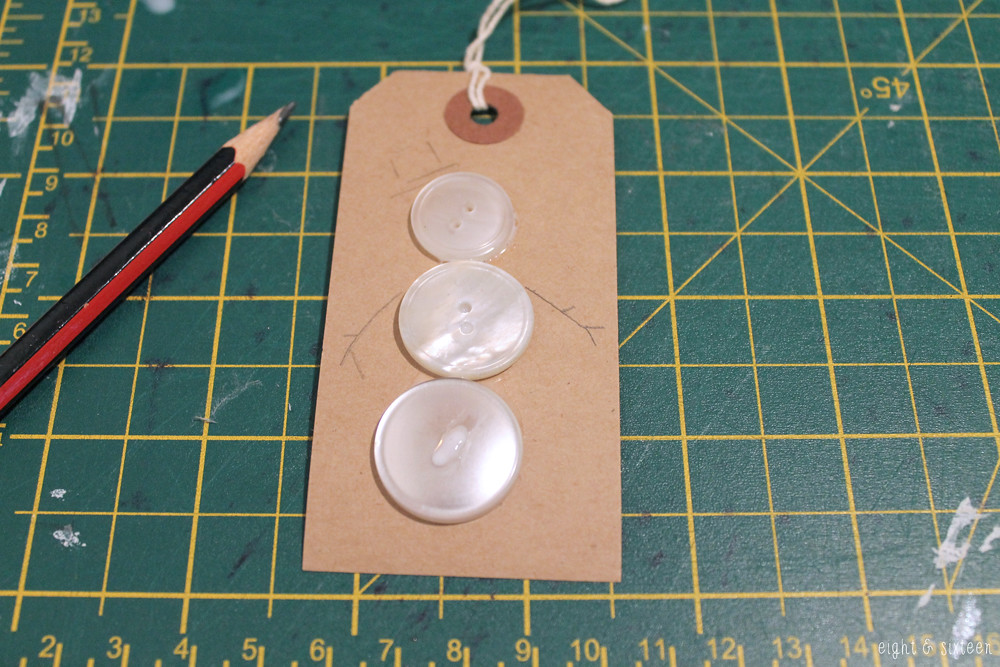
We'd love to hear from you if you give these DIY's a go - use the hash tag #eightandsixteen to share your photos with us!

Erin

Friday, 19 December 2014

4 Festive Button DIY's - Roundup!


We hope you've enjoyed our week of festive button DIY's! Here's a roundup in case you missed any of them; why not give them a go this weekend for some last minute festive fun?!

1. Bunting Necklace
2. Gift Tags
3. Flower Brooch
4. Snowflake Ornament

We'd love to hear from you if you give any of these DIY's a go - use the hash tag #eightandsixteen to share your photos with us!

Erin & Skye


Thursday, 18 December 2014

DIY Button Snowflake Ornament


Today is the final DIY in our week of button projects - we hope you've enjoyed them!
These decorations are great for the Christmas tree, but could also make sweet stocking fillers or even gift tags for presents!

Note: I collected some lolly sticks to make this project even thriftier, but you can easily find packs of craft sticks to buy if you plan to make lots of decorations.


First you need to glue your sticks together to create your snowflake design. Leave this to dry as you don't want them moving around when it comes to the next step!


Starting with the stick on the bottom, start glueing your buttons into place.
Tip: Use smaller buttons at the centre of the sticks for a better fit.


Continue glueing your buttons onto each stick, finishing with the top stick.


Using a piece of twine or ribbon, create a loop and glue this into place on the back of your snowflake. Hang your decoration on the Christmas tree, and step back to admire your handiwork!


We'd love to hear from you if you give this DIY a go - use the hash tag #eightandsixteen to share your photos with us!

Skye


Wednesday, 17 December 2014

DIY Button Flower Brooch

DIY Button Flower Brooch by Eight and Sixteen

Today's button tutorial is for this cute accessory that's perfect for a handmade gift this Christmas! These brooches would make great stocking fillers - just customise the design to suit your friends and family members by using their favourite colours.

You will need: buttons, felt, a brooch back, a pen, scissors, fabric glue + a needle & thread

1. Arrange your 'petal' buttons in a circle on a sheet of felt, draw around them and cut out two of this shape.

Tip! You can choose any buttons that you like for your brooch however I would recommend heart shaped ones as they lend themselves well to creating the button flower's petals. 

2. Next take a needle and thread and sew each of your buttons onto one of your felt shapes until you have your finished button circle. Then sew your centre button.

Tip! You can also make any sized brooch you like - just make sure your centre button is large enough to slightly overlap the 'petal' buttons for a 3D effect.

3. Take your second piece of felt and neatly stitch on a brooch back. Then use fabric glue to attach this onto the back of your first piece of felt, covering up your stitching for a neater finish. Once dry your button flower accessory is ready to wear or give as a gift!

We'd love to hear from you if you try out this or any of our other DIY projects - use the hashtag #eightandsixteen to share your photos with us.

Don't forget to check back tomorrow for another button project idea!

Erin

Tuesday, 16 December 2014

DIY Button Gift Tags


I'm pretty sure that most households contain a button jar/tin/box somewhere... right?! These button gift tags are a great way to upcycle those odd buttons, and you can create so many cute Christmas designs really easily as a finishing touch to your presents.


First, have a play around with your design until you're happy with the layout.
Then glue your buttons into position on your gift tag and leave to dry.


Draw on any extra details in pencil - for this snowman I added a hat and stick arms.


Finally, use a sharpie or similar to fill in the pencil details, or try glitter glue as I did for the baubles gift tag.

And that's it - such a simple DIY, but so effective!


We'd love to hear from you if you give this DIY a go - use the hash tag #eightandsixteen to share your photos with us!

Skye


Monday, 15 December 2014

DIY Button Bunting Necklace

diy button bunting necklace tutorial by eight & sixteen

With Christmas fast approaching we've decided to share four button projects including gifts and decorations! For the first project of the week I wanted to share this necklace design that I think could be the perfect DIY for anyone looking to give unique handmade gifts this year!

To make your own you will need: buttons, jewellery wire, wire cutters, flat and round nose pliers, an assembled chain (or supplies to make your own)

diy button bunting necklace tutorial by eight & sixteen

1. To make your bunting necklace you will need to turn each of your chosen buttons into a charm. Start with a piece of wire approx. 2" long, thread it through one of the holes in your button and bend in half

2. Use your flat nose pliers to bend out the lengths of wire in the opposite directions, creating a loop around the edge of the button

diy button bunting necklace tutorial by eight & sixteen

3. Take your pliers and bend the wire that sits on the front side of the button up at a right angle - this will be the piece you turn into the loop

4. Move a little way along the wire then add a second bend in the opposite direction

diy button bunting necklace tutorial by eight & sixteen

5. Switch to your round nose pliers and bend the end of the wire around them to create a loop

6. Finally, wrap the other length of the wire around it securing it in place and adding a decorative finish

diy button bunting necklace tutorial by eight & sixteen

7. Once you have all of your button charms, find the centre of your necklace chain and attach on your middle charm. To do this use pliers to gently open up the hanging loop you created, thread through the chain link and close.

8. Repeat this process to add on the remaining button charms making sure to space them apart evenly, and your necklace is done!

We'd love to hear from you if you try out this DIY project - use the hashtag #eightandsixteen to share your photos with us!

Erin

Friday, 12 December 2014

DIY Cardboard Tube Wreath


Today's DIY is a super simple festive wreath made from painted cardboard tubes and a few decorative berries. Depending on how many tubes you have to hand you can make this wreath as simplistic or extravagant as you like, and you could also try adding different embellishments such as bows or mistletoe.


To start off, take your cardboard tubes, flatten them and cut them into 4 pieces. If you prefer, you can paint your tubes before doing this, but I didn't want any plain edges showing once they'd been cut.


Paint all of your tubes (inside and out!) and leave to dry.
Once dry, divide up the tube pieces into the 'flower shapes' and start glueing them together. I used a little glue on the points, and then used paperclips to keep the pieces together until dry.


Repeat with all of your tube pieces, and then join all of these flowers into a circle and glue/paperclip in the same way. Leave to dry.
You can then embellish the wreath - I have used decorative berries on wire that I simply wrapped around the centre of each flower.

This wreath will only be suitable for indoor use, but is a great addition to any festive decor and it can be so easily customised to suit your colour scheme :)


We'd love to hear from you if you give this DIY a go - use the hash tag #eightandsixteen to share your photos with us!

Skye


Related Posts Plugin for WordPress, Blogger...