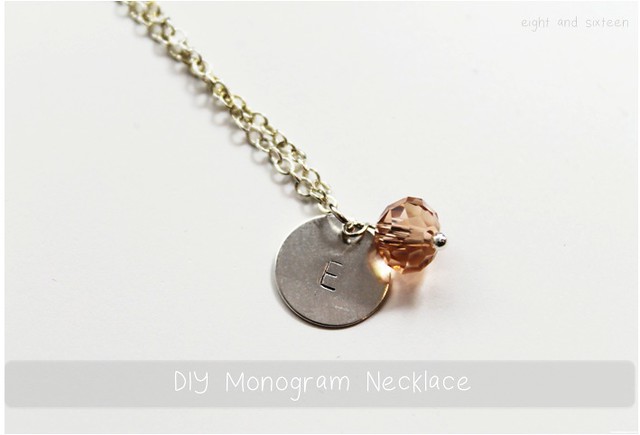
For my first tutorial here at Eight & Sixteen I'll be showing you how to make this simple personalised necklace design - a pretty project to make for yourself or to give as gifts! It's also a great way to practise your basic metal stamping technique before moving on to more ambitious projects.
You will need: metal alphabet stamps, a stamping block, a hammer, a small blank metal charm (I used a 15mm circle), a black Sharpie, a necklace chain, a small jump ring, jewellery pliers, washi/masking tape
+ optional: a bead, a headpin, round nose pliers
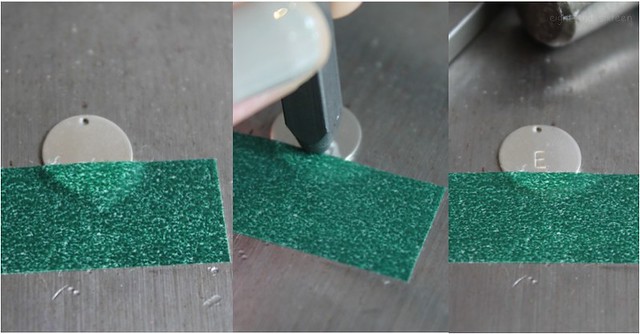
1. Use washi tape to secure your metal disc in place on a stamping block and mark out where you want the letter to sit
2. Take your metal stamp, line up with the tape and tap the end with a hammer to stamp on the design. Be careful to keep the stamp upright and still to get a clean stamp and not a wobbly one!
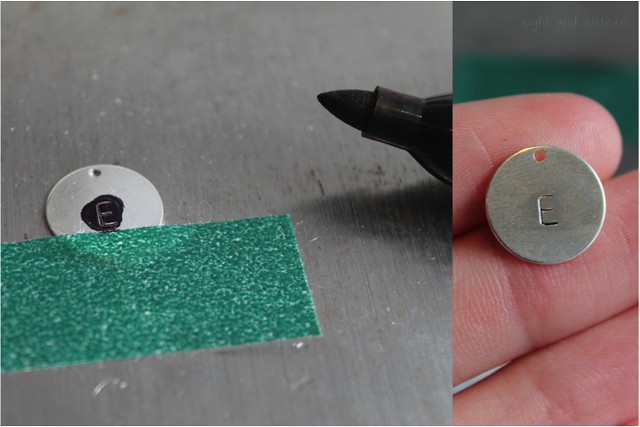
3. To help the stamped letter stand out more use a black Sharpie to colour over it and then gently rub away the excess colour with a cloth. Repeat this step a few times until you are happy with the colour
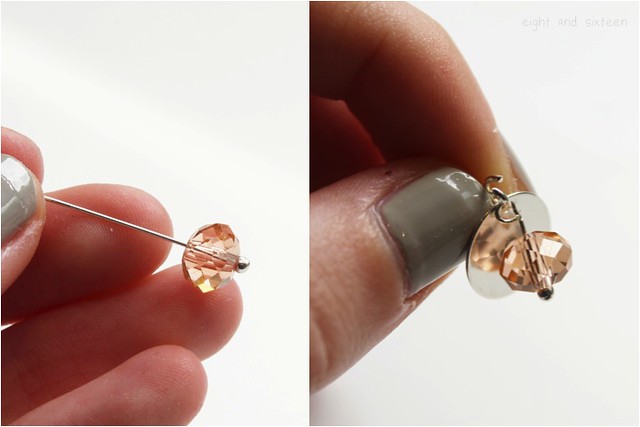
4. If you want to add on a pretty bead embellishment take a headpin, thread on a bead, use jewellery pliers to create a hanging loop and cut off any excess wire
5. Use pliers to open up a jump ring and thread on both the stamped charm and bead charm plus a necklace chain. Carefully use pliers to close up the jump ring and you're done!
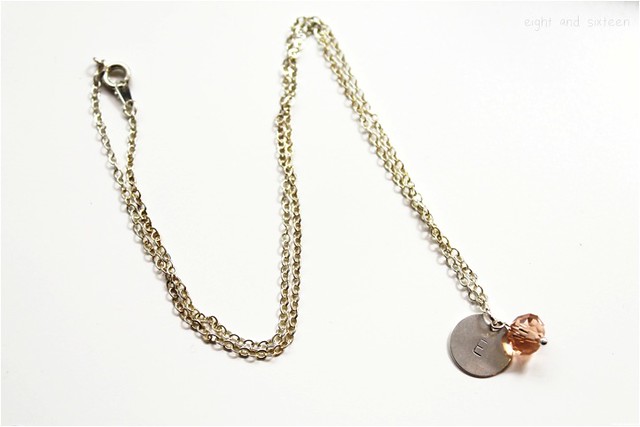
We'd love to hear from you if you try out this DIY project - use the hashtag #eightandsixteen to share your photos with us!
Erin








This is so pretty and it looks totally feasible! I would love to make some of these for my favourite women. Also, I'm a complete sucker for those metal letter stamps, they look so darn perfect in their boxes...
ReplyDeletexxx
Chambray & Curls /
Thanks Laura :)
DeleteI agree - the metal stamps look lovely all lined up in their box!
Very pretty necklace and totally achieveable!
ReplyDeleteThank you Emma! :)
Delete