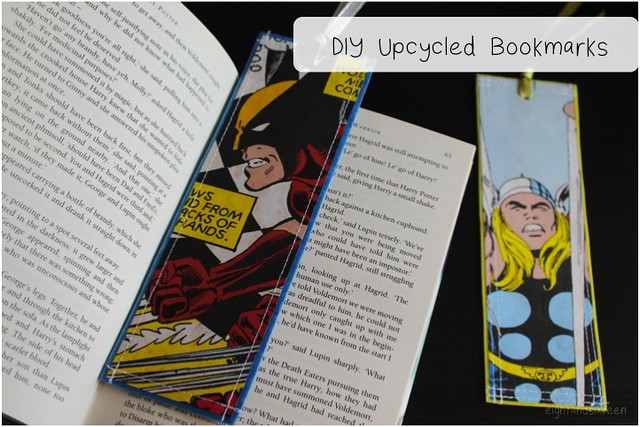
Today's project is one for my fellow bibliophiles! These cute upcycled bookmarks are easy to make as well as completely customisable. They can be made with any paper you like including printed wallpapers like this Marvel superhero one I've used for the tutorial. Here's how to make your own...
You will need: patterned paper, clear sticky back plastic, felt, ribbon, a ruler, scissors/a craft knife, a sewing machine and a hole punch
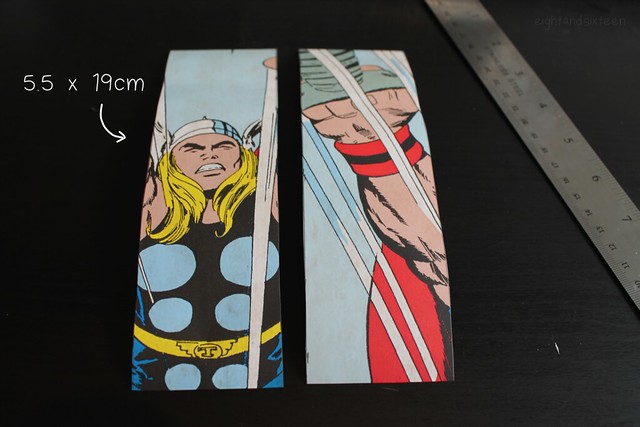
1. Start by cutting two strips of your chosen paper, each measuring 5.5 x 19cm
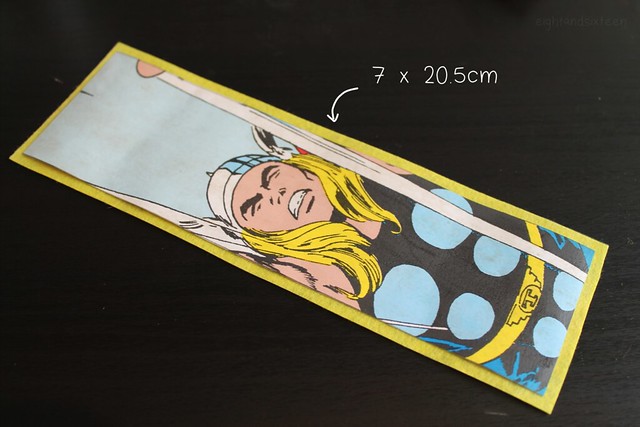
2. Next cut a strip of felt measuring 7 x 20.5cm. As you can see this will leave a thin border around your paper image
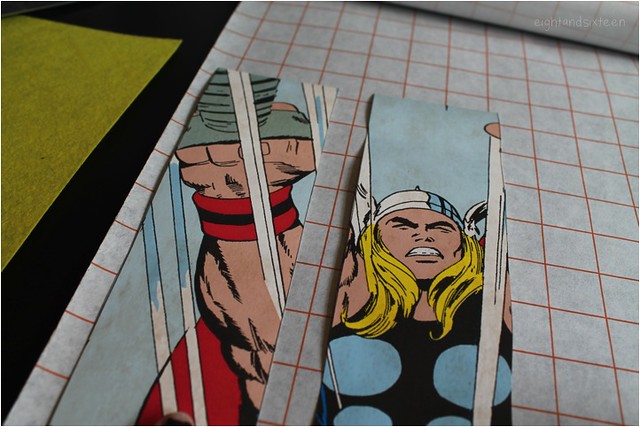
3. Cut two pieces of your sticky back plastic the same size as the piece of felt (7 x 20.5 cm)
4. Take one of your sticky back plastic rectangles and peel off the backing. Place it sticky side up on a flat surface then place the paper face down onto it, followed by your felt
5. Take the second piece of sticky back plastic and do the same with your other paper image, then stick this onto the reverse of the felt so your bookmark is double-sided!
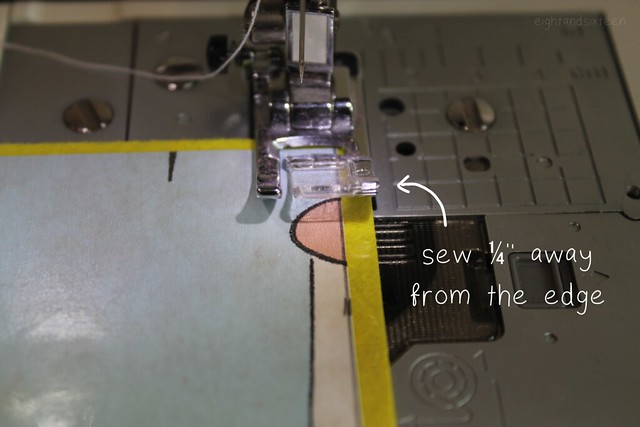
6. Move over to your sewing machine and use a simple straight stitch to go around the edge of the bookmark securing the layers together
Tip! Sewing paper may blunt your needles, so for this project you may want to use an old needle or buy a different type that's more suitable for paper projects. It also may help prevent tearing if you use a longer stitch length than you would for fabrics!
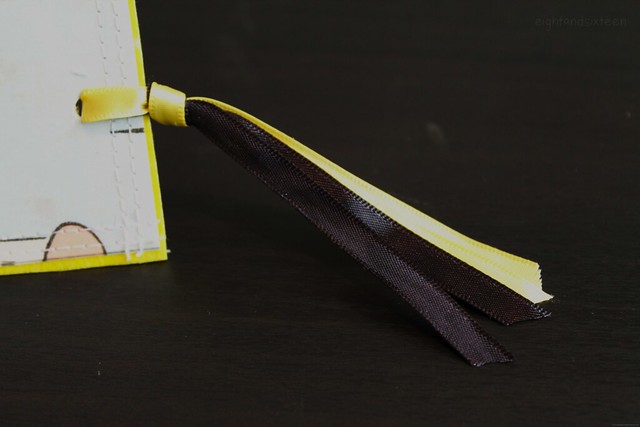
7. Punch a hole near the top edge of your fabric and thread through a colourful ribbon
8. Tie a knot in the ribbon to secure it in place and your bookmark is done!
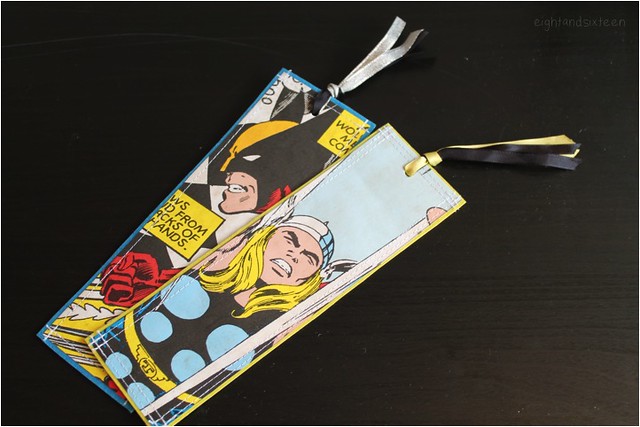
We'd love to hear from you if you try out this DIY project - use the hashtag #eightandsixteen to share your photos with us!
Erin











No comments:
Post a Comment