tabs

es about us es contact es archive es challenge es we love 9 es recipes es pintests es links

Monday, 12 January 2015

We're Taking A Little Break...

Today's post is a hard one to write, but unfortunately we have decided to take a little break from e&s.

There are so many factors that have contributed to this decision but real life is demanding all of our time at the moment with work commitments, running our individual blogs and Skye planning her upcoming wedding. Basically we've just had to compartmentalise things and we feel taking a step back from e&s is the best thing for us right now. 

We've achieved so much over the last 8 months - we want you to know that this isn't us throwing in the towel! We absolutely love our little blog, working together, and sharing all of our DIY and crafty adventures with you. We'd also like to take this opportunity to thank you for coming along with us on the journey and we sincerely hope you'll stick around to see how it will continue in the future.

At the moment we can't say how long this hiatus will last, but we will both still be around on Twitter and our individual blogs if you need to find us - please do keep in touch!

Skye - www.evenartichokeshavehearts.co.uk | @skye_pennant | skyepennant@hotmail.co.uk
Erin - www.e-eliseetc.com | @eeliseetc | eliseetc@hotmail.co.uk

Skye & Erin

Friday, 9 January 2015

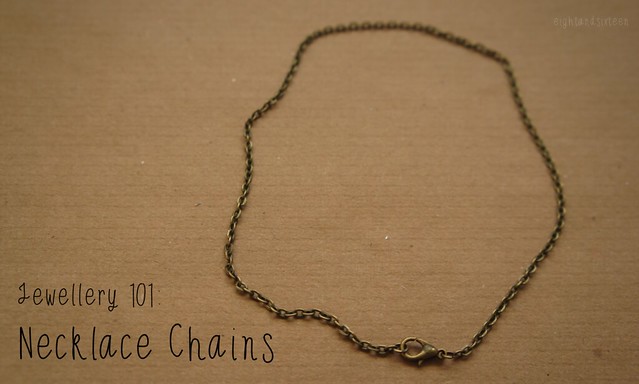
Jewellery 101 - Necklace Chains

101 chains

If you enjoy making lots of jewellery as a hobby or are looking to start up your own jewellery business selling handmade pieces why not invest in the supplies to make your own chains?

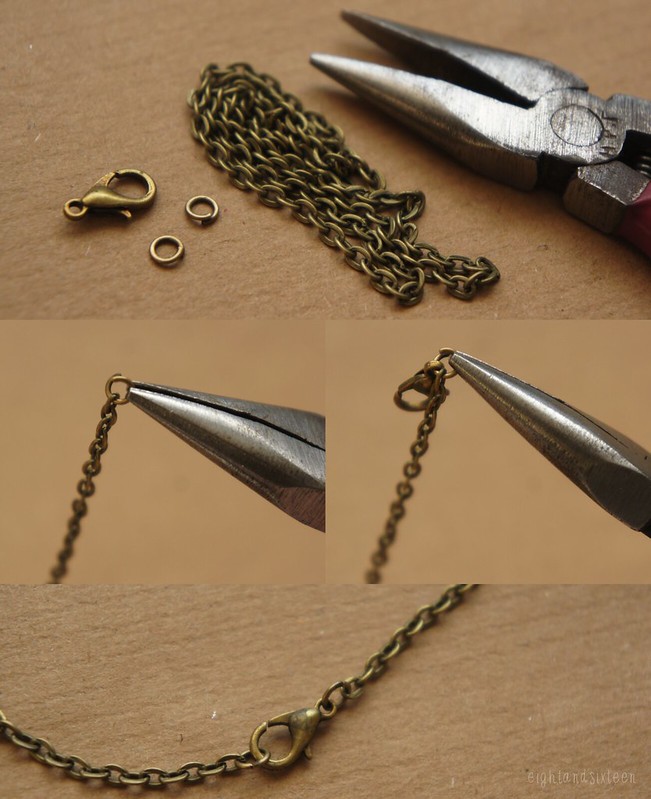
All you need to make each necklace is a length of chain, two jump rings, pliers and a clasp (example shows a lobster style clasp) - once you have the supplies you can make one in minutes! To create a necklace simply cut the chain to your desired length, open up a jump ring, thread it onto one end of the chain and close. Then add a jump ring and clasp to the other end of the chain and you're done.

With just these few items you'll be able to make specific length necklaces as and when you need them for a project allowing you to customise your pieces, plus if you're making high volumes it may save you money in the long run.

If you're not sure on what length of chain to use for your necklace I recently created a handy visual guide using the same necklace design on different length chains. You can find it over on my blog.

101 chains step by step

We love hearing from our readers - use the hashtag #eightandsixteen to share your comments & photos with us!

Erin

Wednesday, 7 January 2015

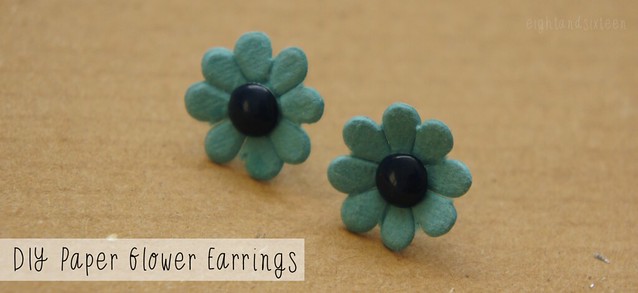
DIY Paper Flower Earrings

diy paper flower earrings diy flower earrings by eight and sixteen

Today's project is a quick and simple statement jewellery DIY perfect for adding a pop of colour to your outfit. Don't fancy paper jewellery? Upgrade this project by using leather scraps for the flowers instead!

You will need: 'paper blossoms' or a flower paper punch, two earring posts, matte Mod Podge, coloured nail polish, glaze, a blob of blu tack

1. Start by adding a little glue or matte Mod Podge to the back of your earring posts, then push on the paper flowers

2. Set aside to dry by standing up the posts in a blob of the blu tack or a piece of polystyrene packaging

3. Once dry I would advise coating the flowers with a layer or two of your matte Mod Podge to make them a little more durable

4. When the Mod Podge has dried use nail polish to colour the flat tops of the earring posts - these will be the centre of flowers

5. Once the polish is dry add layer of glaze and again leave to dry. Add on an additional layer of glaze if necessary and once dry they'll be ready to wear!

We'd love to hear from you if you try out this or any of our other DIY projects - use the hashtag #eightandsixteen to share your photos with us!

Erin

Friday, 2 January 2015

Skye's Five Favourite Projects Of 2014!


Looking through all of our posts over the last seven months has been so much fun! I can't believe how many DIY's we've managed to cram into this little blog, but I've loved doing them all and sharing them with Erin.

Picking just five of my favourites has been hard, but in the end I went with the DIY's that have really stood the test of time.
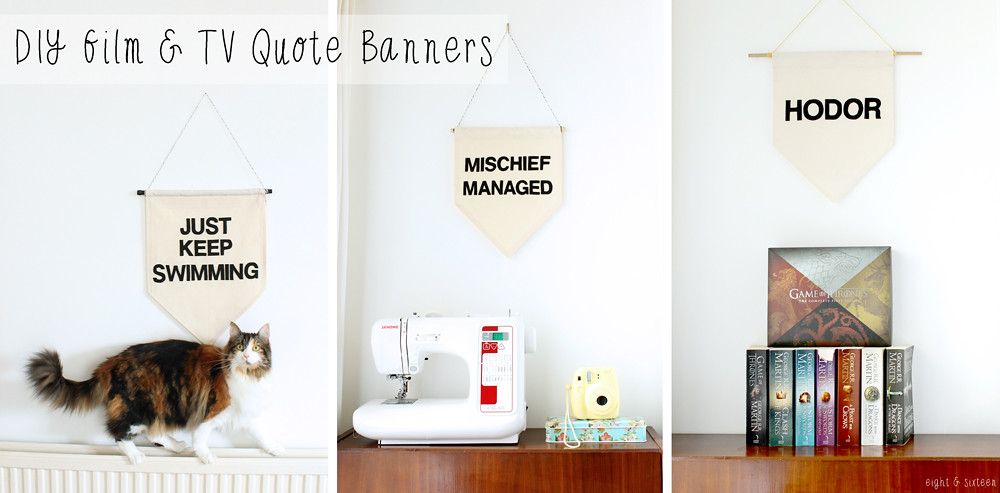
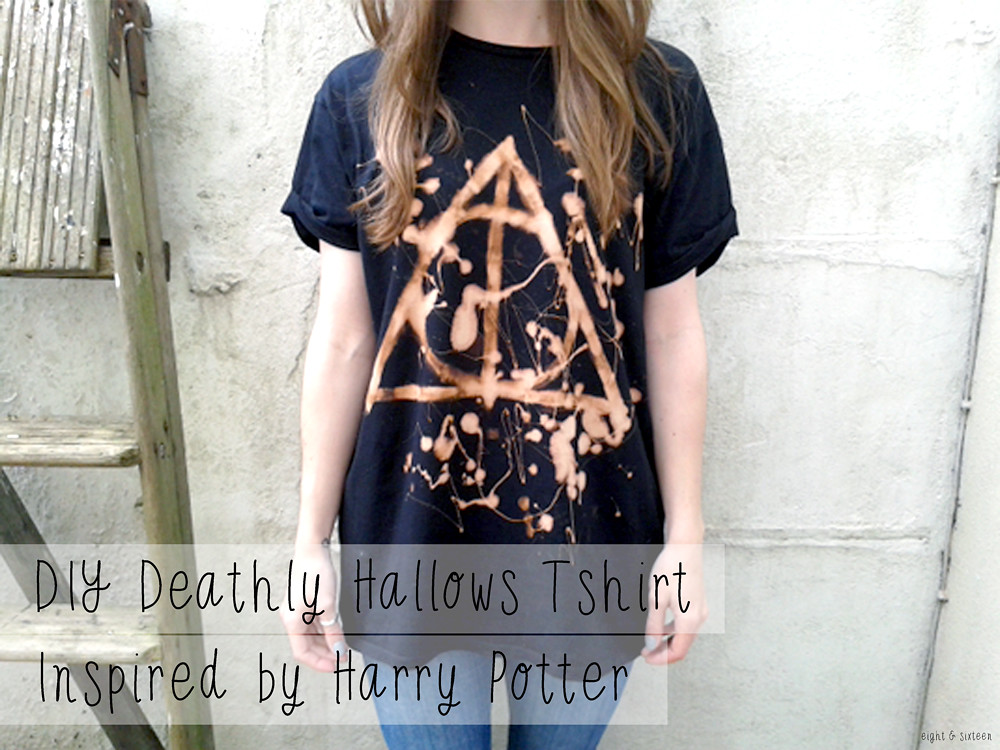
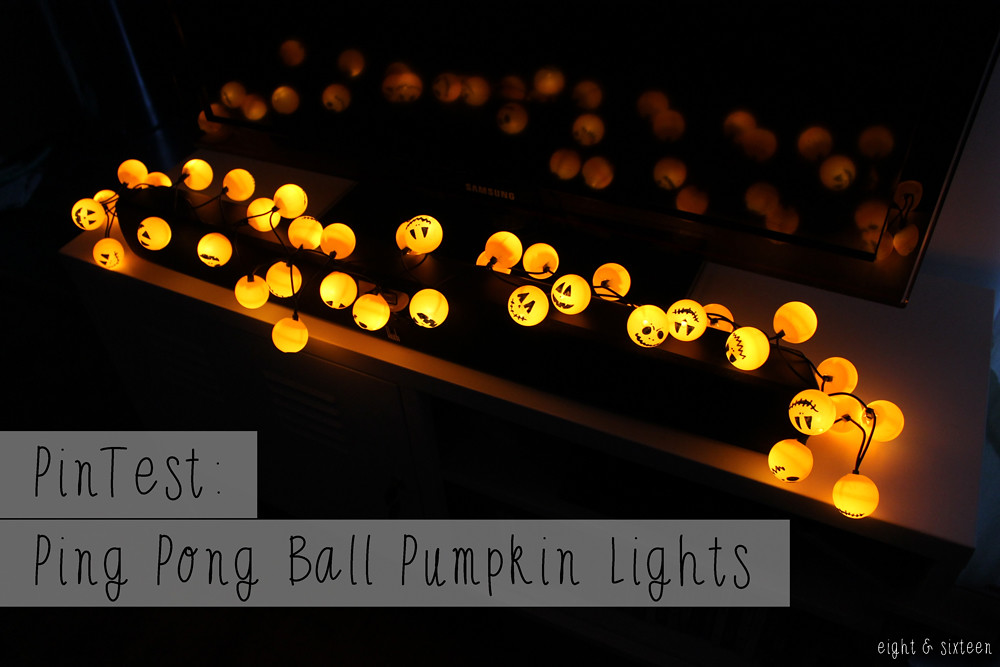
I still have the banners hung up around my flat, I wear the Deathly Hallows Tshirt too much, the camera strap is so comfortable and gets lots of compliments, the ping pong ball lights just make me smile, and the lunch bags are super practical!

I hope that you've enjoyed reading our DIY's and projects - and if you have any suggestions or things that you'd like us to try then just let us know :)

We'd love to know what your favourite projects of the year have been - use the hash tag #eightandsixteen to let us know or share your photos with us!

Skye


Related Posts Plugin for WordPress, Blogger...